A Content Playlist is a guided, multi-asset experience that lets visitors browse a curated sequence of content without leaving the page. Playlists support personalization, provide detailed analytics, and are ideal for thematic journeys, nurture programs, ABM content hubs, and educational sequences.
Creating a Content Playlist
When you click Create Experience, you’ll complete a short setup form. Only the key items are required:
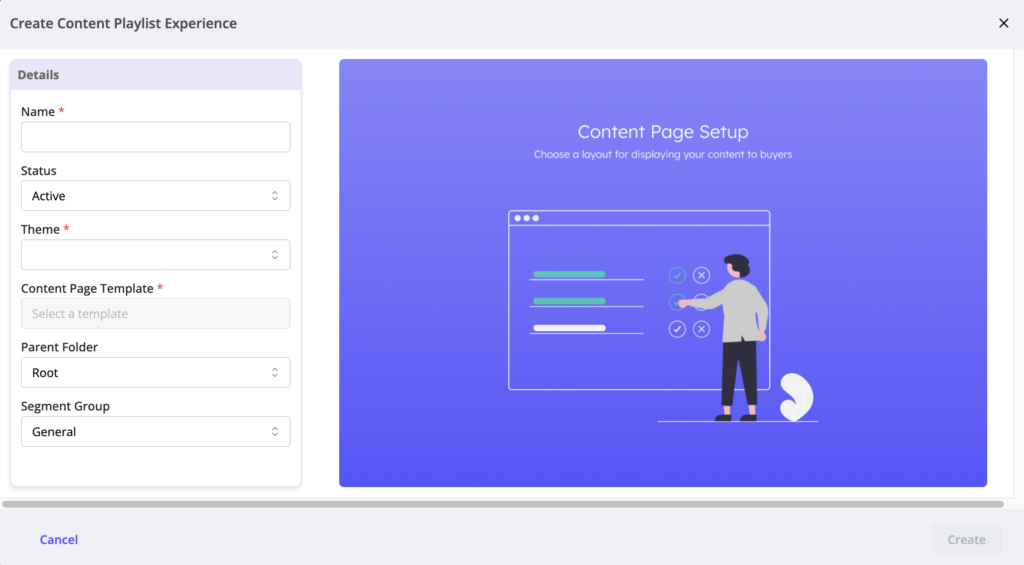
- Name– Enter the internal name for your Playlist.
- Theme– Choose the Theme with the appropriate branding laid out by your admin. To ensure you have all editing options available, please use a Theme that is version 4.0 or higher.
- Content Page Template– Select a Content Page Template
- This template defines the Playlist’s initial layout, including:
- Sidebar defaults, logos
- CTA buttons & destinations
- Social Icons
- Which Next Promoter style is enabled by default
- You can modify these layout settings later in the Pages panel.
- This template defines the Playlist’s initial layout, including:
- Parent Folder
- Segment Group (Optional)– Required only if you plan to add personalization rules.
Click Create.
Navigating the Builder
The Playlist Builder uses a vertical left-hand navigation:

- Pages — Layout, Sidebar, and Engagement Promoters
- Content — Assets included in the Playlist
- Forms — Form strategy controls
- Details — Metadata and access settings
- Analytics — Visitor engagement data
- Audit History — Log of all changes
Pages
The Pages area controls the main layout and navigation behavior for your Playlist.

Sidebar
Enable or disable the Playlist sidebar, and configure how assets appear (titles, thumbnails, or both).
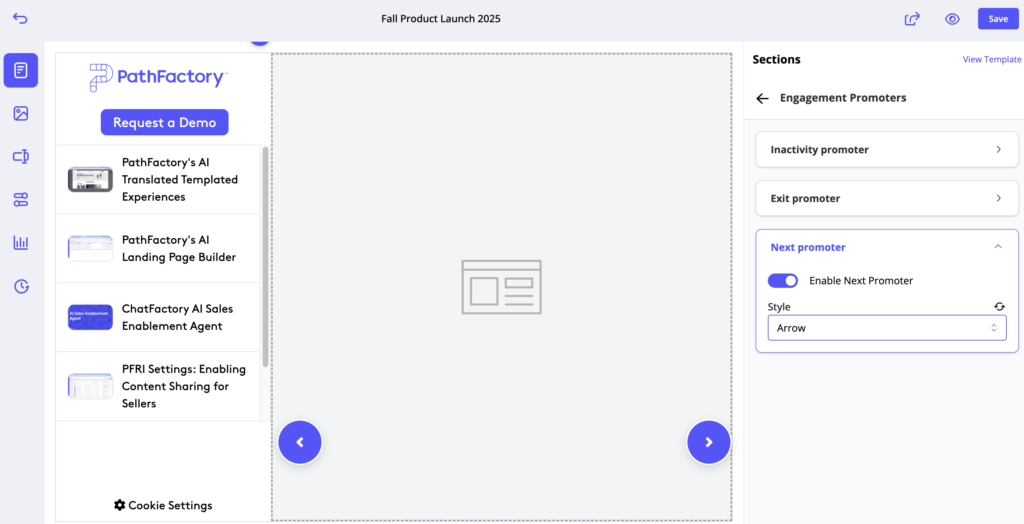
Engagement Promoters
Engagement Promoters help visitors move through the content or re-engage if they become idle.
Next Promoter Types
These control how visitors navigate between assets:
Arrow Promoters
- Left/right arrows beside the content
- Simple linear navigation
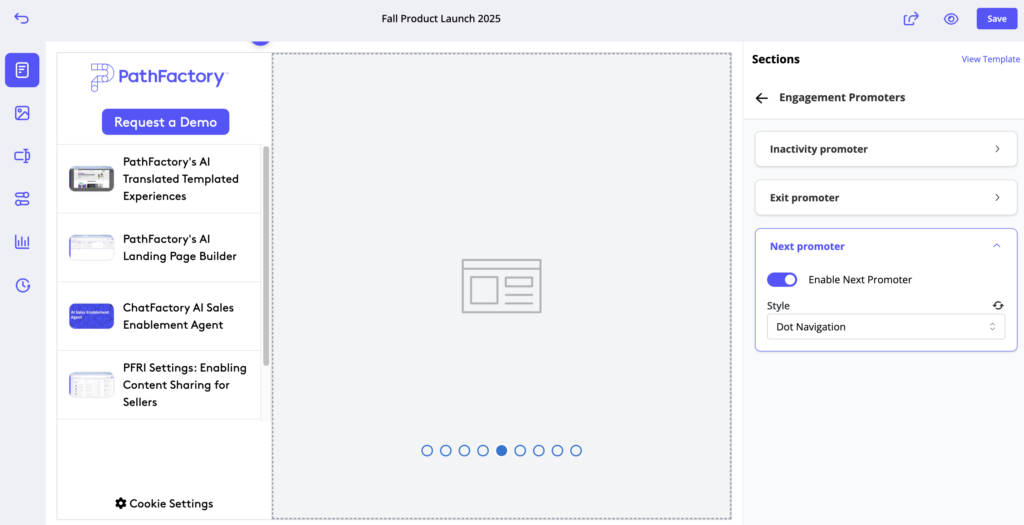
Dot Promoters
- Dots representing each asset
- Shows progress and allows jumping to a different item
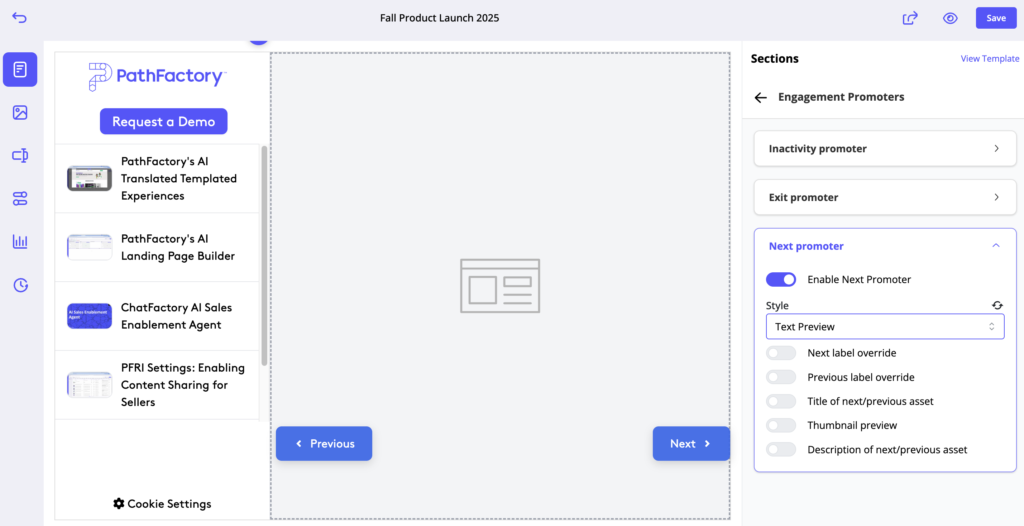
Text Preview Promoters
- Displays the title (and optionally thumbnail) of the next asset
- Great for storytelling or contextual journeys
Re-Engagement Promoters
These work to re-engage buyers who may be about to exit the tab or who have left your tab idle:
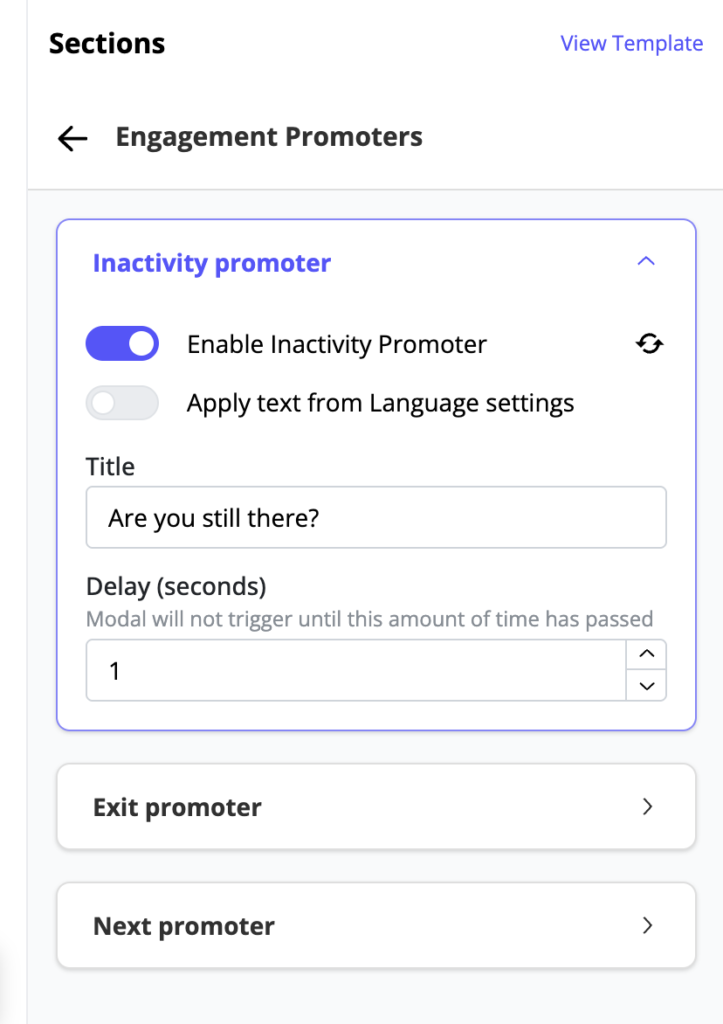
Inactivity Promoter
- Appears after a visitor has been idle for a set amount of time
- Useful for re-engaging distracted visitors or those who switch tabs
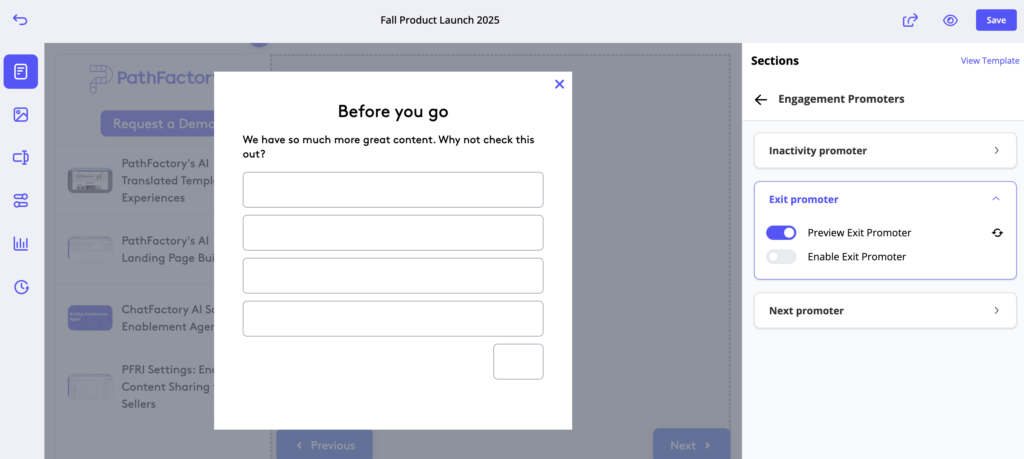
Exit Promoter
- Appears when a visitor moves to close the tab or navigate away
- Useful for suggesting another relevant asset or providing a next step
You can enable or disable each promoter individually.
Header
Enable or disable the header if supported by your Theme.
Adding Content to a Content Playlist
To add content, click Add Content.
Add Individual Assets
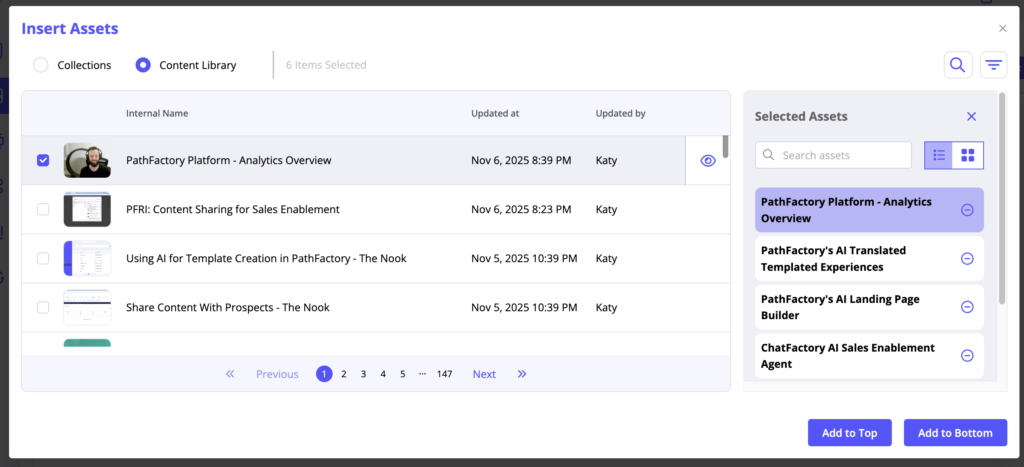
- Select Content Library.
- Choose the assets you want. Selected items appear in the right panel.
- To remove an asset, uncheck it or click the minus icon.
- Click Update Assets when finished.
Add a Collection
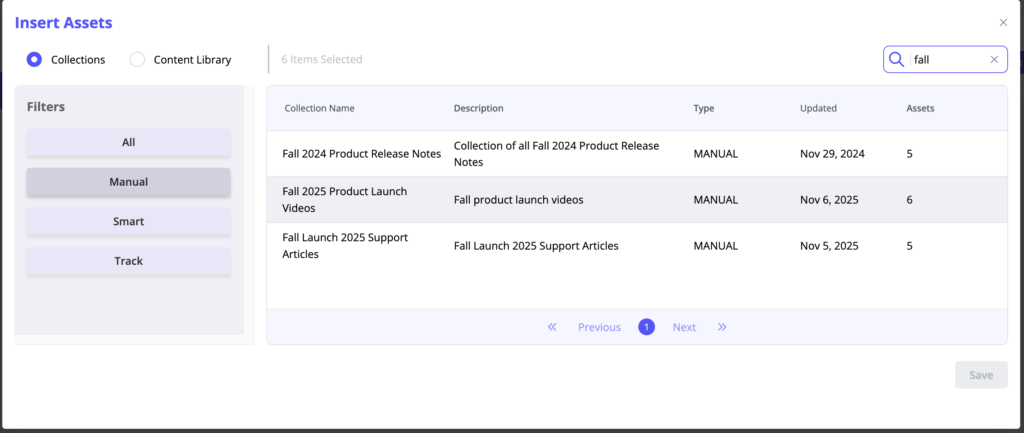
- Select Collections.
- Choose a Collection to view its assets and total asset count.
- Click Save to add it to the Playlist.
Track Collections
Track Collections come from older Target/Recommend Tracks and may appear for legacy customers. New PathFactory customers will not see Track Collections.
Sorting Content

For Collections, open the Edit menu to choose a sort option:
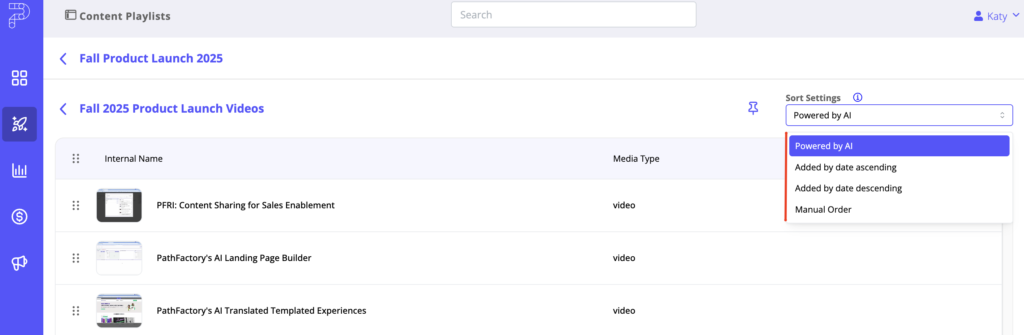
- Manual Sorting- Drag-and-drop to reorder
- AI Sorting – Uses session behavior, recent history, and similar-visitor patterns
- Added by Date (Ascending) – Oldest first
- Added by Date (Descending) – Newest first
The sort order determines how visitors see the content in the Playlist.
Editing Content Later
Click Edit Content at any time to replace the Collection or to add/remove individual assets.
- For individual assets, click Update Assets.
- For Collections, click Save.
You’ll return to the main Content panel when finished.
Forms
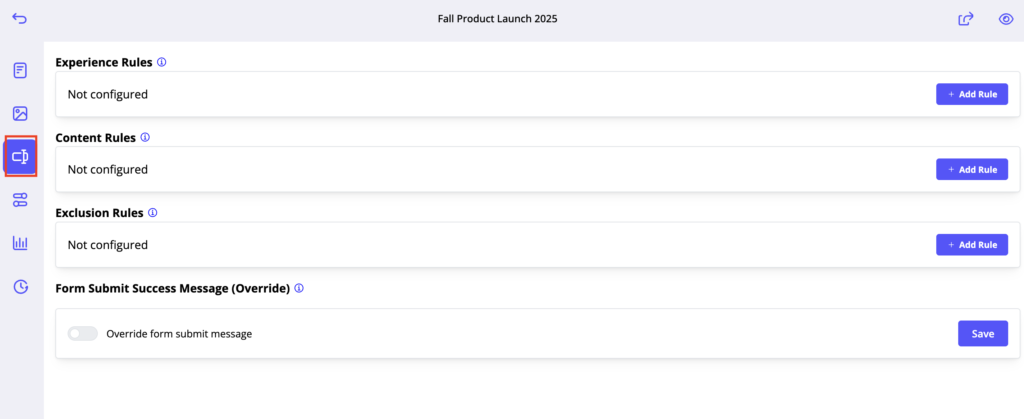
In the Forms section, configure your form strategy:
- Experience-level forms
- Content-level forms
- Exclusions
Details
The Details section includes important settings:

- Custom URL Slug
- Access protection (To find out how to set up and manage groups of users for Access Protection, read the article, Access Protection Setup and Configuration)
- External IDs or campaign identifiers (To learn about what External IDs are and how to use them, read Adding External IDs and External ID Overrides to Content Experiences)
Some fields are inherited from Global Settings but can be overridden if necessary
- Cookie Consent
- SEO Directive
Analytics
After the Playlist receives traffic, Analytics provides performance insights to help identify engaged visitors and refine content order and engagement strategy.
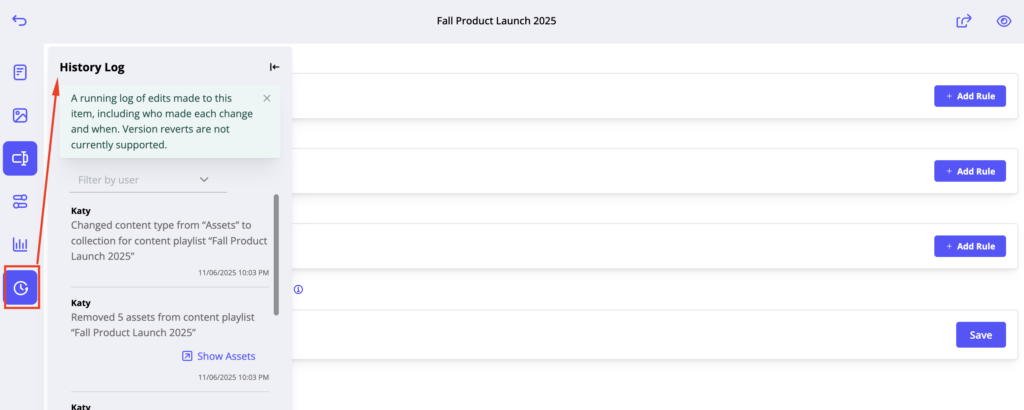
Audit History
The Audit History panel logs for all changes made in the previous 60 days to help track changes by user and date.
How to Share a Content Playlist
To share your Content Playlist, open it in the builder and click the Share Link icon.
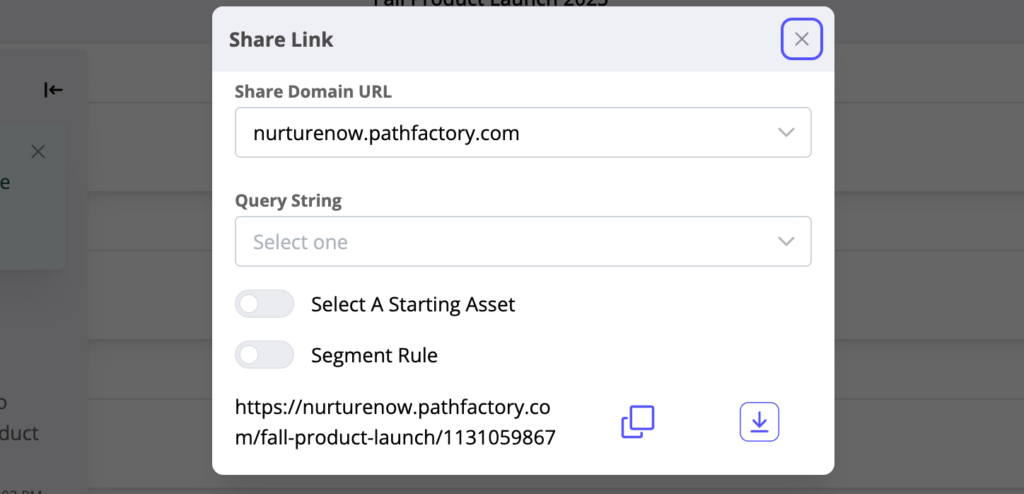
A configuration panel will appear with the following options:
- Share Domain URL
- Select the domain your Playlist will use. This forms the base of the shareable link.
- Query String
- (Optional) Add query parameters for tracking, segmentation, or custom behavior.
- Starting Asset
- Toggle on to choose which asset visitors should see first.
- Segment Rule (Optional)
- Apply a Segment Rule to personalize content for different audiences.
Sharing Options
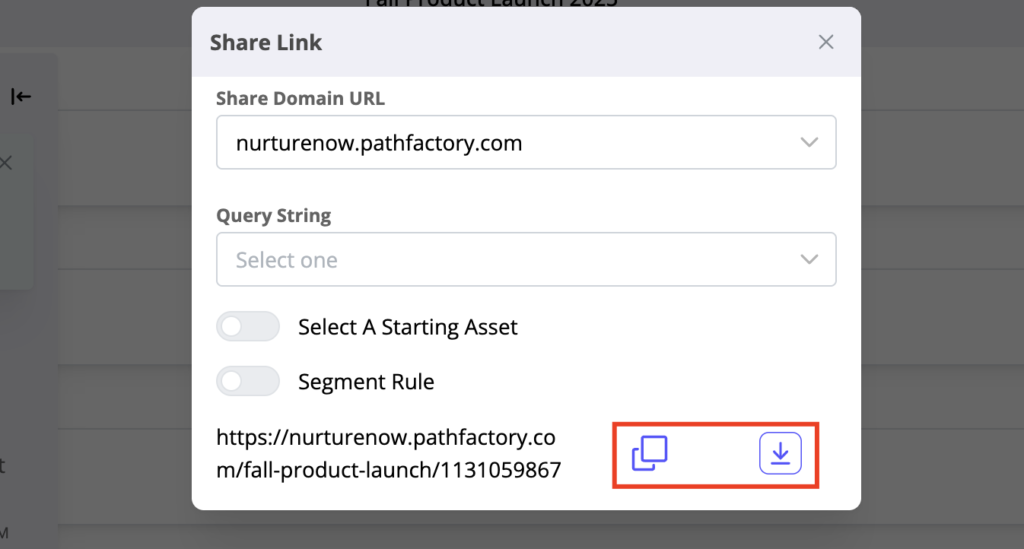
Copy Link
Copies the full share link to your clipboard for use in emails, campaigns, and other channels.
Download CSV
Exports a CSV containing all possible iterations of the share link – eg. all starting asset links at once
Advanced Configuration (Sidebar Options)
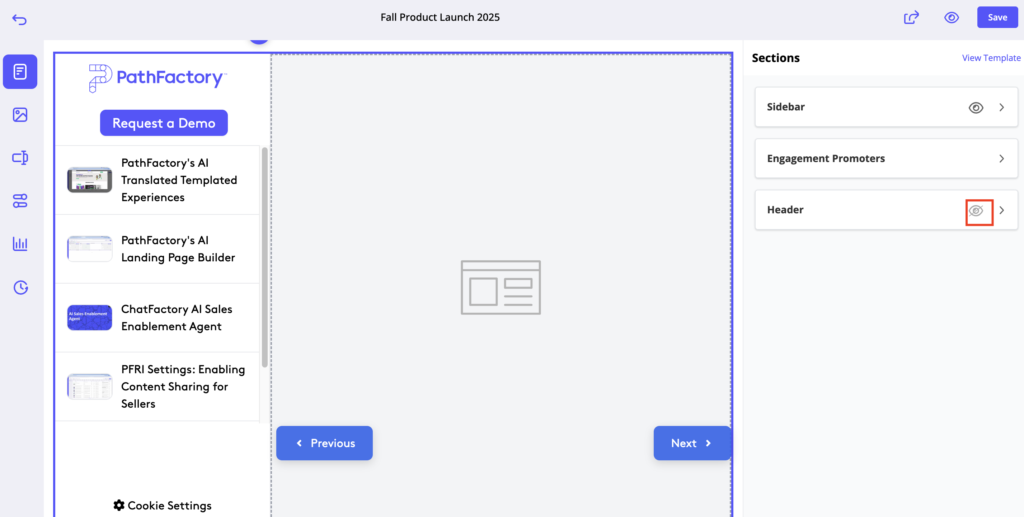
The Sidebar controls how visitors browse content inside your Playlist. Each Sidebar element has an eyeball icon that lets you show or hide it at the Playlist level. This means you can override the default layout from your Template, even if the Template includes a header or sidebar by default.
The Sidebar includes several optional advanced settings:
1. Content Filters
Enable filters to allow visitors to refine the assets shown in the Playlist.
Filters can be based on any of your Content Tag categories
Your buyers can use filters to view only the content most relevant to them.
2. Autoplay for Videos
You can enable video autoplay so that videos begin playing automatically when selected in the Playlist.
Use this when you want a seamless viewing experience.
3. Pagination
Enable pagination to divide longer Playlists into pages.
Pagination is helpful when:
- You have a large number of assets
- You want to reduce scrolling
- You want visitors to process content in smaller chunks
You can customize how many assets appear per page.
Show/Hide Controls
Every Sidebar element and the Header include an eyeball toggle so you can:
- Show or hide the Sidebar
- Show or hide the Header
- Adjust layout visibility globally for the Playlist
These overrides apply only to the specific Playlist you’re editing; they do not change the underlying Template.
Views: 771