You can access a lot of customization options through track settings. Each individual content track has its own settings you can change, which override any platform-wide defaults.
To access track settings, navigate to Standard Experiences (formerly Campaign Tools), choose the track type, and then select the track you wish to customize. The track settings appear in the left sidebar.
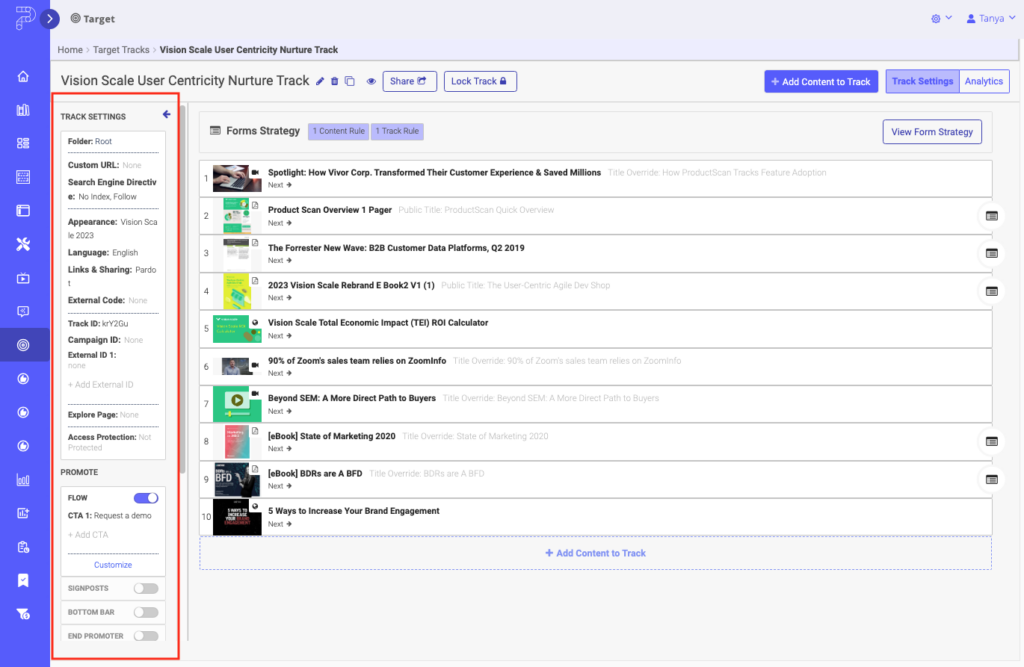
Customize the URL
The URL Slug is the customizable part of your Track’s URL. A URL Slug is automatically generated when you create a new track, but you have the ability to change it to whatever you want!
URL Slugs can help improve SEO, so make it something relevant to your content track.
|
Note
|
Changing the URL Slug in Track Settings affects the URL of the entire track. If you want to customize the URL slug of a content asset you can do so in the Content Library. |
- Under Track Settings click Custom URL. The following menu pops up.

Custom URL menu - Type in your custom URL and click Update to save. To leave without saving, click Cancel.
Search Engine Directive
The Search Engine Directive option allows you to choose how to direct search engine crawlers when they hit your content track. When creating new tracks, they will adopt the default settings you specify in Organization Settings > Search Engine Directive.
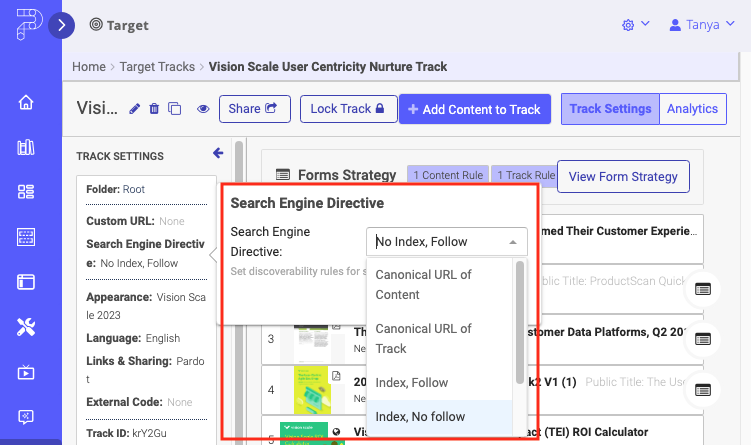
You can edit individual tracks to change the default setting.
|
Warning
|
The tag doesn’t apply immediately. Your content track will need to be re-indexed by a search engine for the change to take effect. |
For more information about the Search Engine Directive option, see How does using PathFactory affect my SEO.
Edit the Appearance
|
Note
|
If you want to change the appearance of your content track from the default, you must first create a new appearance group. |
- Under Track Settings click Appearance. Using the dropdown menu, select the Appearance you want to apply to the given track.

Appearance menu dropdown list - Select an appearance group from the drop-down menu. Click Update to save.
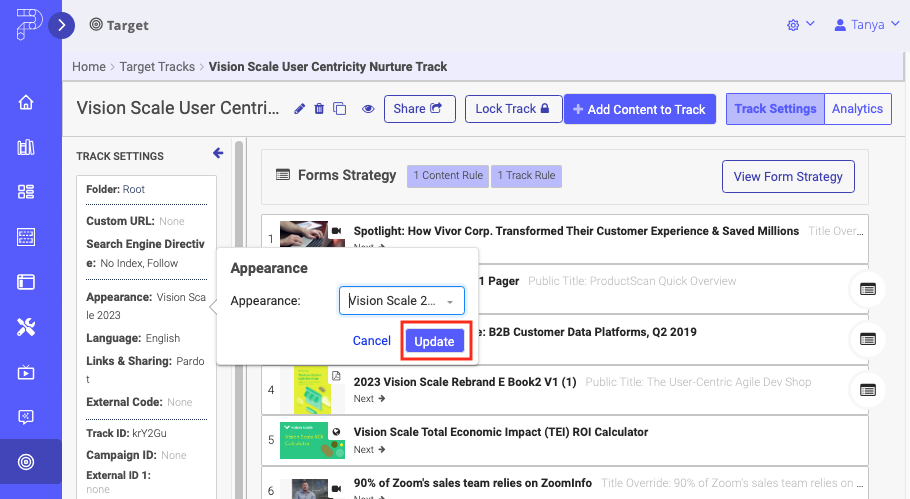
Appearance Update
Edit the Language Settings
Changing the language of a content track only affects the text in promoters, headers, and cookie consent messages. It does not affect the content assets within it.
If you want to change the language of your content asset titles you can do so in the content track (track-specific change) or in the Content Library (global change).
|
Note
|
If you want to change the language of your content track from the default, you must first create a new language group. |
- Under Track Settings click Language.
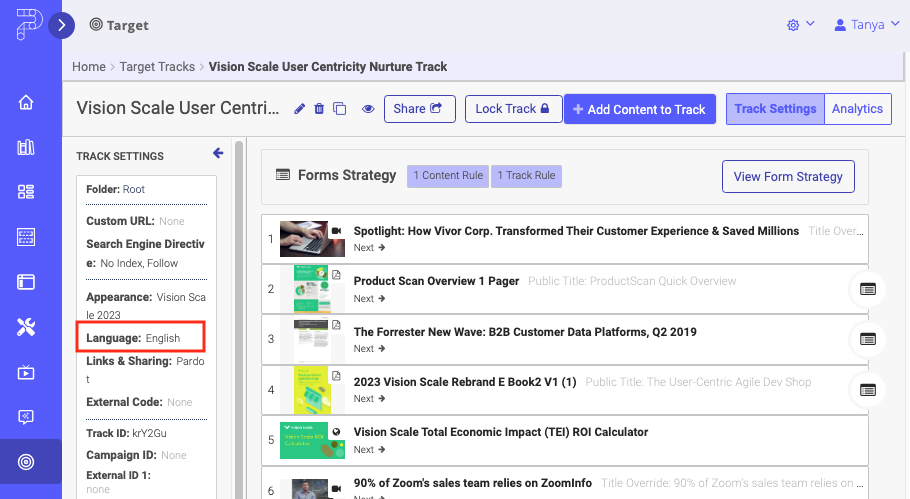
Content Track Language - Select a language group from the dropdown menu. Click Update to save.
Edit the Sharing Settings
|
Note
|
If you want to change the sharing settings of your content track from the default, you must first create a new sharing settings group. |
- Under Track Settings click Share Configuration.

Content Track Links & Sharing - Select a sharing configuration from the drop-down menu. Click Update to save.
Add External Code
|
Note
|
You must add your code to the External Code Library before you can apply it to a content track. |
- Under Track Settings click External Code. A menu pops up for you to select an External Code snippet.
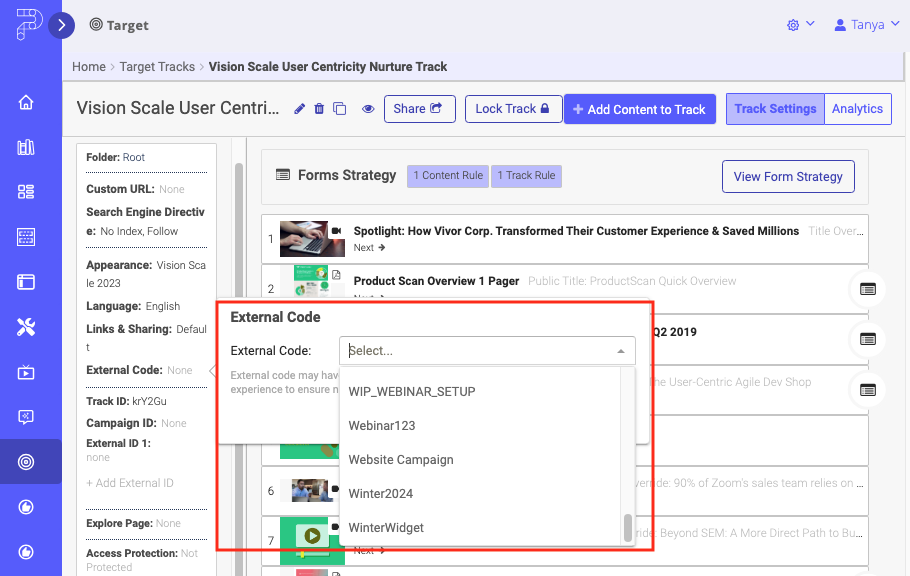
External Code menu - Select all of the external code you want to include in the content track. Click Update to save.
Track ID
The Track ID is a unique ID which is automatically generated when you create a content track. You cannot change the Track ID.
If you’d like to customize the ID for the track, you can add an External ID.
This ID can be used for advanced use cases which align with your organizational needs.
External ID
External IDs are non-unique identifiers that can be added to content tracks. You can use this free text field to tag tracks according to your external systems, or even to group tracks by using the same ID.
|
Note
|
For more information on using External IDs, see this article. |
Views: 93
