Once you have added content assets to your Content Track, you are able to alter how these assets appear within the given Content Track.
|
Note
|
Configuring your content assets within a Content Track will not affect how they appear in other tracks. If you want to change how your content appears across all Content Tracks, see how to edit content. |
Edit Thumbnail Image
- Select the content asset you want to edit. The configuration window will open on the right.
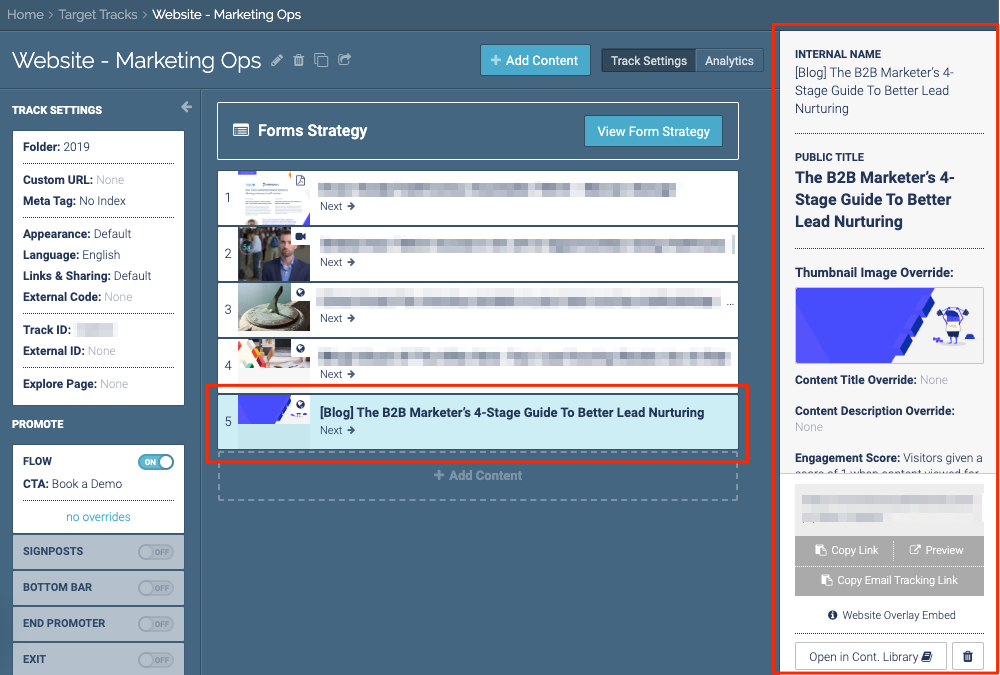 Asset Configuration screen
 - Click the thumbnail image to change the image.
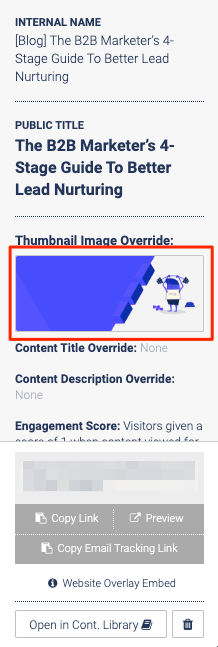 Thumbnail Image Override
 - Select a new image and click Save, or click Upload to add a new image from your computer.
 Selecting and Uploading Images
Edit Title and Description
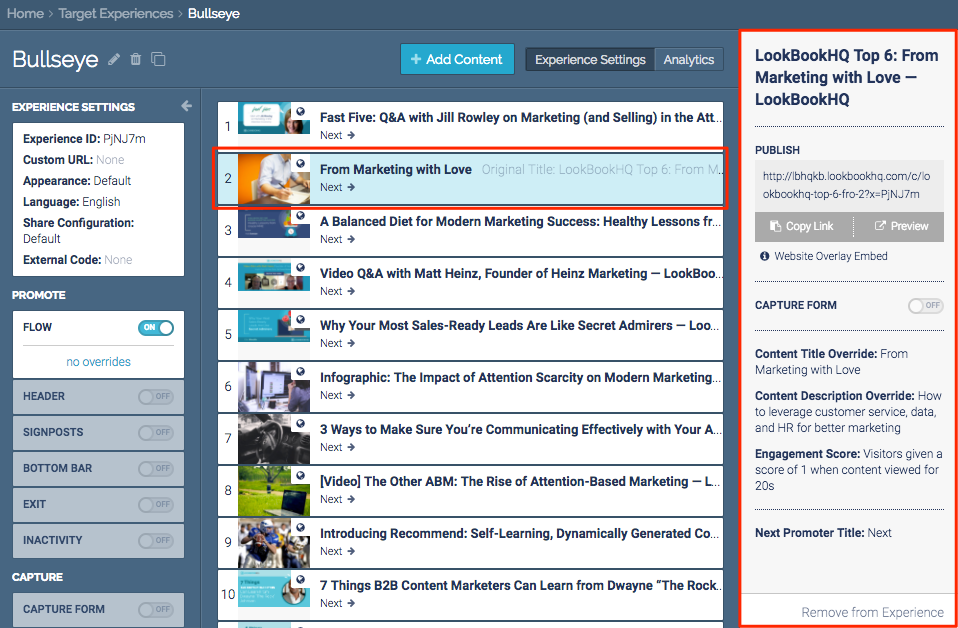
- Select the content asset you want to edit. The configuration window will open on the right.
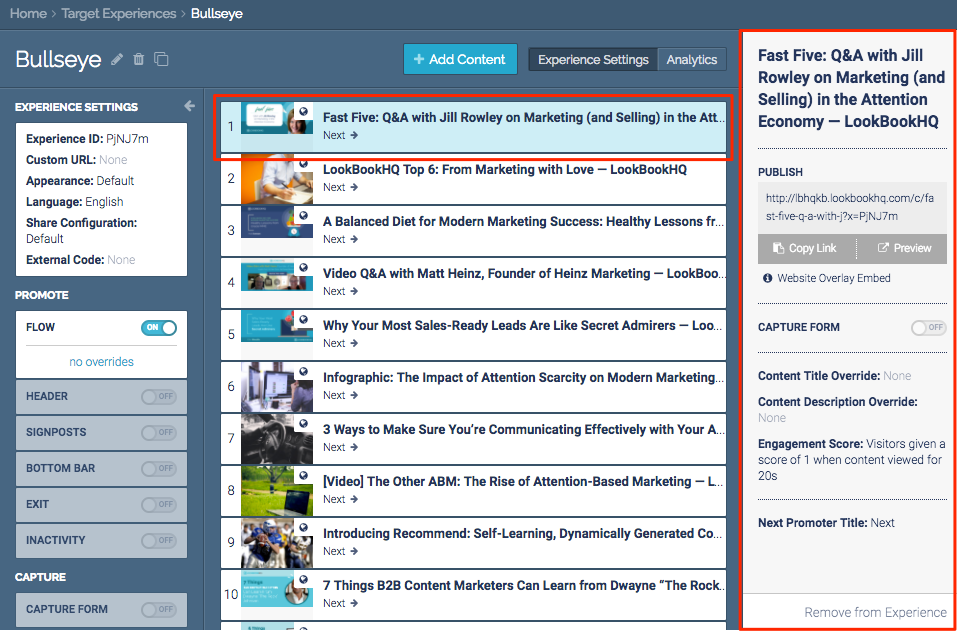 Content Asset List
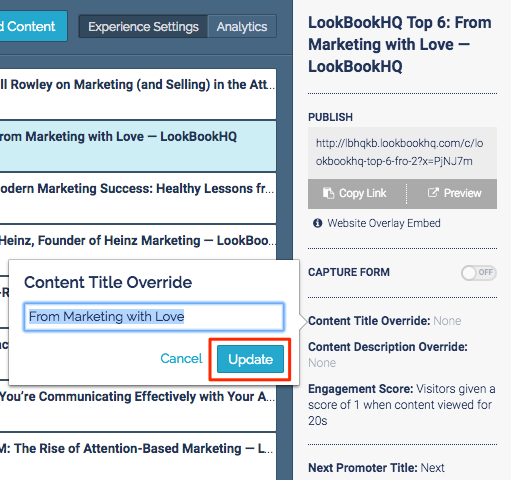
 - Click Content Title Override to edit the content title.
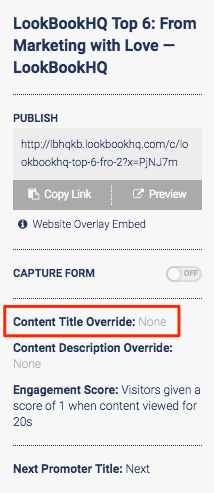 Content Title Override
 - Type in the new asset name and click Update.
 Update button
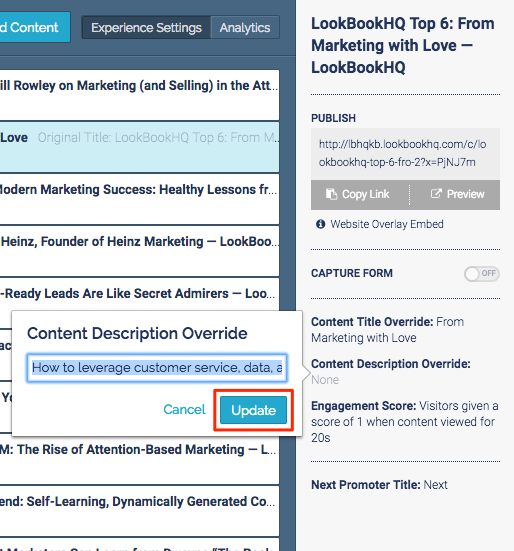
 - Click Content Description Override to edit the asset’s description.
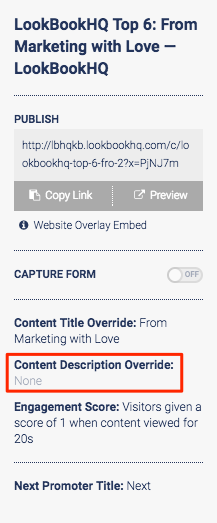 Content Description Override
 - Type in the new asset description and click Update.
 Update button
Edit Engagement Score
- Select the content asset you want to edit. The configuration window will open on the right.
 Selecting a Content Asset
 - Click Engagement Score.
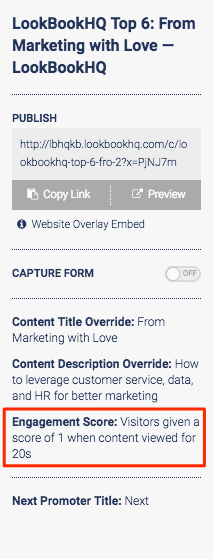 Engagement Score Settings
 - Change the engagement score by selecting a number from the Score drop-down menu. Click on + and – to increase or decrease the time threshold, or type a number directly in the box. Click Update to save your changes.
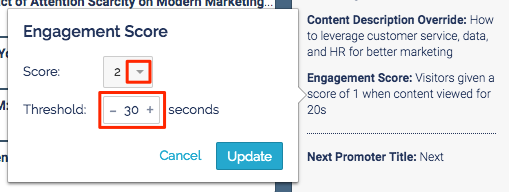 Threshold Setting
Edit Media Type Specific Settings
There are two media types which can be configured at the asset level: PDF and video.
|
Note
|
Making asset-specific changes will only affect the presentation of the selected asset (ie. changes made to one PDF asset will not be applied to all other PDF assets in the track). |
PDF: Change Start Page
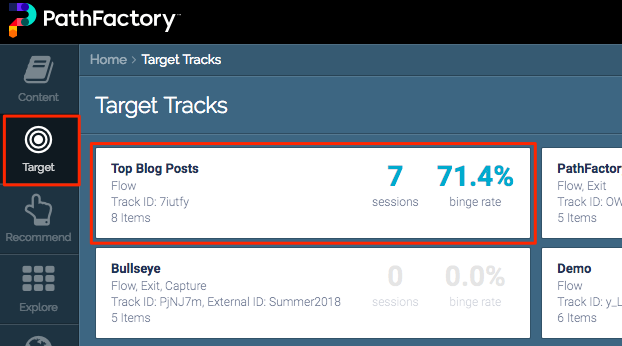
- Select the Content Track you want to edit.
 List of Content Tracks
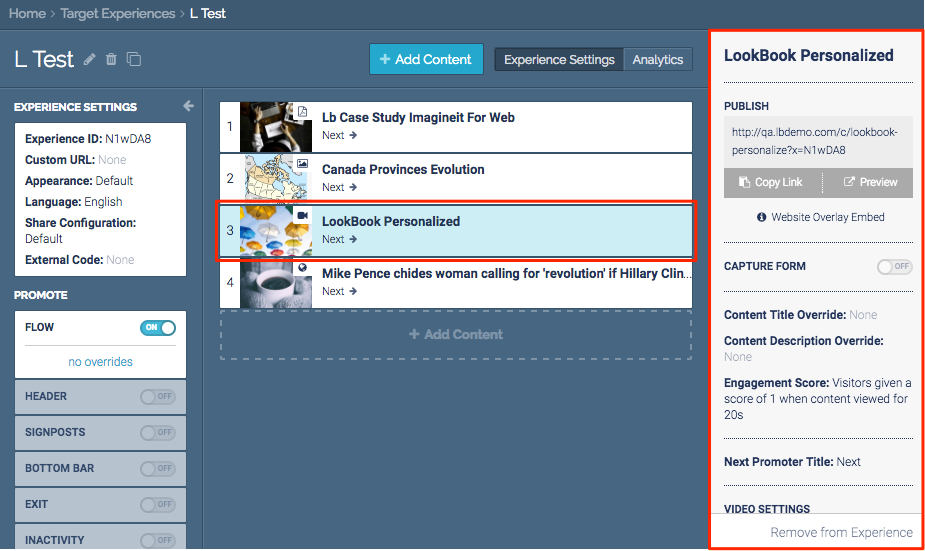
 - Select the content asset you want to edit. The configuration window will open on the right. The asset’s media type is shown as an icon
 on the asset’s image.
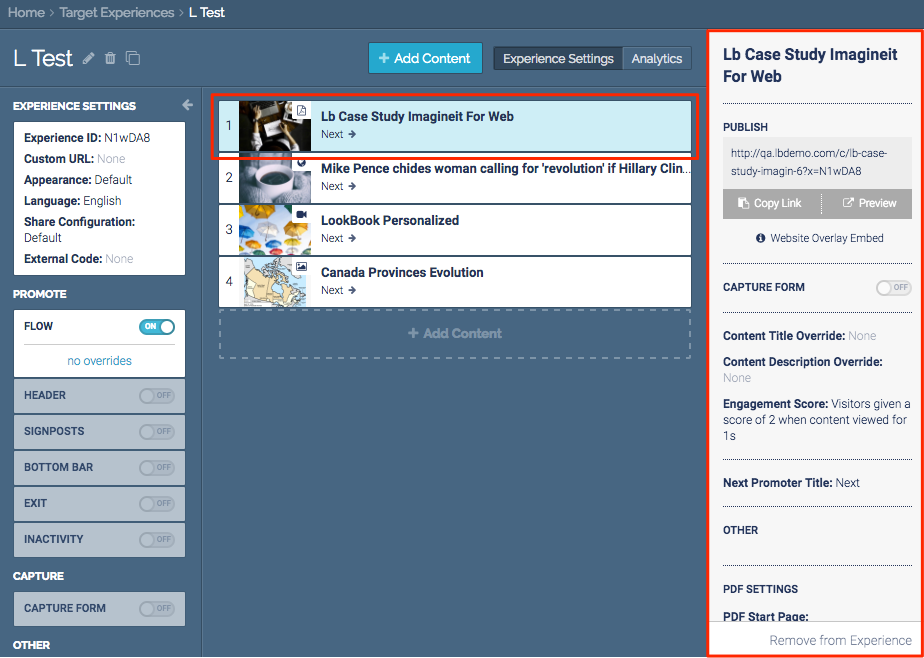 List of Content Assets
 - Click PDF Start Page to change the page on which the PDF asset will open.
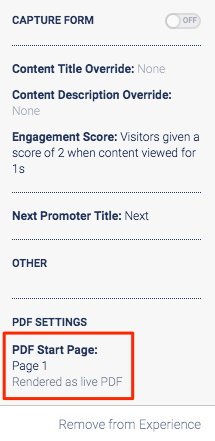 PDF Start Page section
 - Use the + and – buttons to increase or decrease the page number, or type a number directly in the box. Click Update to save.
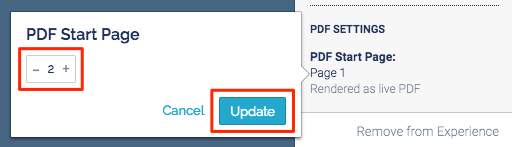 Update button
Video: Change Start Time
- Select the Content Track you want to edit.
 Target Track icon
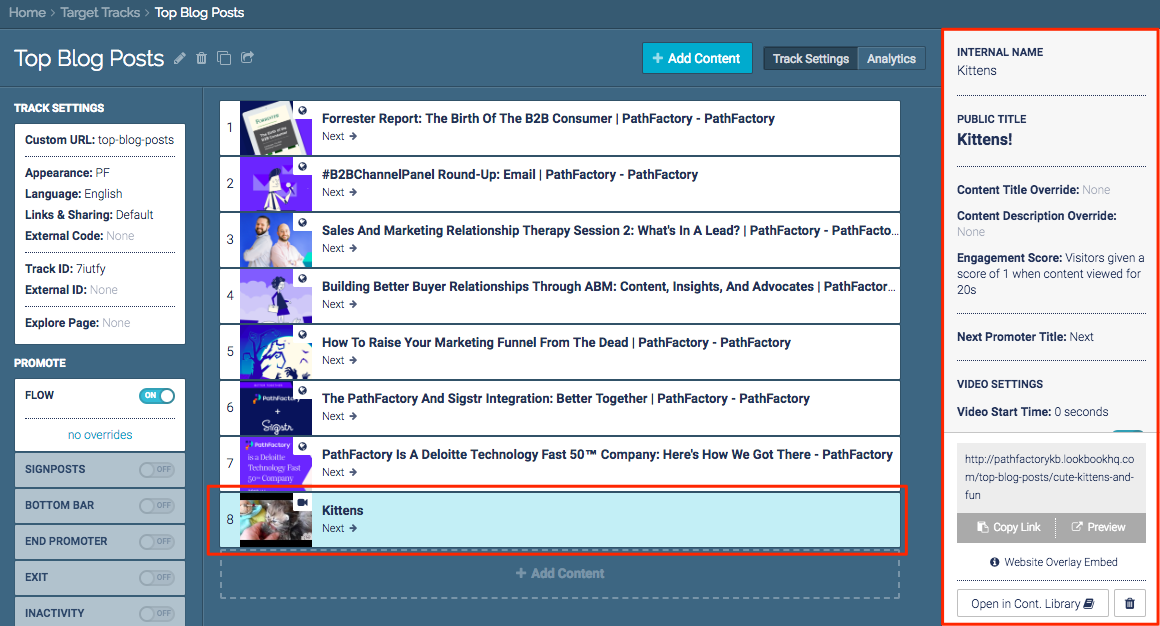
 - Select the content asset you want to edit. The configuration window will open on the right. The asset’s media type is shown as an icon
 on the asset’s image.
 Configuration window
 - Click Video Start Time to select the point at which the video asset will begin playing.
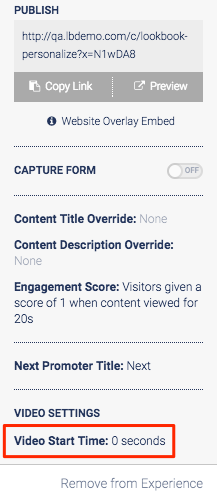 Video Start Time
 - Use the + and – buttons to increase or decrease the start time, or type a number directly in the box. Click Update to save.
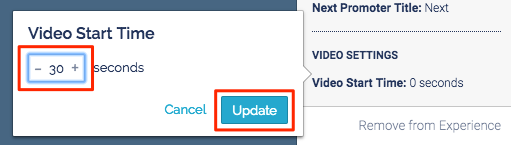 Update button
Video: Show Related Content from Same Channel
|
Note
|
This configuration is only available on YouTube videos. YouTube no longer allows “Show related content” to be disabled on their videos, but the following steps will allow you to limit the related content shown to only videos from the same channel as the selected content asset. |
- Select the Content Track you want to edit.
 List of Target Tracks
 - Select the content asset you want to edit. The configuration window will open on the right. Ensure the Media Type of the content asset is video.
 Add Content Assets
 - Click Show Same Channel Video to change the toggle to the On position.
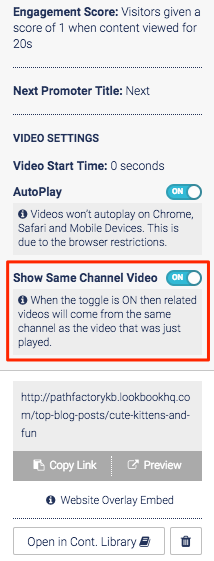 Show Same Channel Video toggle
Target Only: Open Last Content Asset in a New Tab
|
Note
|
This is a good option for including content assets which cannot be displayed in iFrames, as this opens the last asset outside of the Content Track. Keep in mind: engagement data will not be collected for the content asset which is opened outside of the Content Track. |
- Select the Content Track you wish to edit.
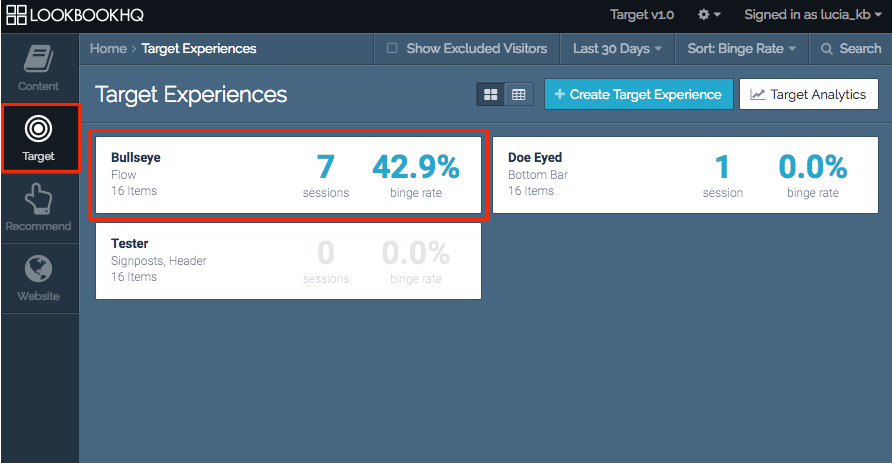 List of Target Tracks
 - Click the last content asset in the track. The configuration window will open on the right.
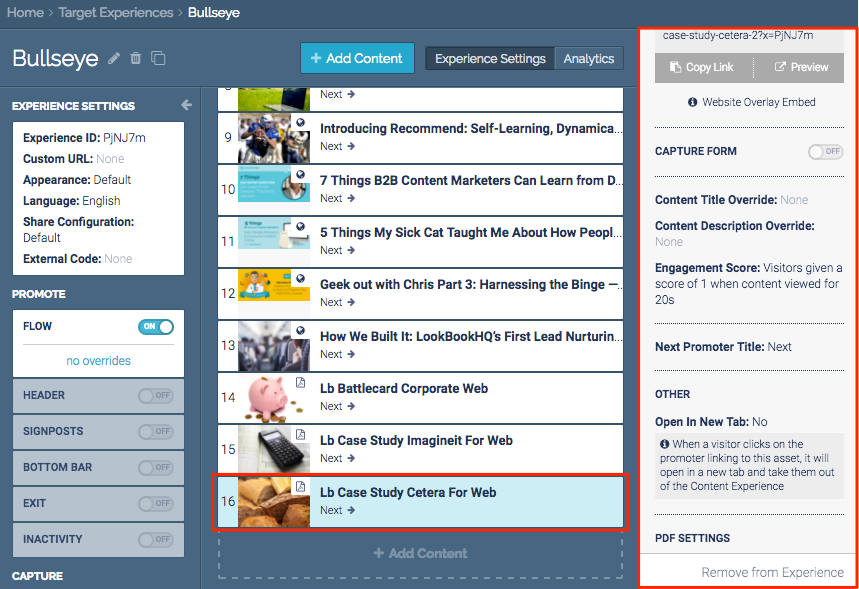 Configuration window
NoteThis option only appears on the asset in the last position in a track. Drag and drop the desired asset into the last position, if it is not already there. - Click Open in a New Tab.
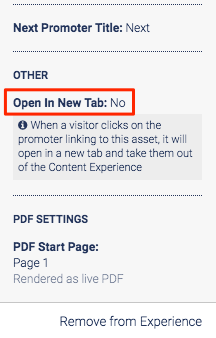 Open in Next Tab option
 - Click the box Open in a new tab when set to last position. Click Update to save.
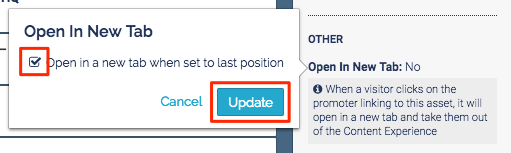 Update button
Recommend Only: Prevent Content Asset from Appearing in Promoters
Use this option when you want to include a content asset in your Recommend Content Track but do not want it to appear in promoters.
|
Note
|
This option is track-specific; using it will not prevent the content asset from being promoted in other Content Tracks. |
- Select the Content Track you want to edit.
 List of Recommend Experiences
 - Select the content asset you want to edit. The configuration window will open on the right.
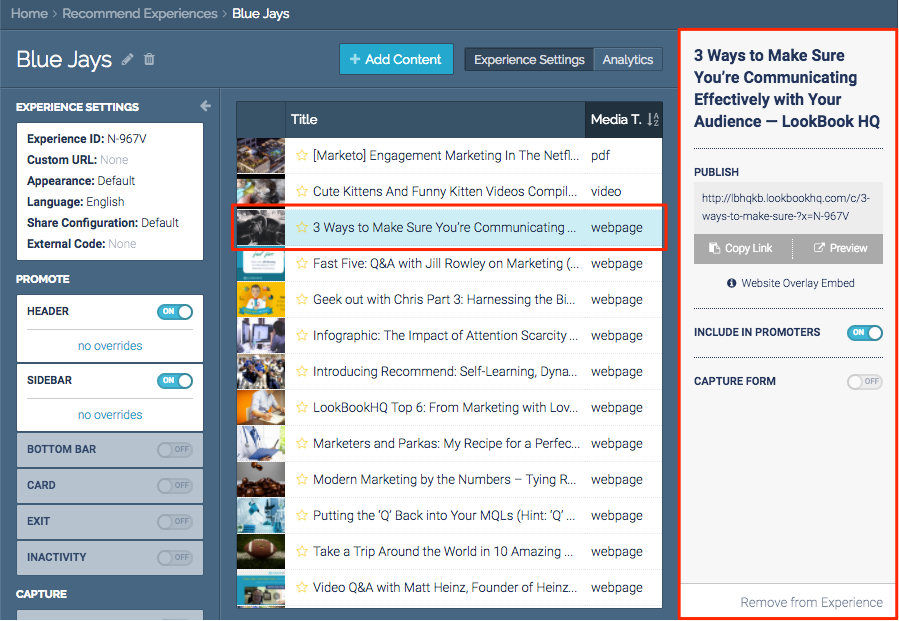 Configuration window
 - Click Include in Promoters to switch the toggle to the off position.
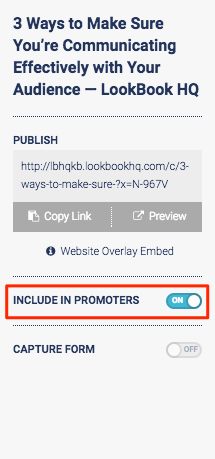 Include in Promoters toggle