We have introduced the following new features in Release J.
- Mobile Device Enhancements to help your readers better navigate the Experiences you send them using Pinch-to-Zoom and permit them to download the PDF files for the Experience for offline reading.
- Standard Forms have new customizable fields to enable you to add custom fields to the forms your visitors see.
- Explore Pages have room for a heading for Carousel topics layout to enable you to add more information to describe and introduce the topics list.
- Visitor Activities list has grown by three options to enable you to measure the number of content assets and how long your visitors are spending on them using one Visitor Activity instead of setting up multiple Visitor Activities.
- Setting the start page (PDF viewer) for your Experiences enables you to select a specific start page for a PDF file within an Experience.
Mobile Device Enhancements
We have made significant improvements to optimize the mobile viewing experience for your audience accessing Experiences on mobile devices. These enhancements ensure that your Experiences are seamlessly displayed and fully compatible with mobile devices, offering your mobile viewers an enhanced and user-friendly browsing experience.
Pinch to Zoom PDF Files on Mobile Device
We have added this functionality for your audience to be able to zoom in on specific content on a mobile device. Previously, the viewer could use only the plus (+) and minus (-) signs that appear at the top of the PDF file to zoom in and out.
The advantage of pinch-to-zoom functionality lies in its ability to provide a more interactive and user-friendly experience when viewing content on touch-enabled devices, such as smartphones and tablets.
Pinch-to-zoom functionality enhances readability, accessibility, and user interaction, allowing users to comfortably view and explore content on touch-enabled devices. It provides flexibility and customization while accommodating different screen sizes and individual user preferences.
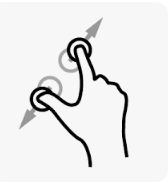
To use this feature, while in full-screen mode on a mobile device, the reader touches the screen with two fingers and then moves their fingers away from one another while still touching the screen. This enlarges the screen display.
Download PDF Files to a Mobile Device for Offline Viewing
Your visitors can now easily download an Experience PDF file directly onto their mobile devices, enabling them to access the content offline. To facilitate this, we have incorporated a download icon into the PDF navigation, granting your visitors the ability to conveniently obtain the material. Please note that while visitors will be able to view the PDF files, editing the content is not permitted.
- Access anytime, anywhere: Users can access the content without relying on an internet connection. This is particularly useful in areas with limited or no internet connectivity, during travel or commutes, or in situations where a stable internet connection is not available.
- Convenience: Users can download the content and view it at their convenience, without the need to stream or load it online. This saves time and reduces dependence on network availability or speed.
- Saving data and bandwidth: By downloading the content once, users can save on data usage and avoid consuming their internet bandwidth repeatedly when accessing the same material.
- Offline availability: Offline viewing ensures uninterrupted access to the content, even during server maintenance, website updates, or temporary outages.
- Enhanced productivity: Users can study, learn, or engage with the content without distractions or interruptions caused by online ads, notifications, or other online elements.
- Preservation of content: In case the content is removed or modified online, users who have downloaded it can still refer to the original version.
The screen capture below shows an example of the Download icon in the red rectangle.
After your visitor clicks the download icon, their device will prompt them to select where they want to save the file.
Standard Forms Custom Fields
We have expanded the customization options for Standard Forms by introducing the ability to include custom fields with multi-select dropdown lists. This new functionality empowers you to add additional fields to your forms, allowing you to gather specific information from your visitors that is not covered by the existing form fields. Previously, you had the option to hide or display fields and make them mandatory, but you were unable to incorporate your own custom fields. With this update, you now have the flexibility to tailor your forms to your unique requirements and capture the data that matters most to you.
While this release only features dropdown fields as a custom field type, stay tuned as we work to introduce other custom field types such as single-line and multi-line text fields. Single-line text fields can be used to collect short answers to open-ended questions while multi-line text fields can be used to collect longer answers to open-ended questions or simply general comments / feedback.
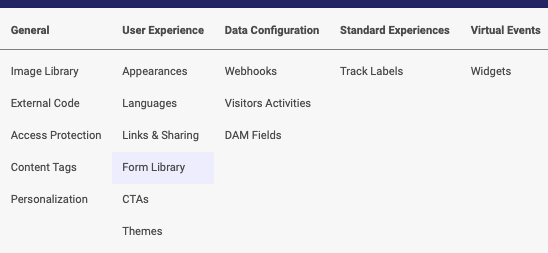
When you open or create a Standard Form, you can see the new link in the form edit menu, as shown below.

To use this new feature, follow these steps.
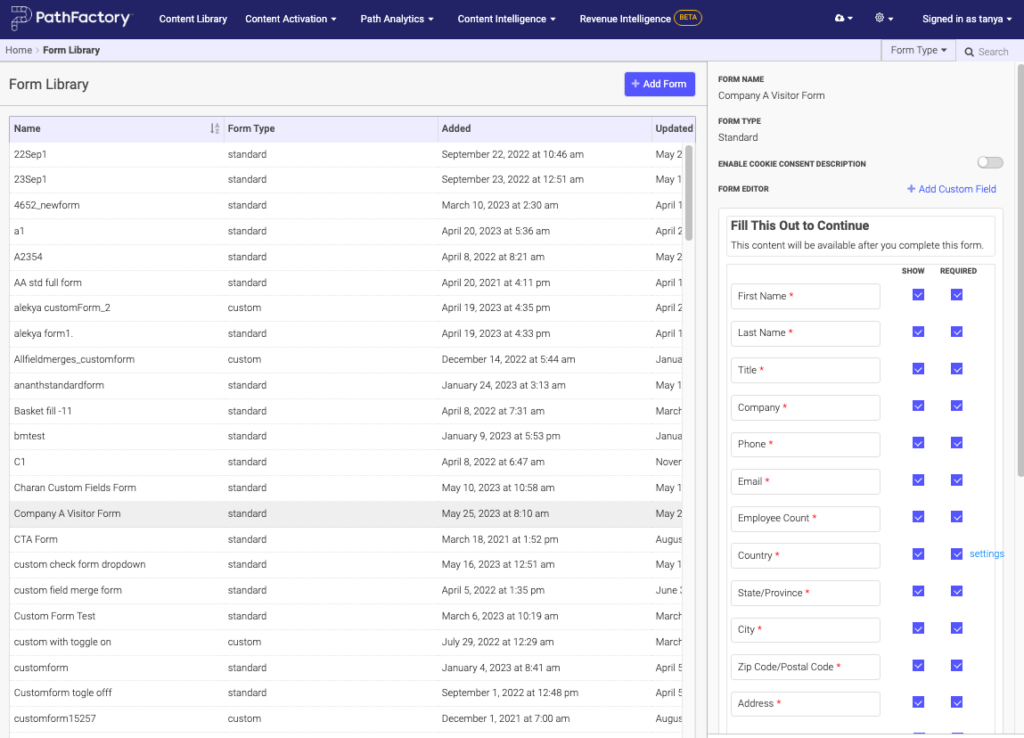
1. On the main PathFactory menu, click the gear icon and then click Form Library.
2. On the screen that opens, select a form from the list or create a new form.
Note: For more information about forms, read Introduction to Forms.
3. On the form editing panel on the right, click +Add Custom Field.
Note: You may add more than one custom field, but to do that you have to complete this process (naming, choices, etc.) and click Update before you add more custom fields.
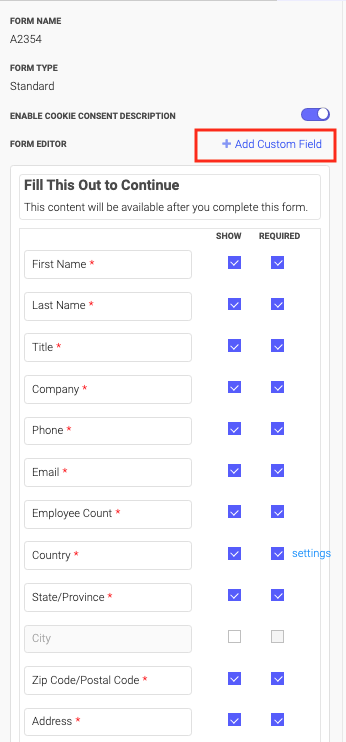
4. After you click the link to add a custom field, you’ll notice an empty custom field appears at the bottom of the list of form fields.
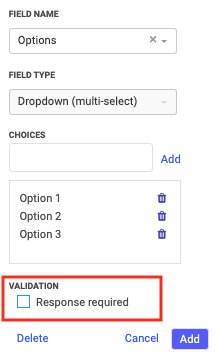
5. Click on the blank field. An editing menu pops up as shown below.
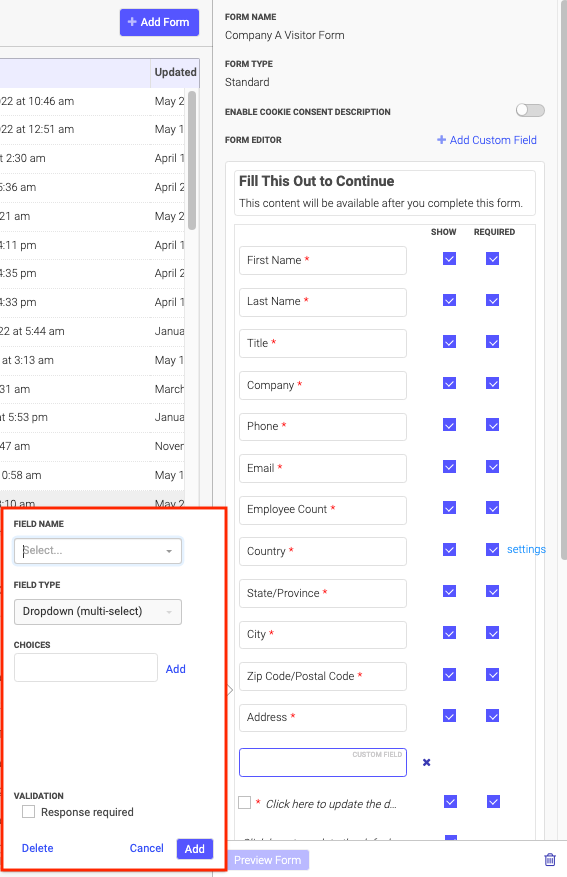
You have several options on this menu.
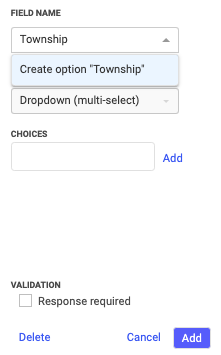
Field Name: Enter a new name here for your custom field and then click Create Option, or select a custom form that you had previously created.
Field Type: Currently this defaults to a dropdown multi-select type of field.
Choices: To set the multi-select choices your visitors, type the choice name in the field provided and then click Add to add each one.
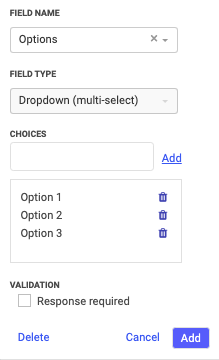
If you add a choice in error, you can click on its associated trash bin icon to delete it.
Validation: Activate this checkbox if you want this field to be mandatory for your visitors. By selecting this option, the visitor will not be able to complete this form without selecting a choice in the custom field.
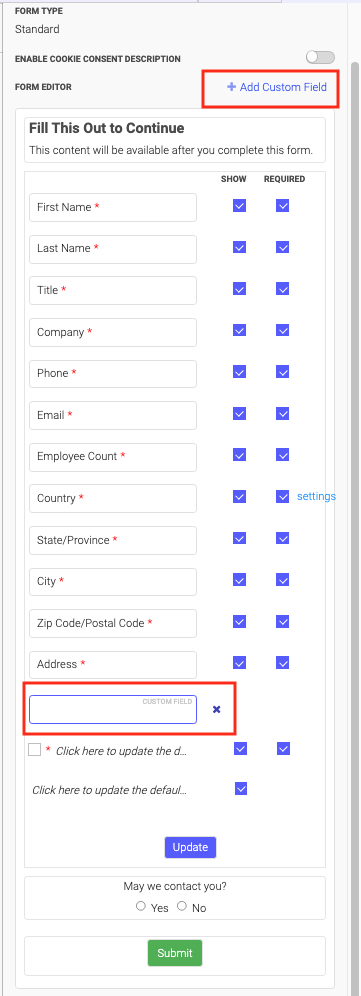
5. Click the Add button. Now you see your new field listed in the form, marked with a label Custom Field.
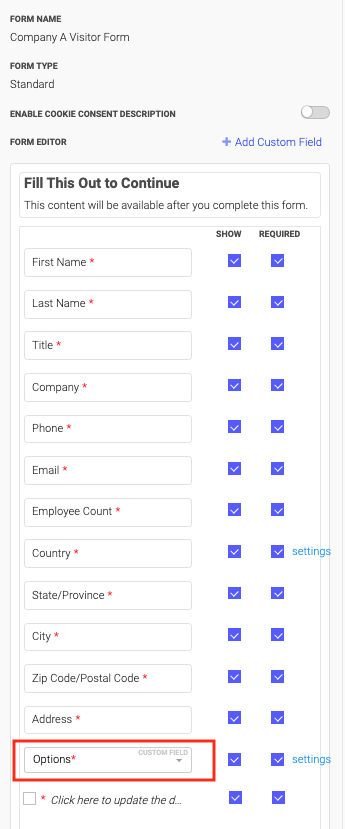
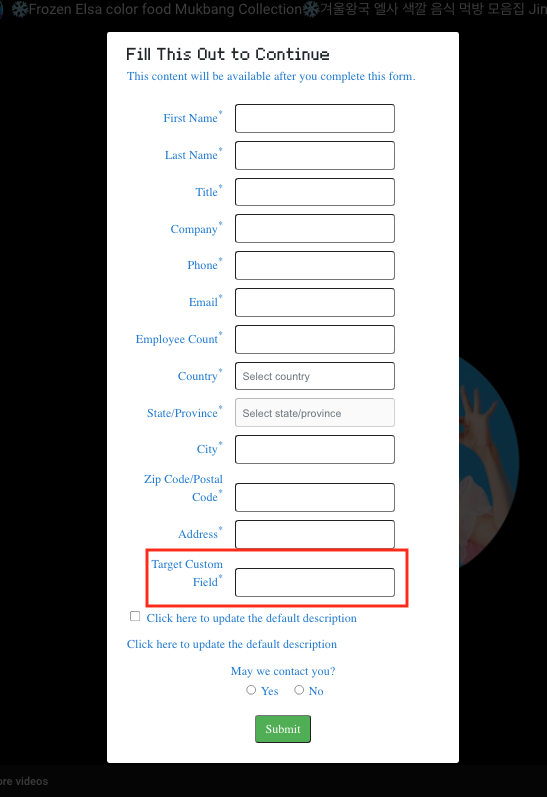
To see what choices have been added to this custom field, you can click on it and the choices display. Now when your visitors see this form, the custom field appears in the list of fields to complete. Below is an example of a custom field in a form.
6. Click Update to save your changes.
Carousel Title Heading for Explore Pages
Need a refresher on Explore pages? Read Explore Page Layout Settings.
We have introduced a new feature that allows you to add a customized heading to the topic carousel on your Explore page. This means you can now give a name or title to the topic carousel, adding intrigue and capturing the interest of your viewers. By personalizing the heading, you can guide your audience in consuming the content available on the Explore page, creating a more engaging and curated browsing experience.
To use this feature, follow these steps.
- On the main navigation menu, click Content Activation and then Standard Experiences, and finally click Explore.
- Create or select an Explore page.
- Ensure that the Explore page you have selected or created has at least 3 topics, so that you can select the carousel layout.
- Scroll down to the carousel section of the page and you’ll notice an editable field for the heading of your carousel of topics.
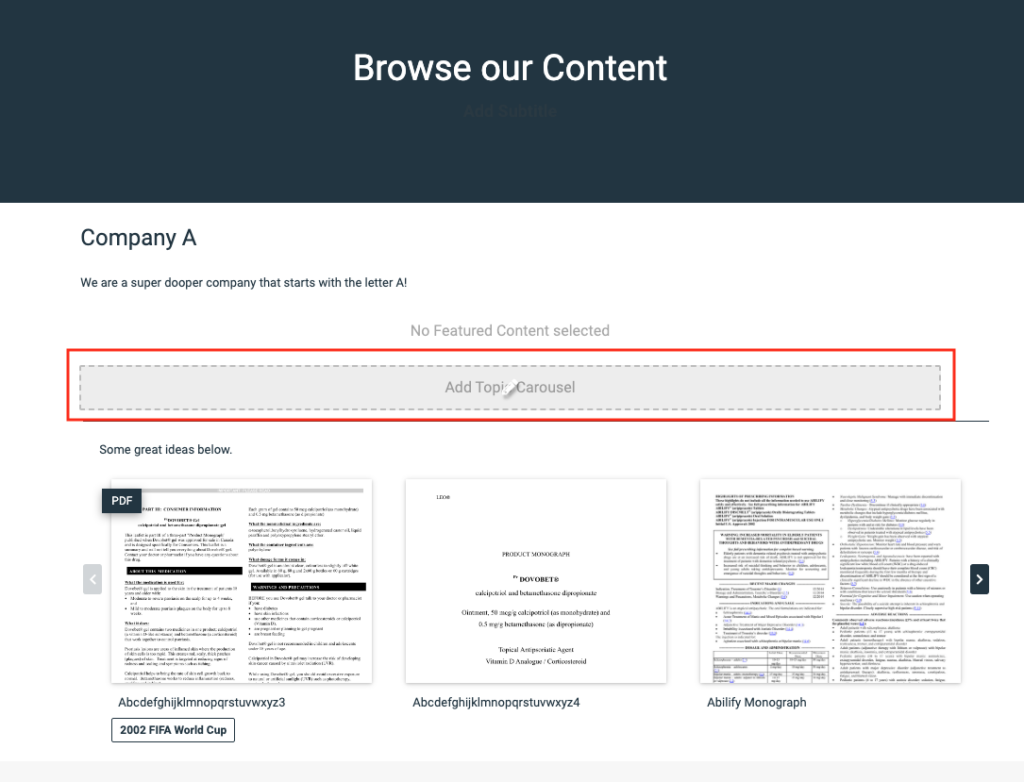
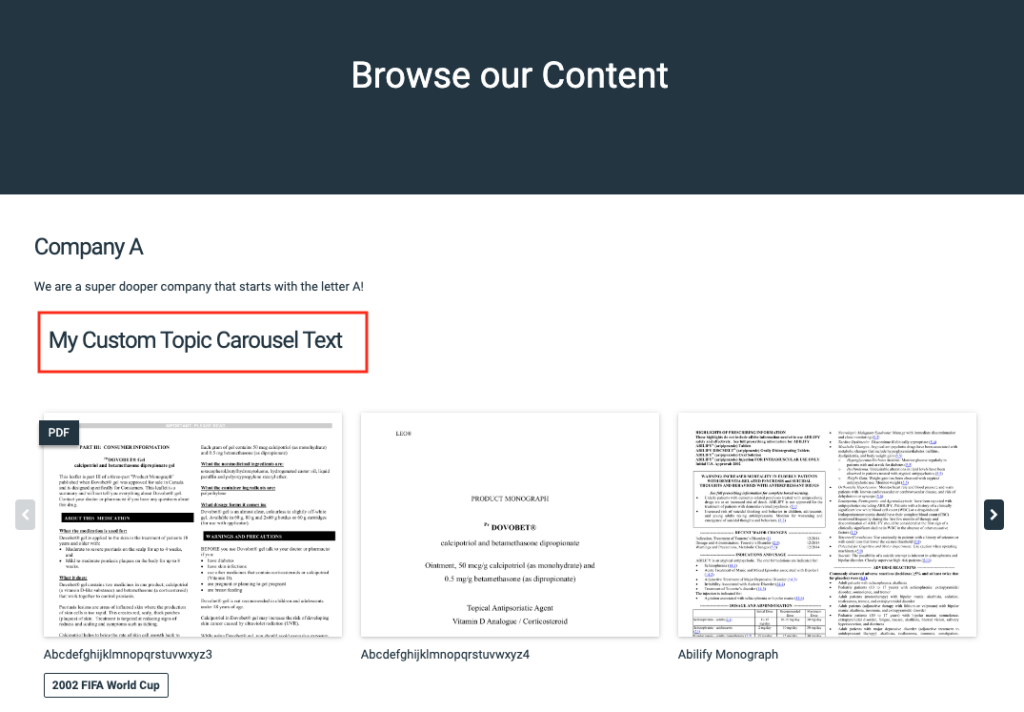
- Type in the field that is highlighted and then click Save. Below is an example of a carousel heading added to an Explore page.
New Visitor Activity Options for Website Tools
To provide you with comprehensive insights into the engagement of your website visitors, we have introduced a set of new Visitior Activities to trigger the webhooks for our Website Tools. These webhooks now allow you to measure both time and assets simultaneously. Previously, you could only track the duration of visitor engagement with an asset, without knowing which specific asset they were interacting with.
With these new webhooks, you gain access to enhanced interface options that enable you to set a threshold for Visitor Activity based on the number of assets and the duration of engagement. This functionality can be applied to a specific website, property, or collection, giving you the flexibility to customize the tracking parameters according to your specific needs.
By utilizing these webhooks, you can now obtain a more comprehensive and meaningful understanding of visitor engagement, as you can accurately track both the duration of their interactions and the specific assets they are engaged with. This empowers you to make data-driven decisions and optimize the user experience on your website, ultimately leading to improved visitor engagement and satisfaction.
With a Specified Collection
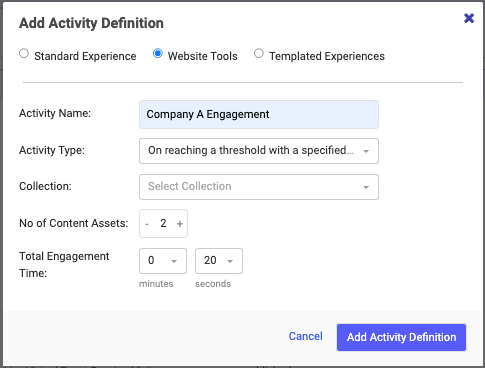
Select this option to measure the number of assets being viewed within a specific collection. You will need to select the collection for which you want to monitor its engagement and the number of content assets within that collection needed to trigger the Visitor Activity record.
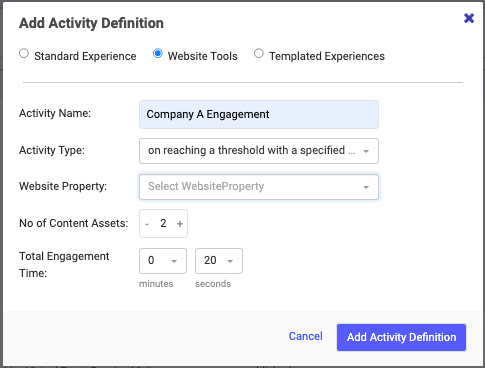
On Reaching a Threshold with a Specified Website Property
Select this option to measure engagement for a single website property. You will need to select a property from the dropdown list and then select the number of content assets and engagement time required to trigger the Visitor Activity record.
On Reaching a Threshold with a Specified Collection
Select this option to measure activity after elapsed time. You will need to select a collection from the dropdown list and indicate the number of content assets and engagement time to trigger this Visitor Activity record.

To use these new Visitor Activities, follow these steps.
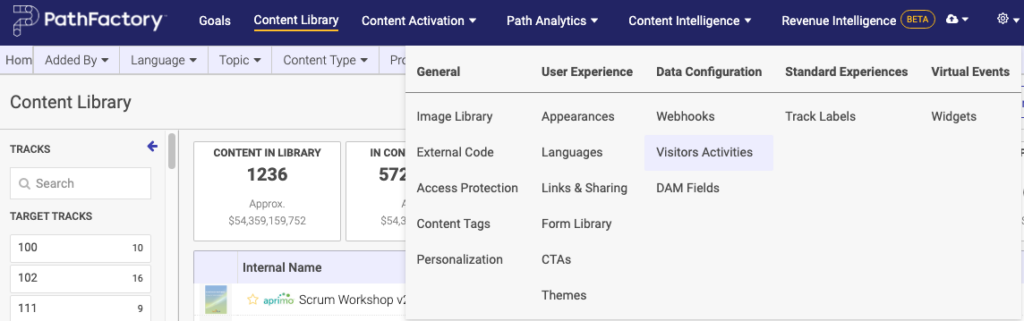
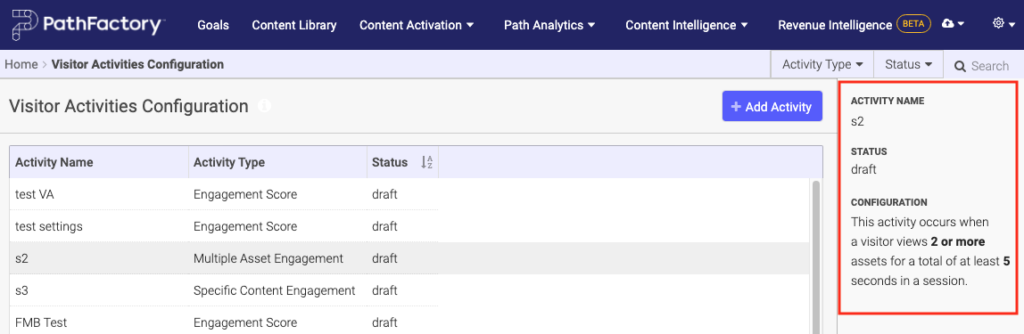
- On the main navigation menu, click the gear icon and then select Visitor Activities.
- The Visitor Activities Configuration screen opens.
- Click Add Activity. The Add Activity Definition popup menu opens.
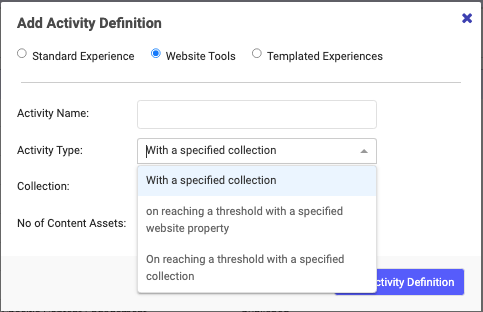
- Select the Website Tools radio button.
- Enter a name for your new Visitor Activity and then select an option from the Activity Type dropdown list.
- Add the number of assets and/or minimum engagement time as required by the Visitor Activity you are adding.
- Click Add Activity Definition. Now you see the newly created Visitor Activity displayed in the list.
The following resources can provide introductory information about webhooks and Visitor Activities.
- Find out more about Visitor Activities by reading Understanding Visitor Activities
- Find out more about webhooks by reading What are Webhooks?
- Find out more about Website Tools by reading Introduction to Website Tools
Set Start Page for PDF Files in an Experience
By default, PDF files within Experiences begin on page 1. However, if you prefer your Experience to commence on a different page, such as page 3, you have the option to customize this setting.
Follow these steps for instructions for setting the start page.
- Open an Experience to edit (Standard or Templated) that contains a PDF file.
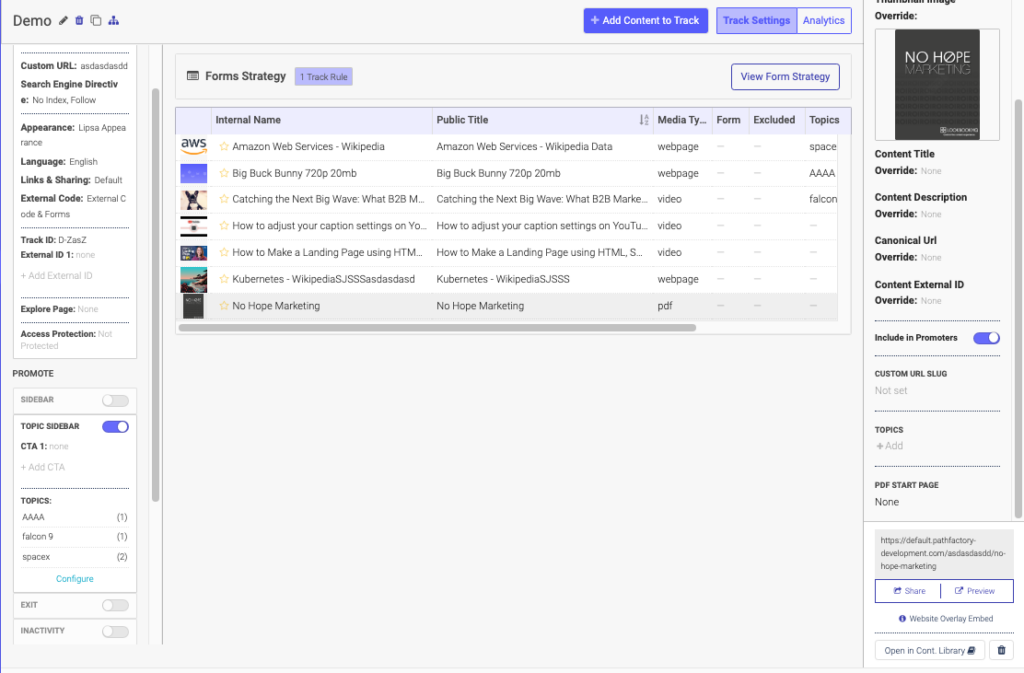
- Select the PDF content asset within the Experience. You’ll notice on the right panel there is a PDF Start Page menu.
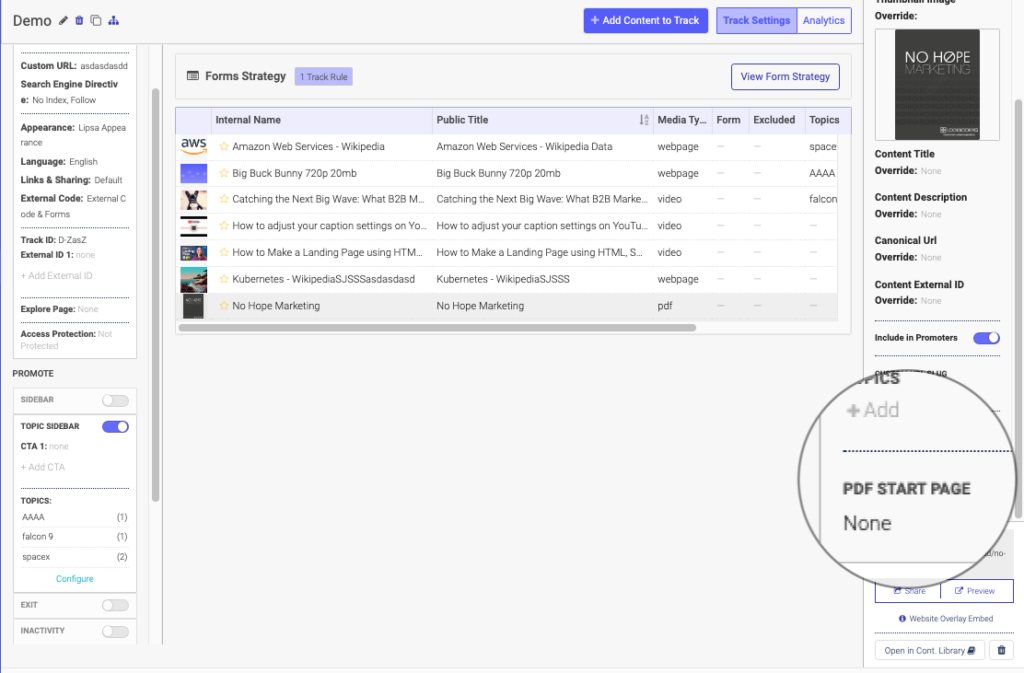
- Click PDF Start Page to expand the menu.
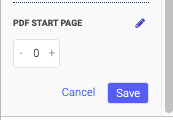
To select a page within the PDF file to display first to your readers, enter the page number here or use the plus and minus signs.
To have the PDF file display the pages in regular order starting from the first page, leave this field set to zero.
- Click Save. You can always return later to this menu to change the starting page for this PDF file.
Views: 101