This release focuses on capturing more data about your visitors through Forms, Webhooks, and Reports.
- To improve form capture from your campaigns, we have added customization for Forms. Now you can specify which form fields display for visitors and which of those fields is required to be filled out.
- We have created webhooks for your Virtual Event sessions. These new webhooks enable you to capture visitor data for your Virtual Events.
- You will notice more dismissal options available for Experience promoters. These new changes enable you to meet accessibility requirements.
- And lastly, we have improved some of the performance report dashboards to enable you to better see the effectiveness and performance of your Experiences.
New Standard Form Fields
When you create a standard form, you can now further customize which information you want to gather from your audience by designating which fields to display in the form, and which of those displayed fields are mandatory for your audience to fill out.
By forgoing some of the identifying fields (name, address, company name) or making those fields optional, you build trust by allowing your customer to remain somewhat anonymous if they choose. This can reduce abandonment rates on forms. This is also particularly helpful if the customer is at the beginning of their buying journey and is not ready to provide contact information. This customization allows you to collect specific data from your readership, instead of a cookie cutter form that requires your audience to enter information you don’t need and they might not be ready to provide.
To use this feature, follow these steps.
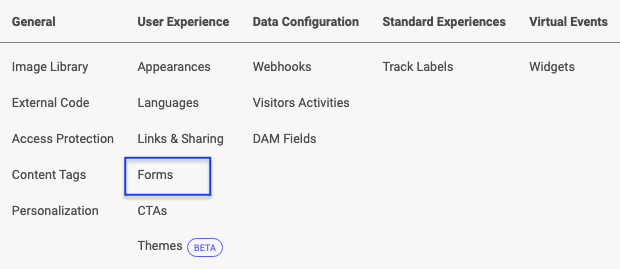
- On the main PathFactory menu, access the settings menu by clicking on the Gear icon (top right). On the menu that appears, select Forms.
- You are now in the Forms Library. You can select a form that already exists, or you can create a new one. To create new, click + Add Form button, on the top right of the screen, and at the prompt enter a name for the new form. The new form is added to the Forms Library.

- Next, open the form you want to modify. On the right panel, you see the form, its fields that were last selected, plus the tracks, events and web pages in which the form is currently being used.
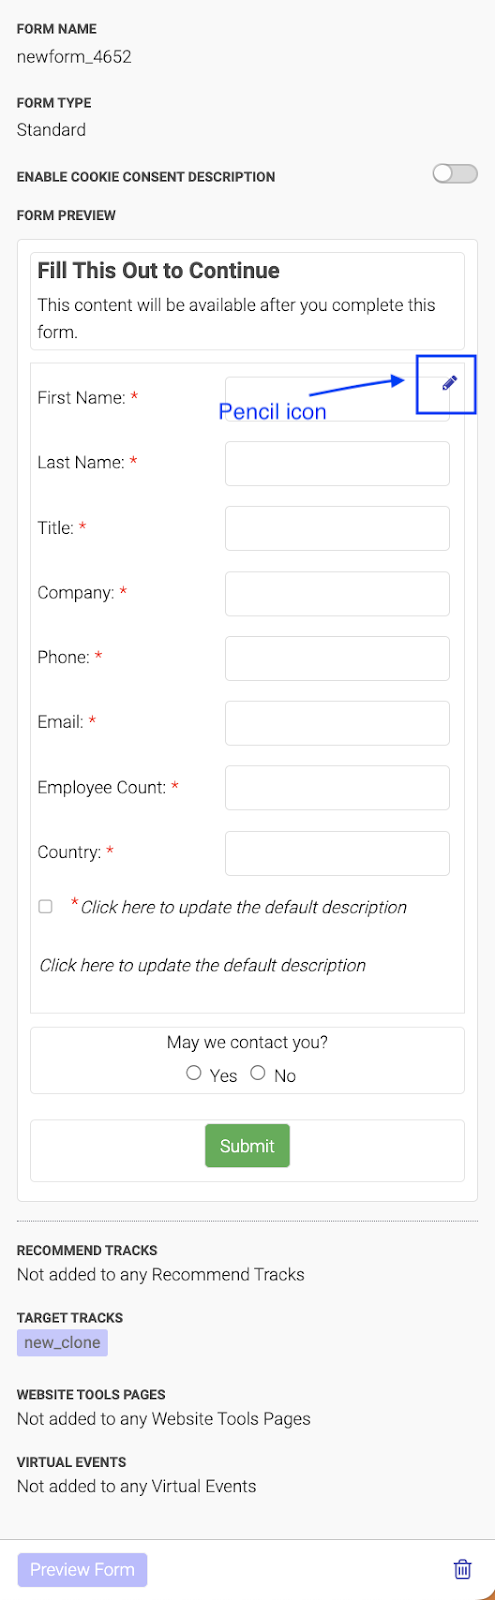
You’ll notice in this panel that there are many features of the form you can edit, such as Form Header, Description, and Cookie Consent.
To edit any of the fields you see on the right panel, follow these steps.
- Hover over the feature you want to edit. A pencil icon appears.
- Click the icon to prompt a popup menu for that part of the form, as shown below.

- Scroll down the panel further to edit other parts of the form and see new editing options in the popup menu.
- For example, hover over First Name and then click the pencil icon that appears.
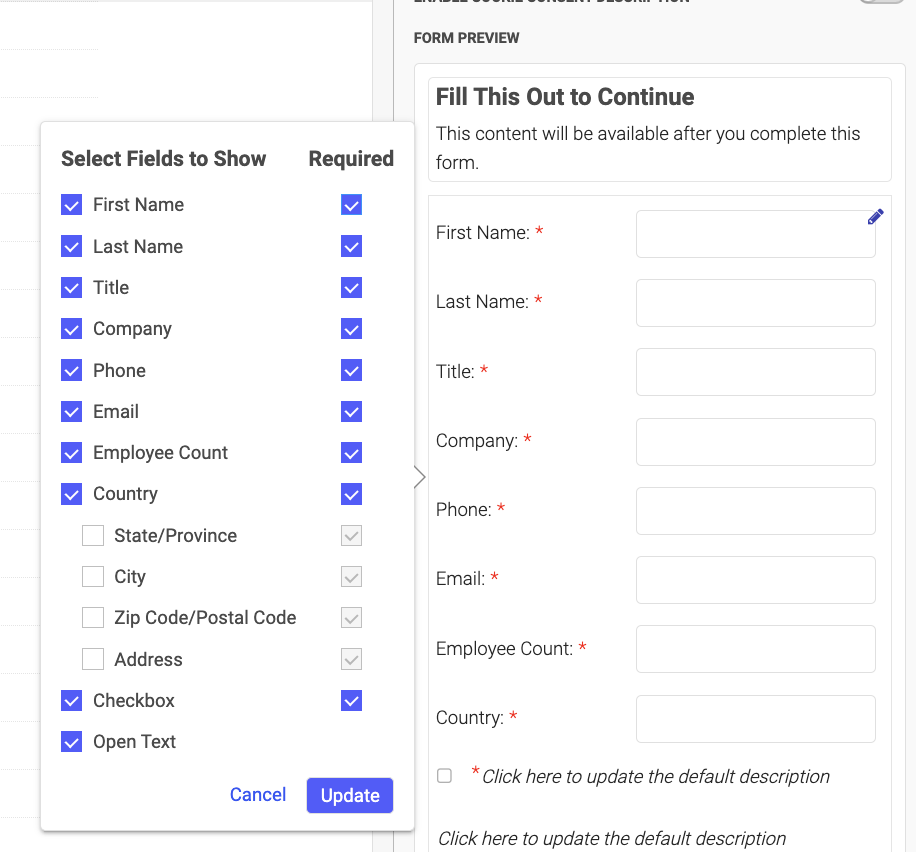
In the popup menu that opens, you can indicate which fields to display in the form. You can also configure which of those fields are mandatory for your visitor to fill out and which fields you would like to include in the form, but are not mandatory for a successful form submission.
New Webhooks for Virtual Events
We are introducing a new webhook type, Virtual Event Sessions, which you can configure to capture visitor consumption data for your Virtual Events. This webhook triggers after a visitor attends a Virtual Event Session. This activity helps summarize the session engagement and can be leveraged by marketers to make relevant campaign updates and communicate engagement to sales. Previously, we offered webhooks for content tracks only.
Visitor Activities are what help you go beyond the click. Click-through rates (CTR) only let you know that visitors click a button or link, but they don’t tell you anything about how visitors are actually interacting with your content.
As you can imagine, this insight for your Virtual Events is very valuable! You can see how your attendees are engaging with the supplemental content, for how long, gauge interest based on funnel stage, assets viewed, and be able to see which Experiences are performing well with your audience.
You will also see which category your attendees belong to: Registered, Attended Live, or Attended On-Demand.
The visitor data you gather is based on the thresholds you set up when you create those webhooks. To use this feature, follow these steps.
- On the main menu, click on the gear icon and then select Webhooks.

- On the Webhook Configuration page, click +Add Webhook.

- The following popup opens. Enter a name for your new Webhook and in the dropdown list, select Virtual Event Session. Then click Add Webhook.

- You are returned to the list of webhooks. Find your newly created one and click on it.
- You’ll notice a panel appears on the right side of the screen.

Here you configure which information you want your webhook to capture, same as you would do to configure a webhook for a content track or experience.
To select which visitor activities you want your webhook to act on, hover over Event Fields and click the pencil icon that appears. Now you see all of the fields you can select, to capture exactly the visitor data you want.
To add a field here that doesn’t already exist, click Custom Fields.
The following fields are available to select for your VEX webhook.
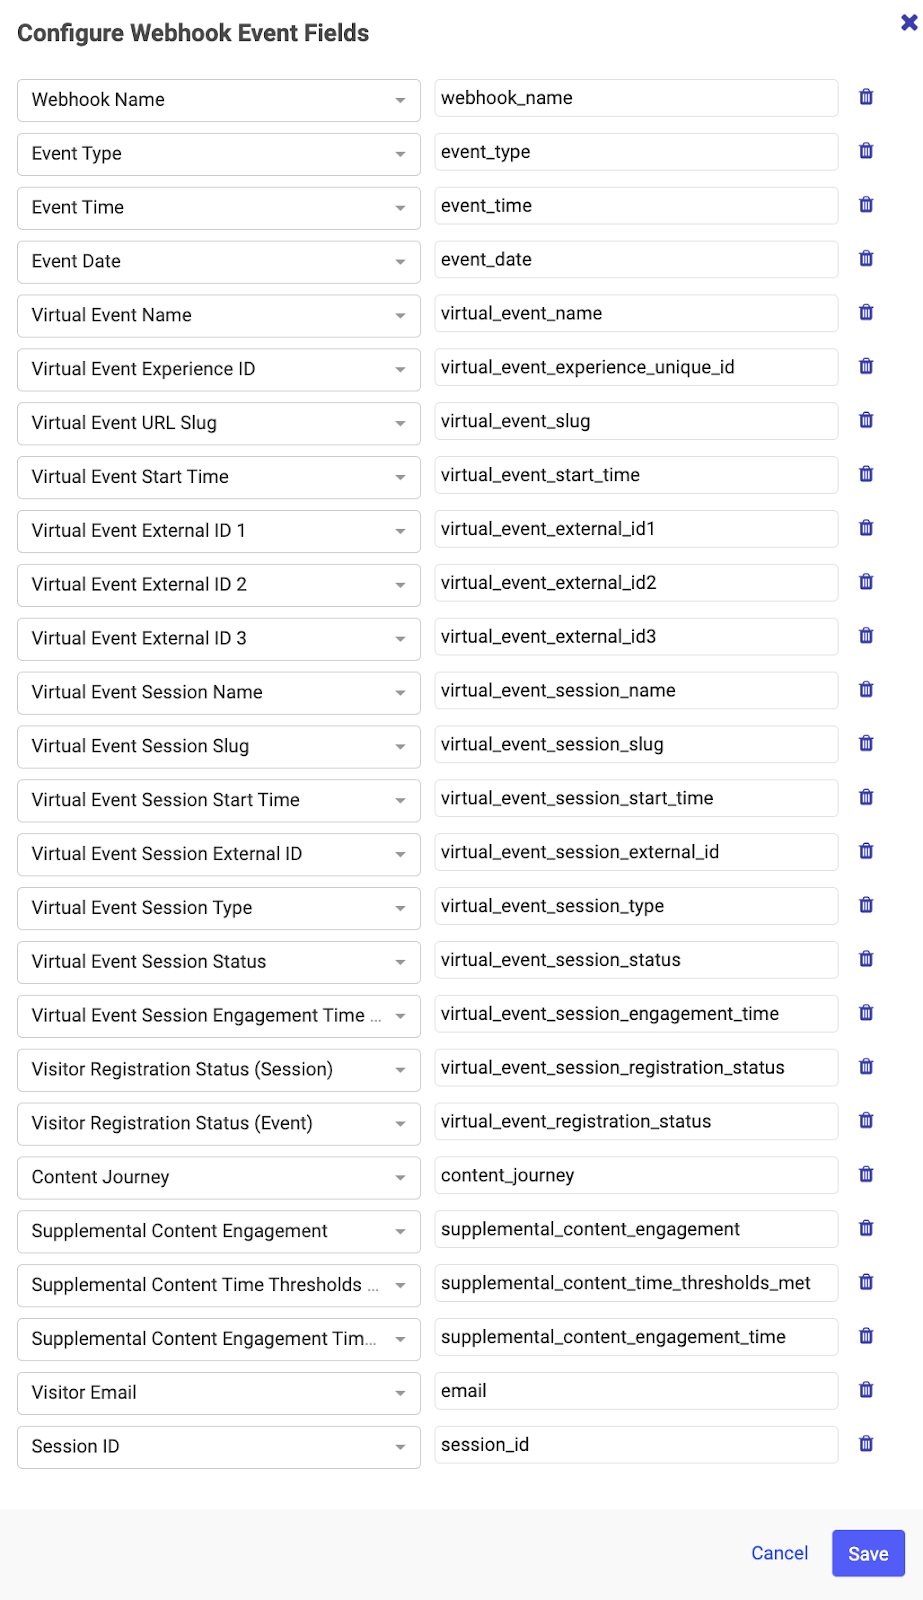
- Most of the fields will look familiar if you have used webhooks before. A few definitions of note are as follows:
Virtual Event Session Start Time – the first start time configured for the session.
Virtual Event Start Time – the start time configured for the virtual event.
Virtual Event Session Engagement Time – this is expressed as minutes instead of seconds, and will be displayed as a fraction. i.e 1.5 instead of 1 minute 30 seconds. - To save your selections, click Save. Otherwise, click Cancel.
New Exit Promoter Options in Experiences
With this release, we are adding more options for your audience to dismiss a content promoter, by allowing them to close the promoter by clicking outside of the promoter window or by pressing their ESC keyboard button. Adding more options for closing promoters helps improve accessibility requirements and reduces friction in the content for visitors who wish to dismiss them.
To see or use this new feature, follow these steps.
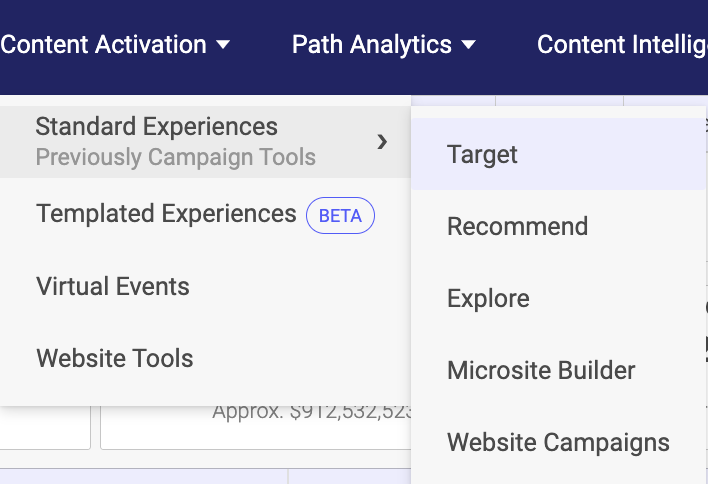
- On the main menu, click Content Activation, and then select Standard Experiences. From the list, select which type of content you want to edit. For this example, we are selecting Target.
- In this example, you are shown a list of existing Target tracks. Select a track.
- When the track opens, there is a panel on the left side for configuring the track.

- Scroll down to the Exit toggle, and turn it on.
- Click Customization.
- Now a popup window appears, so you can select Close Behavior for your audience. See the highlighted section in the screen capture below.

- By activating these toggles, your audience has the option to close the promoter by pressing the ESC key or by clicking anywhere on the screen outside of the promoter.
- To save these changes, click Save Exit Customization. Otherwise, click Cancel to close this window.
Improved Track Insights Dashboard in Reports
To provide a more complete picture of the effectiveness of your campaigns, we have improved our Track Insights dashboard on the Reports tab in Path Analytics. To see this new feature, follow these steps.
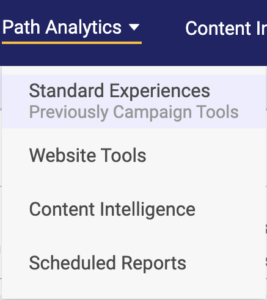
- On the main menu, select Path Analytics and then select Standard Experiences.
- On the Standard Experiences page, select the Reports tab.

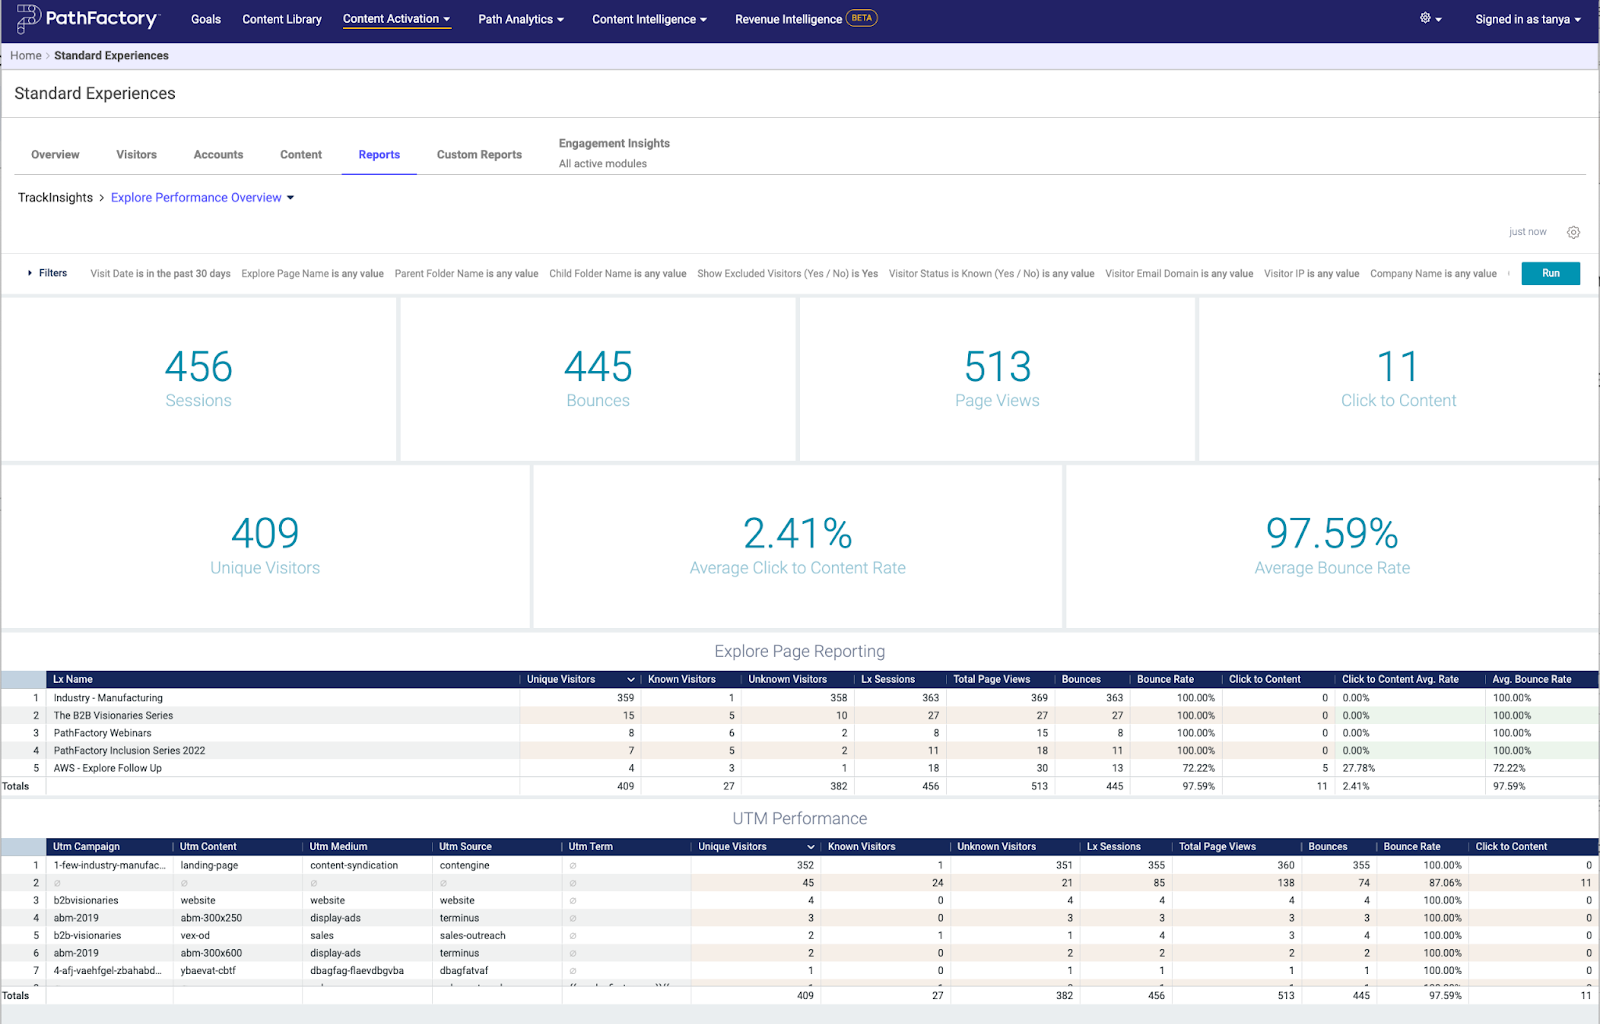
- Scroll down to the Track Insights section. Here you see some new report options: Form Performance, Explore Performance Overview, and Monthly Timeline.

- Click on any of these items to see their data. In the example below, you are viewing the Explore Performance Overview for all of the Explore pages. You will notice there is a dropdown list on the top left of the screen, so you can easily switch between all 3 track insights from here.
New Navigation for Track Insights Overview Report
When we improved the dashboard for Track Insights, we also adjusted the Reports tab in Path Analytics. Previously, the Reports tab looked like this:
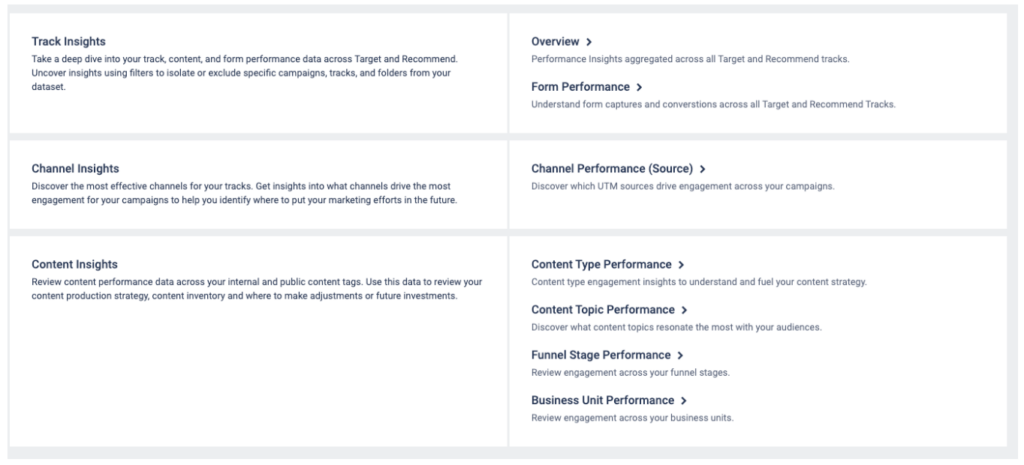
You’ll notice the Track Insights Overview has been moved over to the Overview tab, as shown below.

Views: 78