Currently in Controlled Availability. Contact your CSM for more information on accessing this feature.
Overview
Guide is a new promoter you can use to recommend content to users on your website. Guide sits on top of specified pages on your website, and uses PathFactory’s Recommendation service to leverage both uploaded content (from your existing Content Library) and tracked pages from your website.
|
Warning
|
Prerequisite: Ensure you have enabled website tracking on the domain where you will run Guide. |
How does this promoter display content on my website?
- First party content (ie. content from the same domain or subdomain) will open in the same browser tab
- Third party content (ie. content from other domains) will open in a lightbox on top of the page
Step 1: Configure Appearance and Language
Appearances
- Click the settings button (gear icon) and select Appearances from the drop-down menu.
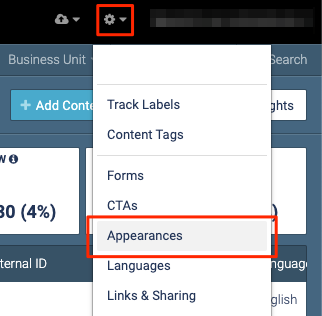 Appearances menu item
- Select Guide.
Note
Be sure to configure your default appearance settings for guide. 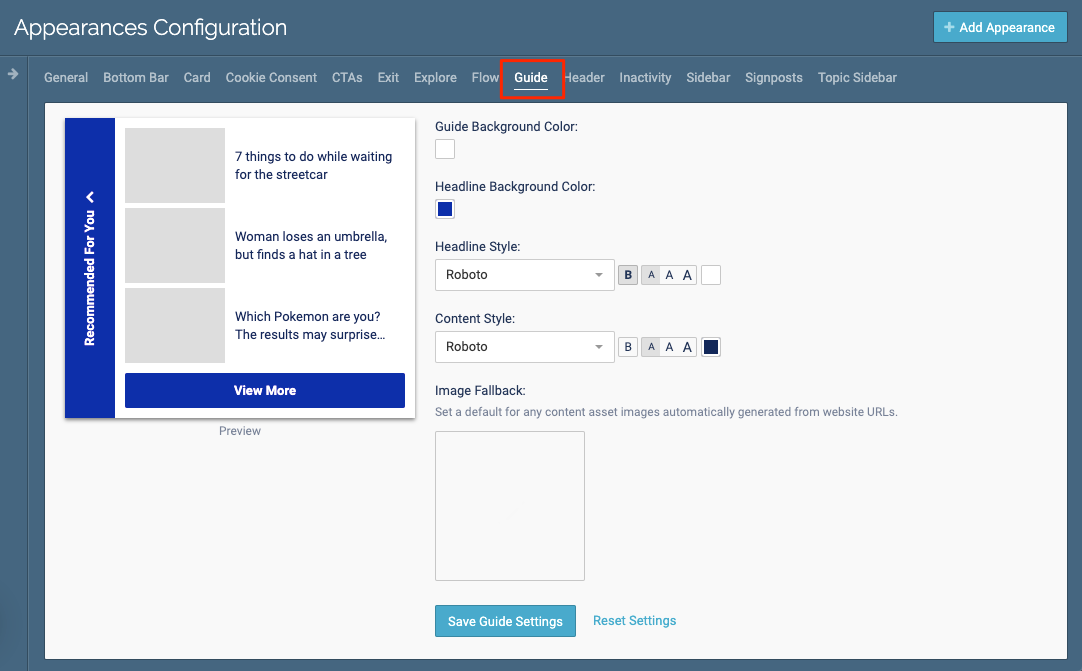 Guide tab
 - Configure the color and text settings.
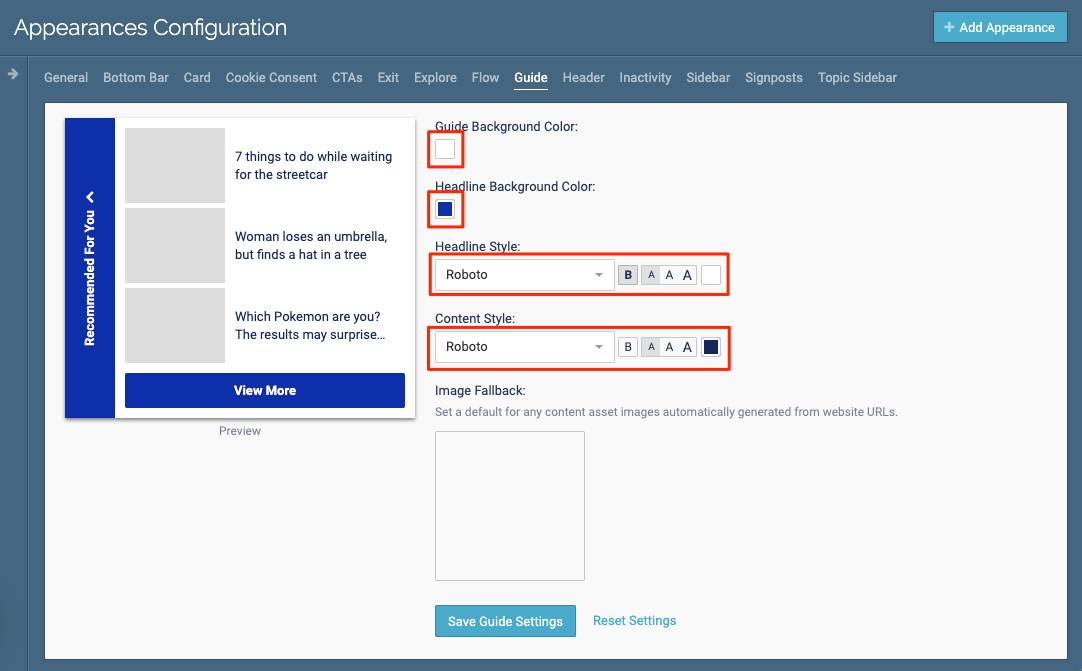 Color and Text settings menu
- You able to add a default image; this image will be displayed in the guide concierge in the event that a piece of content has no generated thumbnail image.
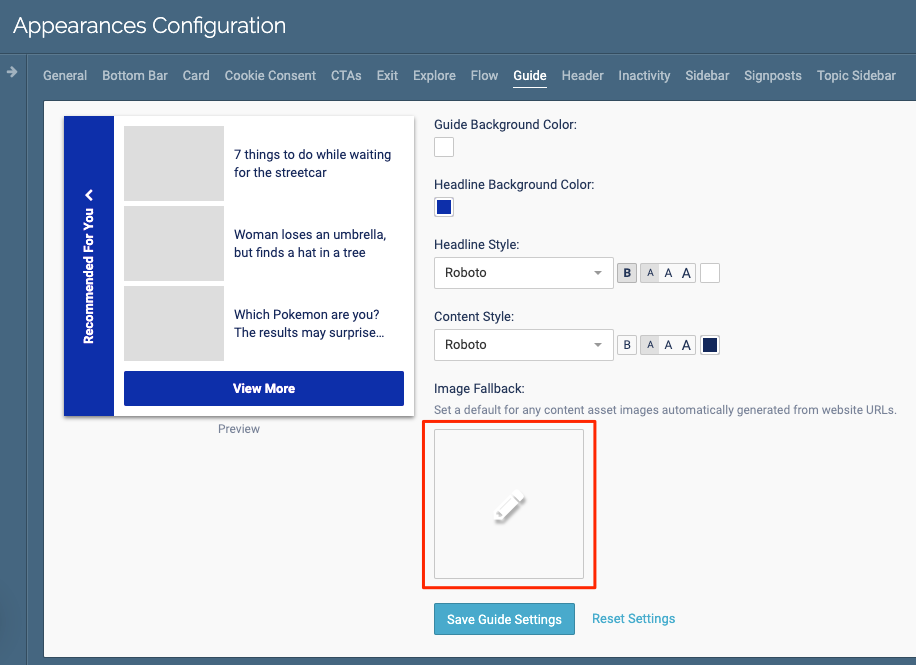 Image Fallback
- Click Save Guide Settings.
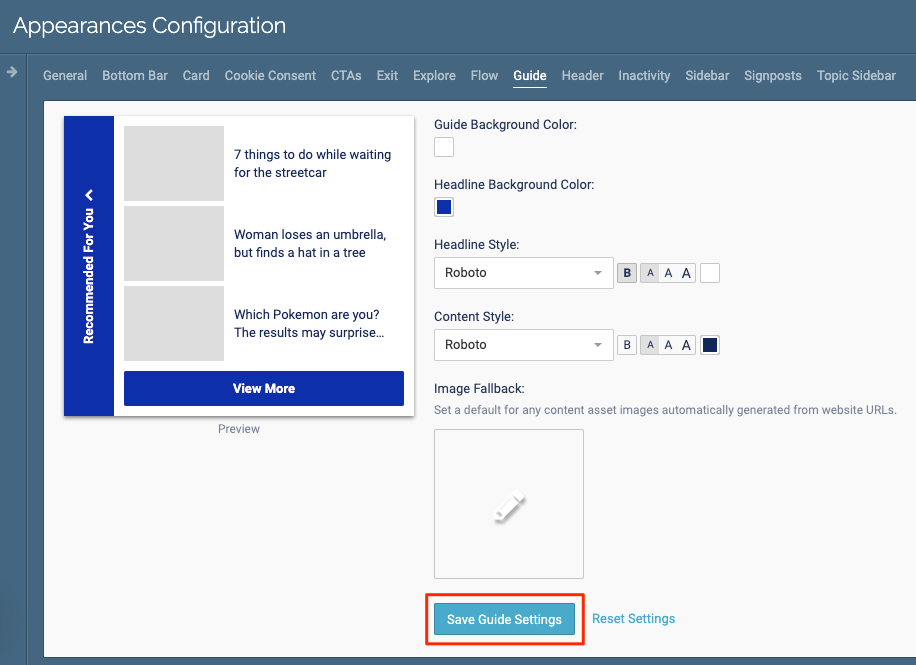 Save Guide Settings
Languages
- Click the settings button (gear icon) and select Languages from the drop-down menu.
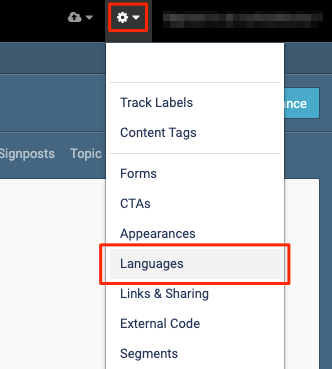 Languages menu item
- Select Guide.
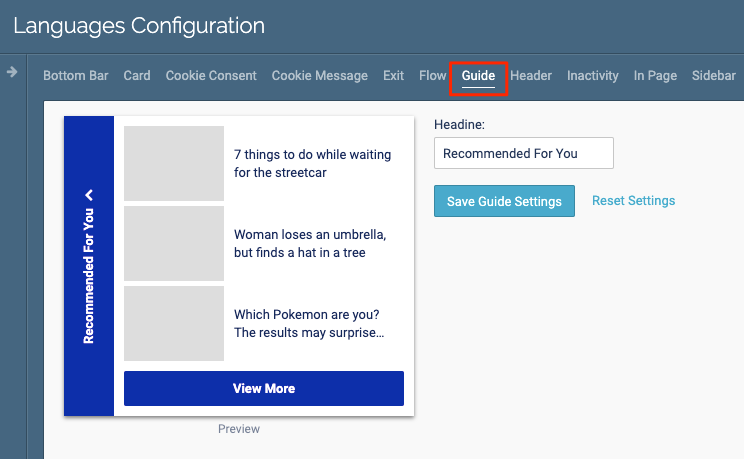 Guide tab
- After you’ve made the desired changes to the copy displayed on your guide concierge, click Save Guide Settings.
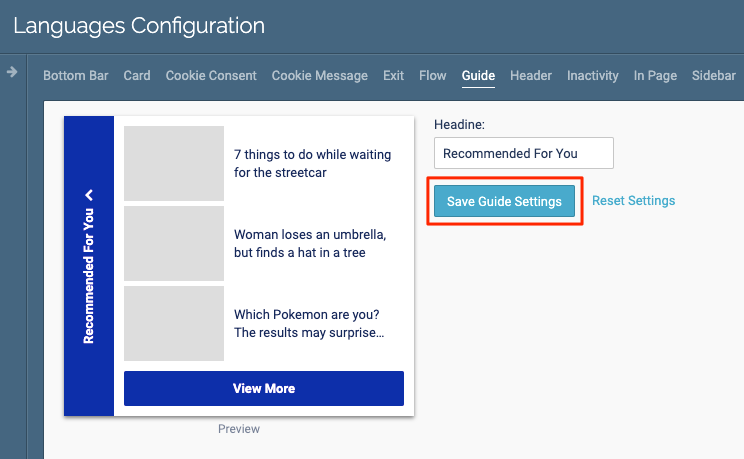 Save Guide Settings button
Step 2: Add the Guide promoter to your website
- Select Website Tools from the main navigation.
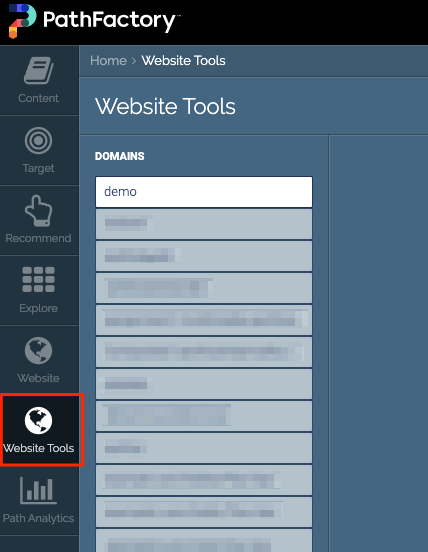 Website Tools icon
- Select the domain which will run Guide.
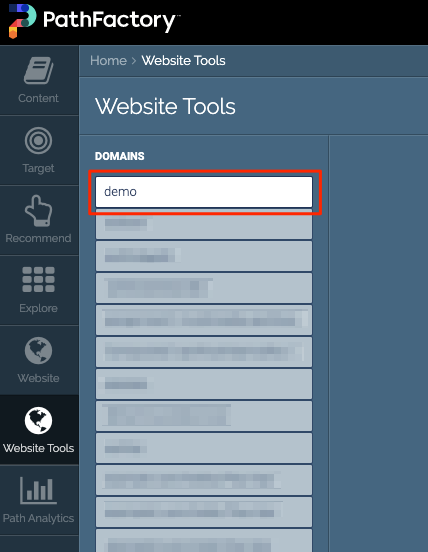 Domain selection
- Click + Promoter to add the Guide promoter.
 Add Promoter button
- Specify the URL location for the Guide promoter.
Note
To add Guide to all pages on your website you can use the following format: yourwebsite.com/* 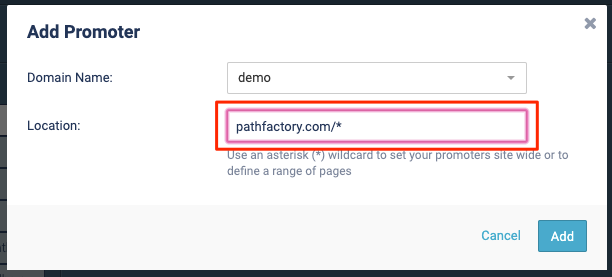 URL location
 - Select the URL location you just created, and change both the Enabled and Guide toggles to ON.
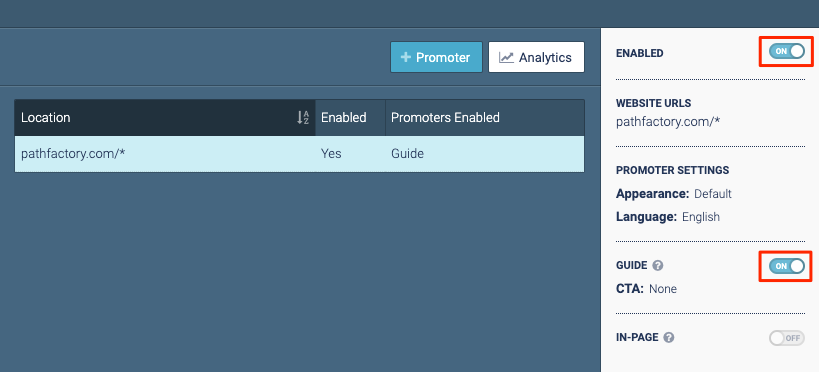 Enabled and Guide toggles
- [Optional] Add a CTA to your Guide promoter.
Note
CTAs linking to forms are not currently supported in Guide. 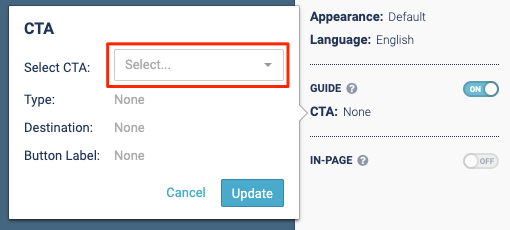 CTA selection
|
Warning
|
Ensure that the website location is enabled. Enabled option Enabled option
|
Setup Checklist
- Enable website tracking
- Configure Language and Appearance Settings
- Identity a URL location for the Guide Promoter
- Add a CTA (optional)
- Enable Guide
