Summary
Appearances let you control the branding of all your PathFactory experiences. When you first start using PathFactory you’ll customize your default appearance settings. After setting up an appearance, you can apply it to different PathFactory experiences.
You can create multiple appearances to tweak the fonts, colors, and behavior of elements to suit different audiences.
Navigate to appearances
- Navigate to
 Gear > Appearances.
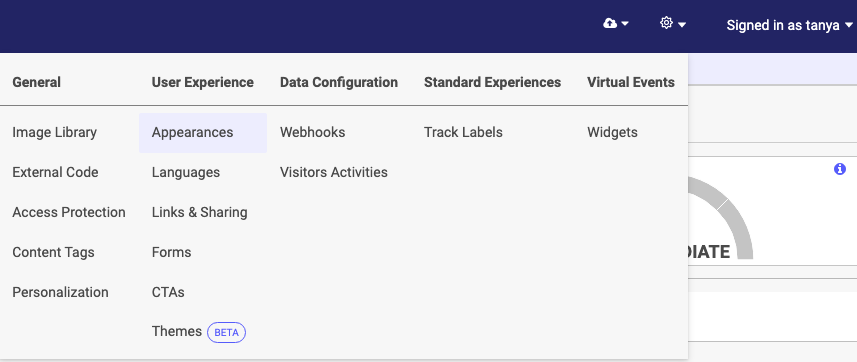
Appearances menu item

2. Use the page navigation to switch between the different elements you can customize.
Overview of appearance elements
Let’s briefly overview the elements you can customize with appearances.
General: control the favicon, logo, and font of header and body text.
Cookie Consent: control the font size, style, and color of the cookie notification and preferences dialogs. To change the copy, read Use languages.
CTAs: control the font, button color, and button shape for all your CTA buttons. To create or edit CTAs, read Using CTAs.
Header: control the background color, as well as the font size, style, and color of the header used by different PathFactory experiences. For more information, read Use a header.
Inactivity: control how much time must pass before the inactivity message appears in a browser. To change the copy, read Use languages.
Campaign Tools: you’ll find the different elements used by Campaign Tools in this menu.
Virtual Event: control the font size, style, and color of landing pages and sessions for your virtual events.
Website Tools: control the font style, size, and color of Guide and Concierge and add your own custom CSS. For more information about customizing these components, read Change the website component appearance.
Access Protection: control the font style, size, and color of both the access protection dialog and subsequence confirmation email. To change the copy, read Use languages.
Customize the default appearance
The default appearance can be fully customized to match your branding.
- On the page navigation, select the element you want to customize.
- Update the settings to your liking. Most elements have a live preview.
- Scroll to the bottom of the screen and select Save Settings. If you navigate to another element before saving, your changes will be lost.
If you decide you don’t like your changes, select Reset Settings to return to the default settings.
Elements for Campaign Tools
What follows is a list of elements you should customize for the different experiences within Campaign Tools.
Create additional appearances
You can create an unlimited number of appearances to modify your branding for different use cases.
- In the left sidebar, select + Add Appearance. The Add Appearance dialog appears.
-
In Appearance Name, enter a name that will help you identify this appearance later.
- Update the primary color, fonts, and font colors if you wish. The live preview updates to reflect your changes. You will further customize each element after this dialog.
- When you’re happy, select Add Appearance.
- Use the page navigation to switch between the different elements, customizing each as you like.
Views: 137