PathFactory Dynamic Personalization is a key feature that enables marketers to create and use just one template that dynamically personalizes section copy, logos, and images in real time based on visitor identity. First you build audience cohorts in PathFactory Segments—and then use them in Segment Rules to activate scalable, automated ABM and personalization of a digital experience. This feature is available for use in Templated Experiences and Content Playlists to help you customize content experiences for every visitor, based on account identification from Demandbase or custom query parameters.
Watch the demo video below, or read on for a detailed walkthrough.
Note: If you’re new to the concept of Segments, we recommend you read the article, Introduction to Segments before proceeding further with the setup instructions in this article.
Dynamic Personalization Setup
To start using PathFactory Dynamic Personalization, you first need to create Segments. These rules set specific criteria for identifying visitor attributes, such as industry, vertical, geographic location, etc.
Alongside these rules, you will define Custom Field Merges- dynamic placeholders that modify content elements like text, images, or videos.
These are the steps we’ll walk you through in this tutorial so you can start using this feature:
- Identify the audience segments.
- Download the Segment Rules Template from PathFactory.
- Fill out the Segment Rules Template.
- Upload the modified CSV file for your template to PathFactory.
- Design your Experience (i.e., Landing Page, Content Page, or Content Playlist).
- Add Dynamic Personalization to your Experience.
- Preview the Experience.
Step 1: Identify the Audience Segments
Begin by pinpointing the precise audience segments you aim to target with your marketing program. Consider factors like demographics, firmographics, purchase history, and engagement level to form a detailed profile of each group.
For detailed information on how to create and configure segments, refer to How to Create, Edit, or Delete a Segment.
Step 2: Download the Segment Rules Template from PathFactory
After you have defined the audience segments, build Segment Rules using the UI, or download the CSV template to collaborate asynchronously with other stakeholders and upload the completed sheet.
First, navigate to Personalization.
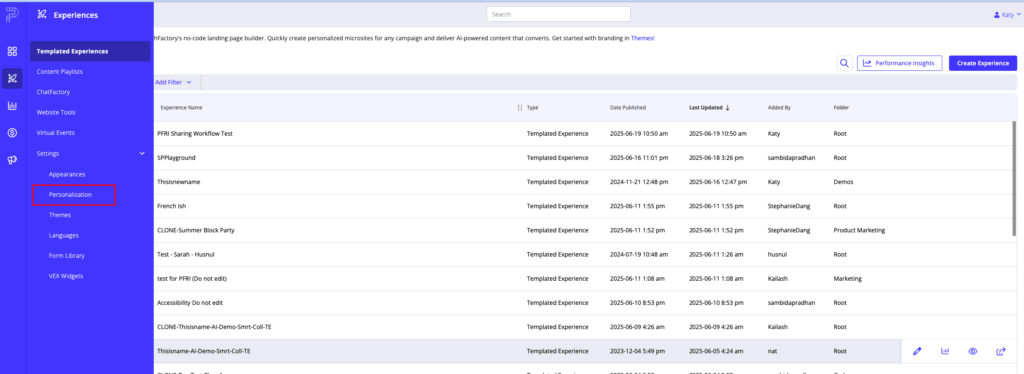
Personalization
Next, click Segment Rules.
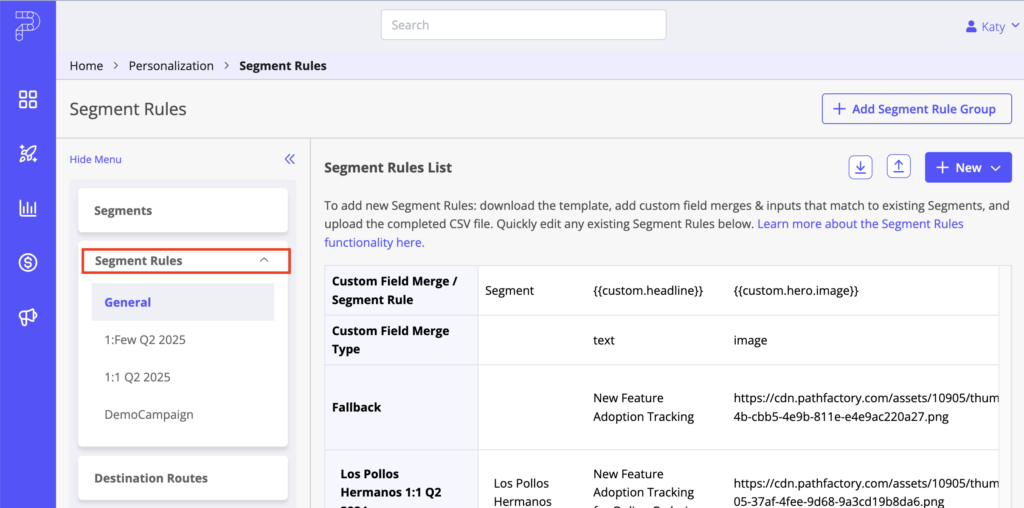
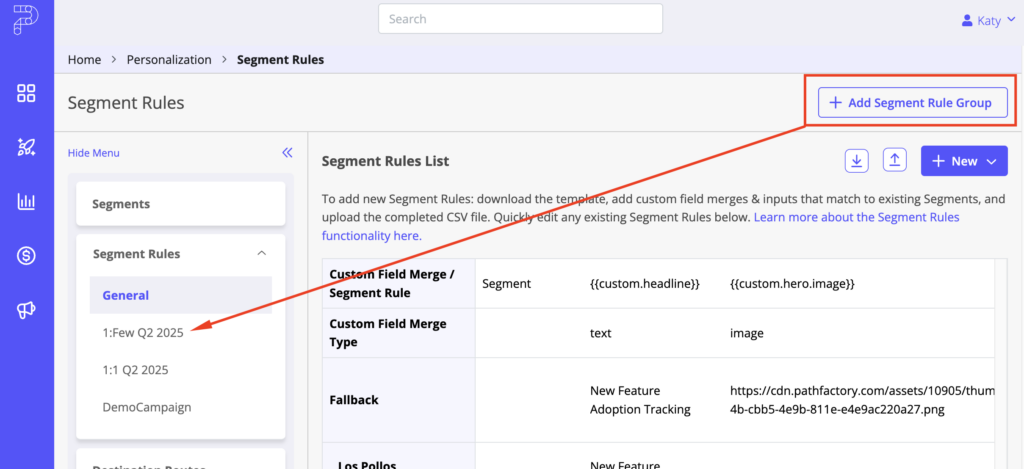
For each campaign, you will want to create a Segment Rule Group. This ensures you can align your personalized content to different content experiences and campaigns with multiple fallback rules.
Step 3: Fill Out the Segment Rules Template
Below are descriptions of each of the fields you’ll find in the Segment Rules Template. You’ll need to fill out the variations you want in these fields for each of your segments.
Custom Field Merge Type (Text, Image or Video)
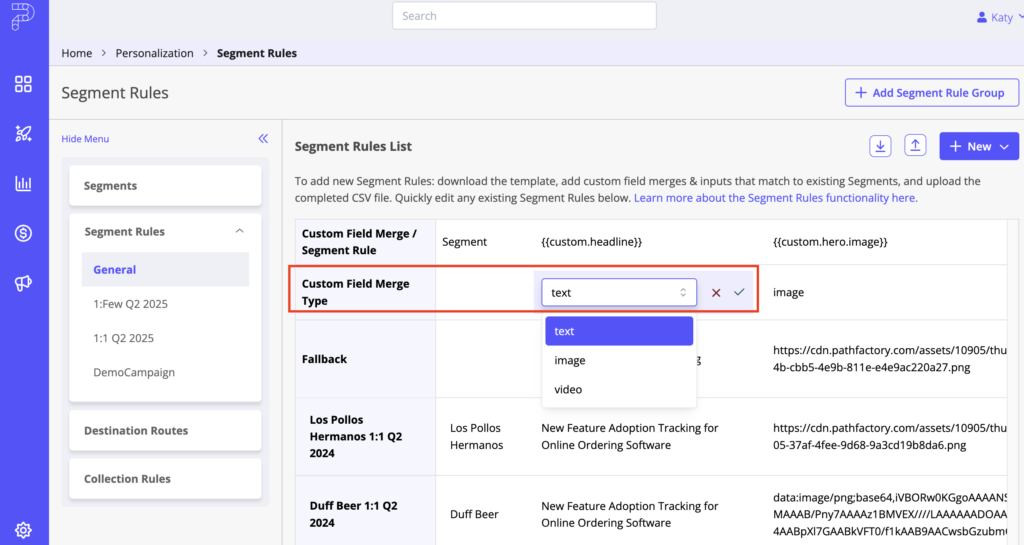
Must be defined as one of the following values in the CSV (case-sensitive)
text
image
video
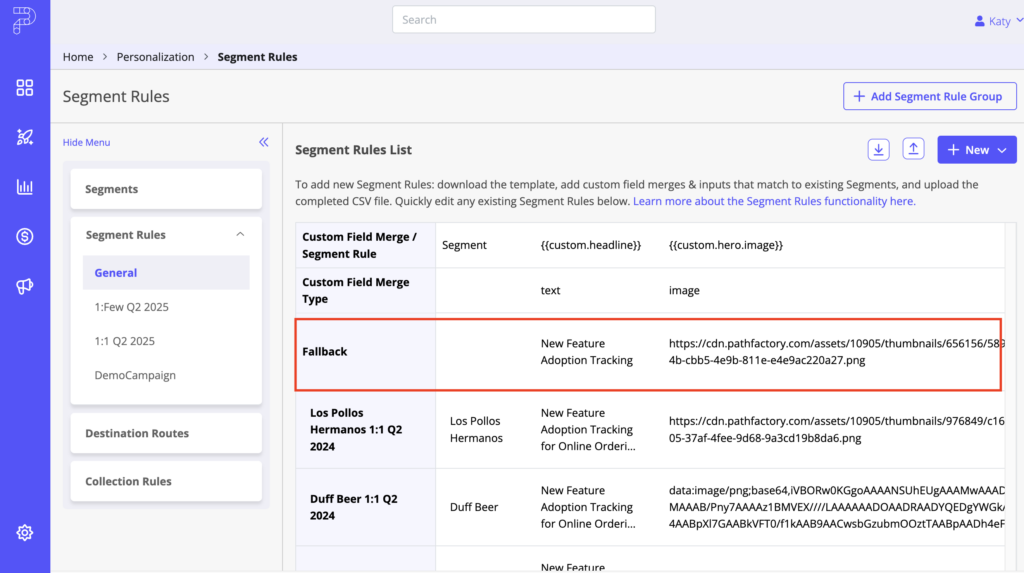
Fallback
For each Field Merge you create, the fallback is the default value that will be displayed when the visitor cannot be matched with a segment that can be personalized.
This is your generic input for unidentified visitors.
Segment Rule
In this field, create a name for your Segment Rule.
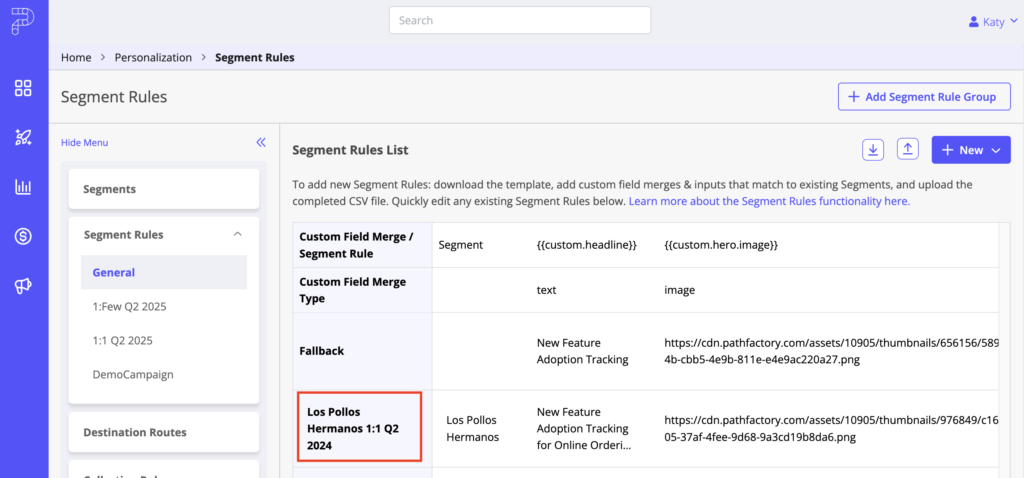
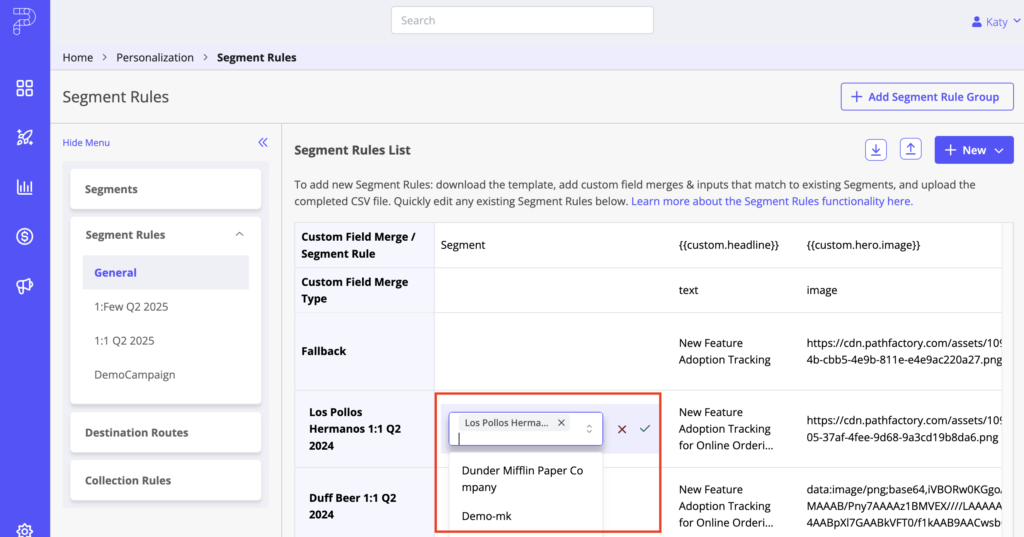
Segment
Enter the names of the Segments in this field that you defined and created in Step 1.
Custom Field Merges
Custom Field Merges are the placeholders that will define where your personalized content will appear in your Content Experiences.
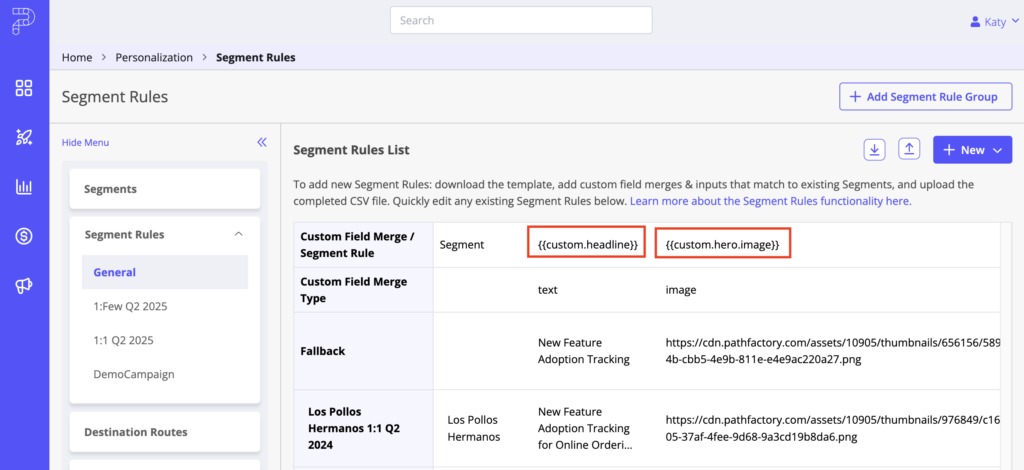
Custom field merges must follow the following structure:
{{custom.insert_field_merge_name}}
- Use two curly brackets {{ }}
- Begin with the word “custom”
- Contain no spaces, only underscores

Step 4: Upload the Modified CSV File to PathFactory
Once you’ve finished building your Segment Rules in your Segment Rules Template, upload the file as a CSV back into PathFactory. To do this, follow these steps.
First, Click the Upload Icon:

Drop your completed CSV Segment Rules Template into the upload modal:
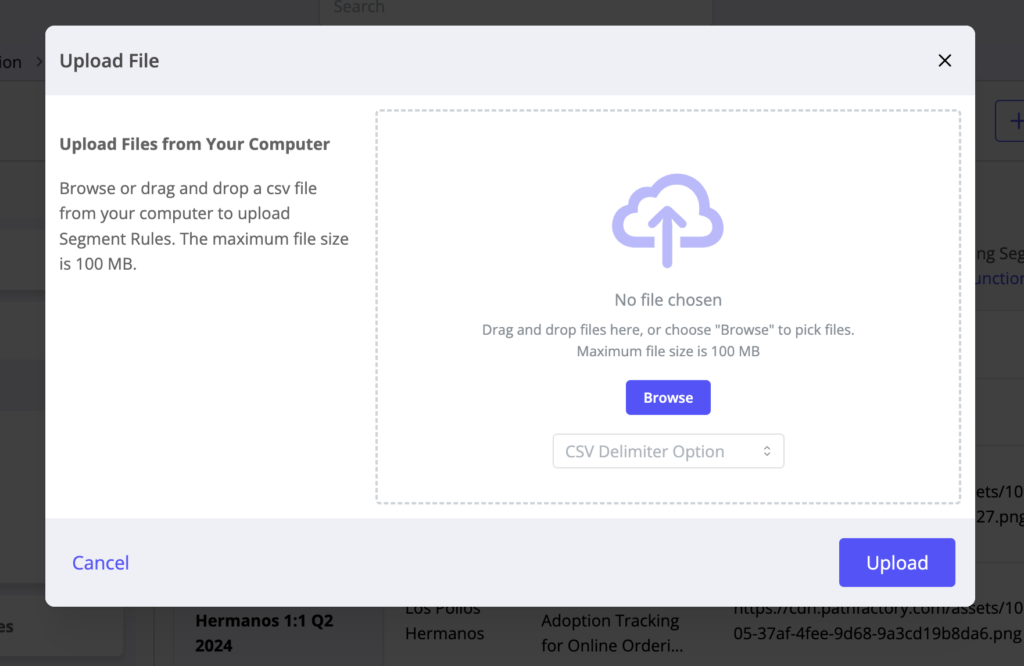
Important! CSV uploads add new Segment Rules and overwrite existing rules with matching names. Rules not included in the CSV remain unchanged and are never automatically deleted.
Step 5: Design Your Experience (Page or Content Playlist)
Before you can activate the Dynamic Personalization variations you set up in Segment Rules, you’ll need to create a layout for whatever Experience type you are planning to use – a Landing Page Template, Content Page Template, or Content Playlist – and then identify which elements will benefit from adding Dynamic Personalization – e.g., header logo, hero copy, CTA.
For detailed instructions on how to build a Templated Experience or a Content Playlist, read Introduction to Templated Experiences or Introduction to Content Playlists.
Once you build your Templated Experience or Content Playlist, select the correct Segment Rule Group from the dropdown in your Details Page. This is the group you created in Step 2 to house the values for a particular campaign.
Step 6: Add Dynamic Personalization to Your Experience
Once you’ve added your Segment Rules in PathFactory, you need to add the Custom Field Merges to your Experience layout. The steps below will guide you through the process of adding Custom Field Merges to a Content Playlist or Page Template.
Adding Text Types
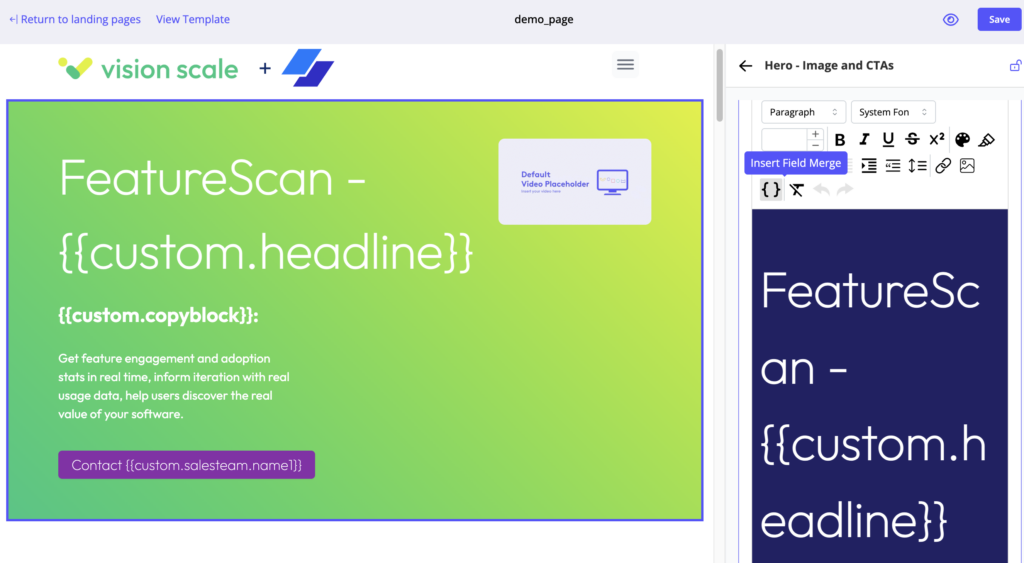
You can add text field merges to any rich text field or any text box field in both Content Playlists and Templated Experiences. This includes CTA labels, CTA destination fields, and all rich text fields in all sections and components.
In any rich text editor, click on “Insert Field Merge” and select one of the available field merges from the dropdown. Only Text types will appear.
Adding Image Types
You can add image field merges to any Image Picker in both Content Playlists and Templated Experiences. This includes logos, hero images, and icons.
A placeholder image will appear in place of the dynamic image until you preview the experience.
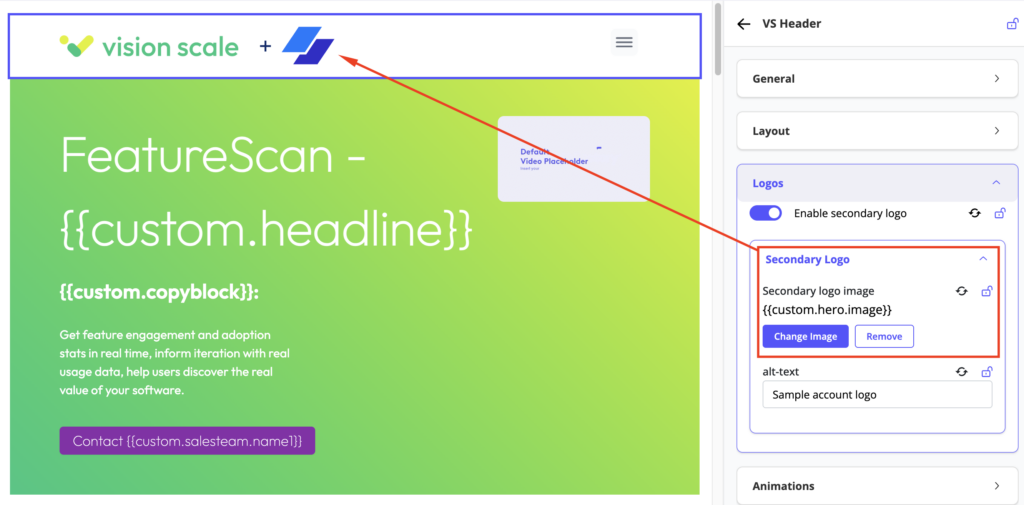
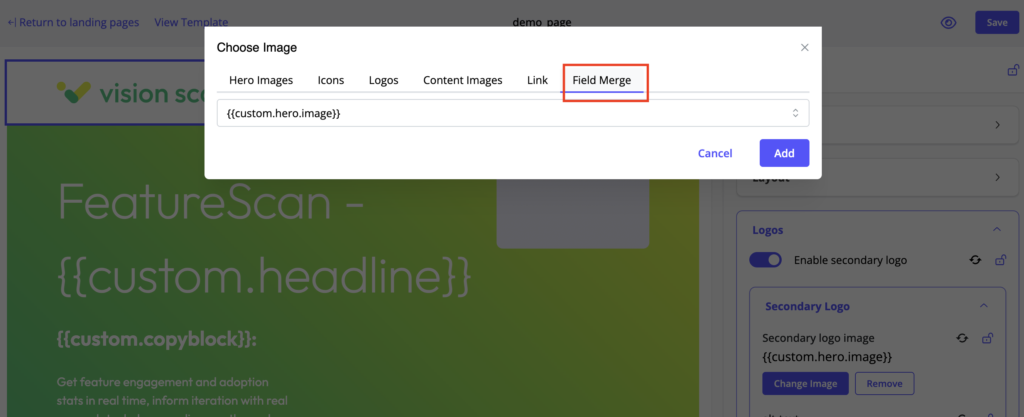
To choose your field merge, select Change Image and then select the desired field merge from the dropdown.
Adding Video Types
Similar to the Image type, add dynamic videos to any Content Experience by selecting the Field Merge of your choice from any video picker. This includes all embedded video types except for assets from your Content Library.
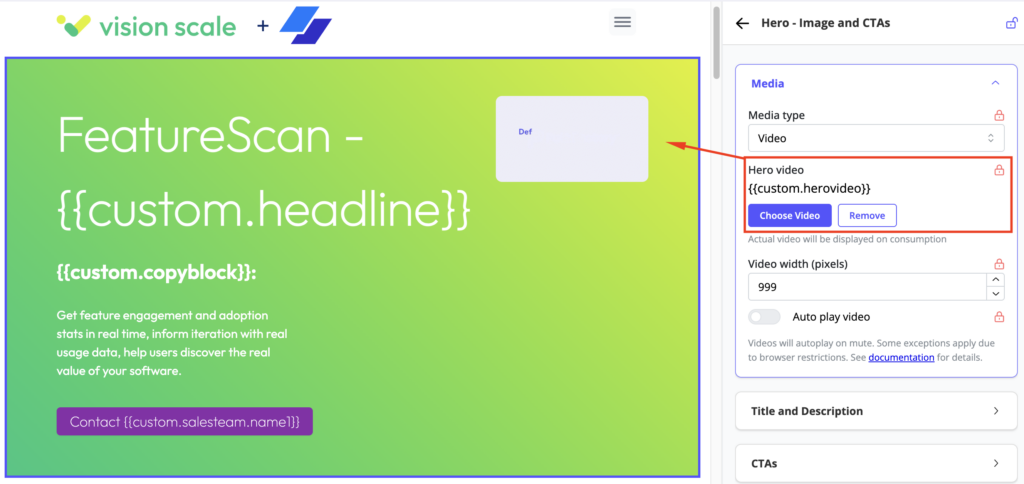
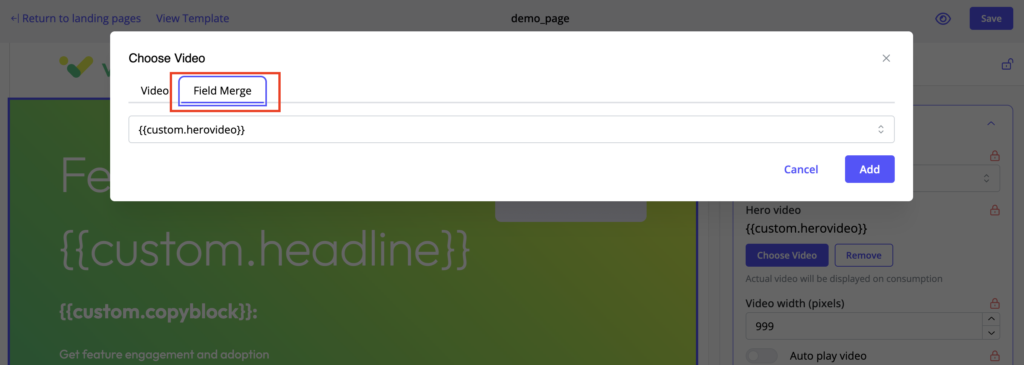
Click Choose Video, navigate to the Field Merge tab, and select the desired field merge from the dropdown menu.
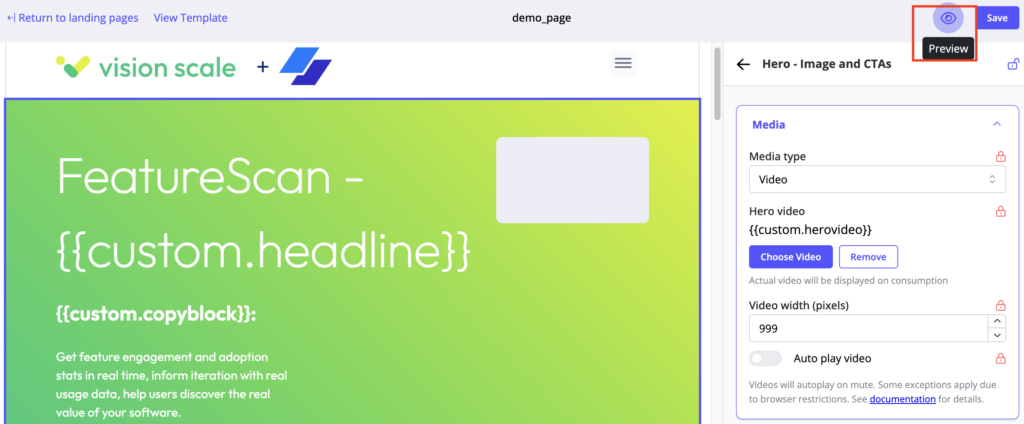
Step 7: Preview Your Experience
Once you have configured your Experience, you can preview the impact of different Segment Rules before you activate it with audiences.
Click Preview on the top right corner of your Templated Experiences or Content Playlist Editor:
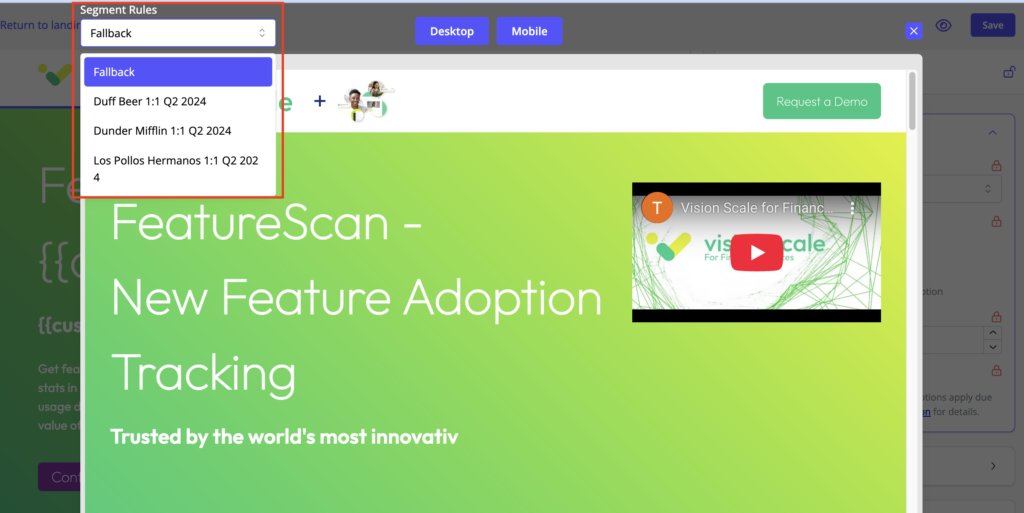
Use the Segment Rules dropdown to preview what the Experience will look like for each of the visitor Segments configured in the Group you assigned to the Experience.
How to Activate and Share Your Experience
You can generate a URL link to share a dynamic version of an Experience or a static version, depending on your audience, activation and channel preferences.
Unknown Visitors
If you’re sharing your Page or Playlist with primarily unknown visitors (e.g., through organic social media or paid ads), you should use a dynamic version of the Experience. This ensures the content on the page updates based on the visitor’s identity.
Click Share:
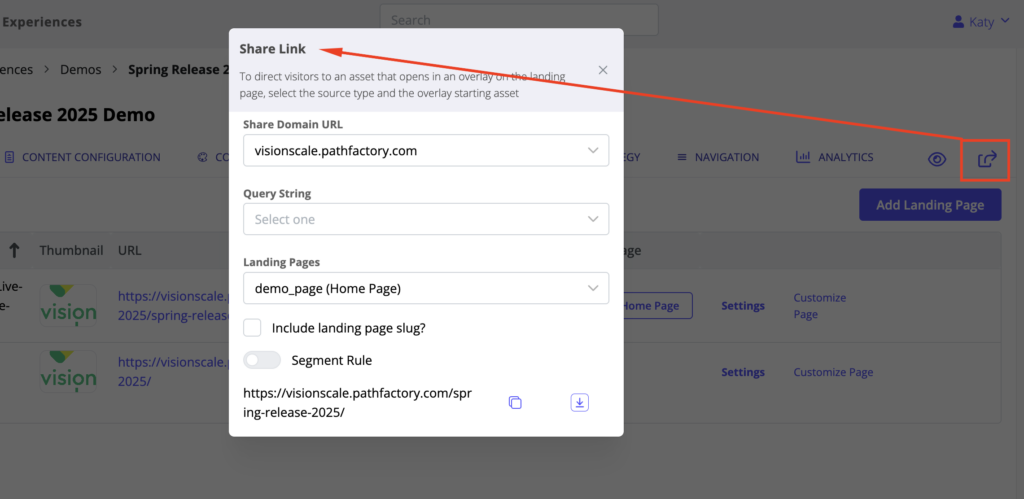
Add any desired Query Strings, then copy the Share Link from the modal
You’re all set!
Known Visitors
If you’re sharing your Experience with known visitors (e.g., within an email nurture campaign) or providing sales with custom URLs for specific account pages, you can share a static Experience that is customized for their specific audience segment. This ensures the content remains consistent for all viewers.
After clicking Share, add any desired Query Strings.
Then toggle on the Segment Rule Toggle:
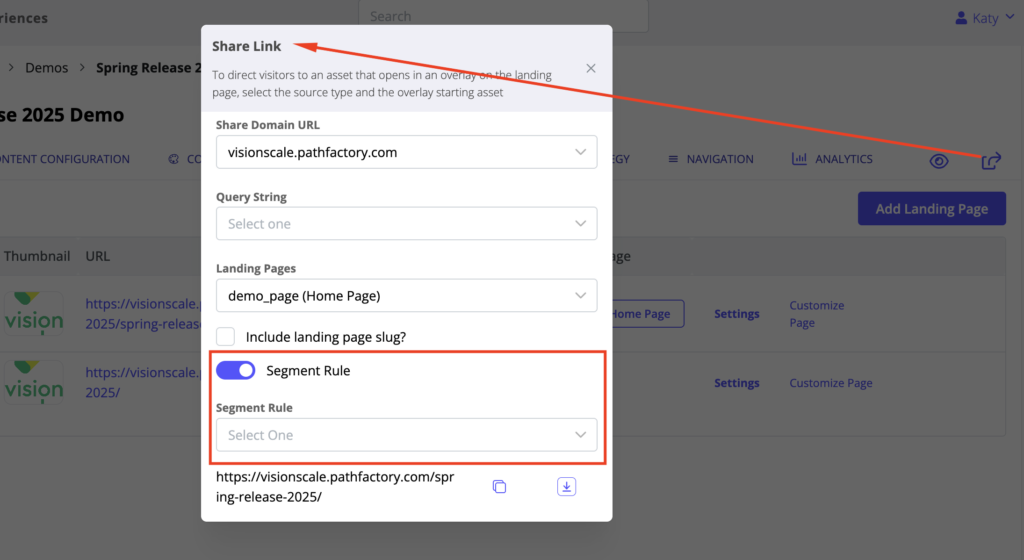
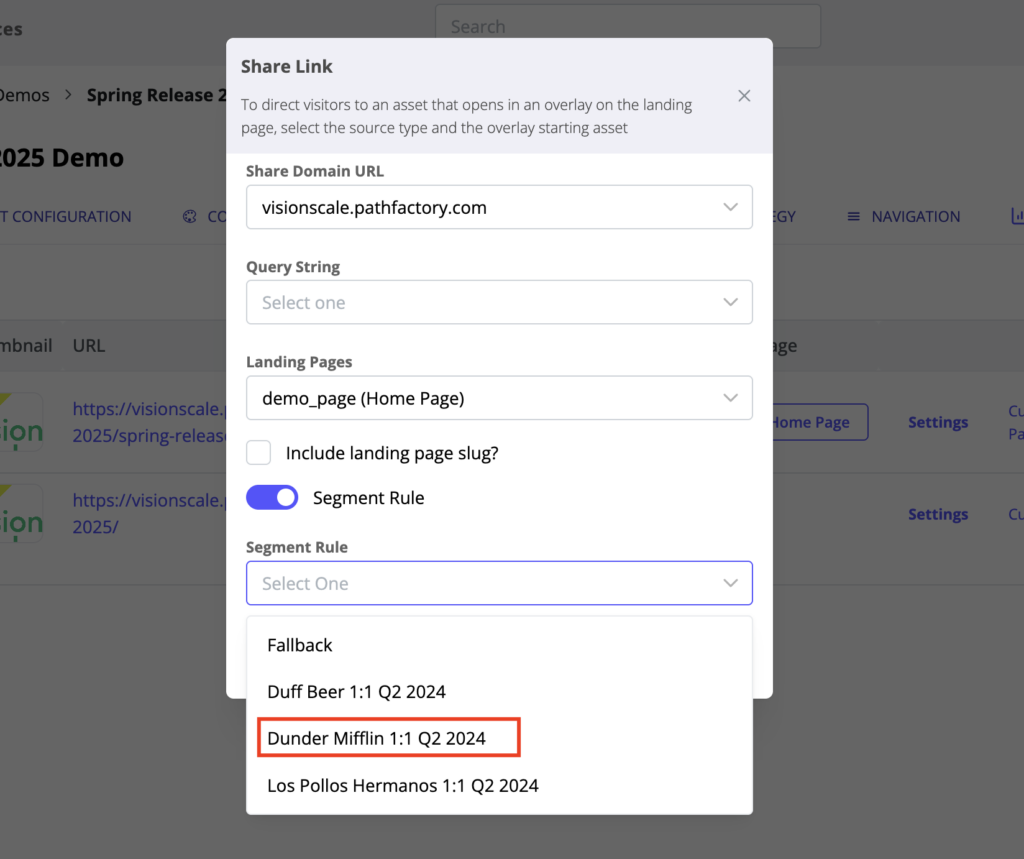
Turning on the Segment Rule Toggle exposes a dropdown of all the Segment Rules configured for the Experience. This is the same menu that appears for your previews.
Selected the desired version of the Experience you want to share:
Selecting a Segment Rule will add a query string to the specific version of the page for your target audience Segment. Now you’re ready to Share!
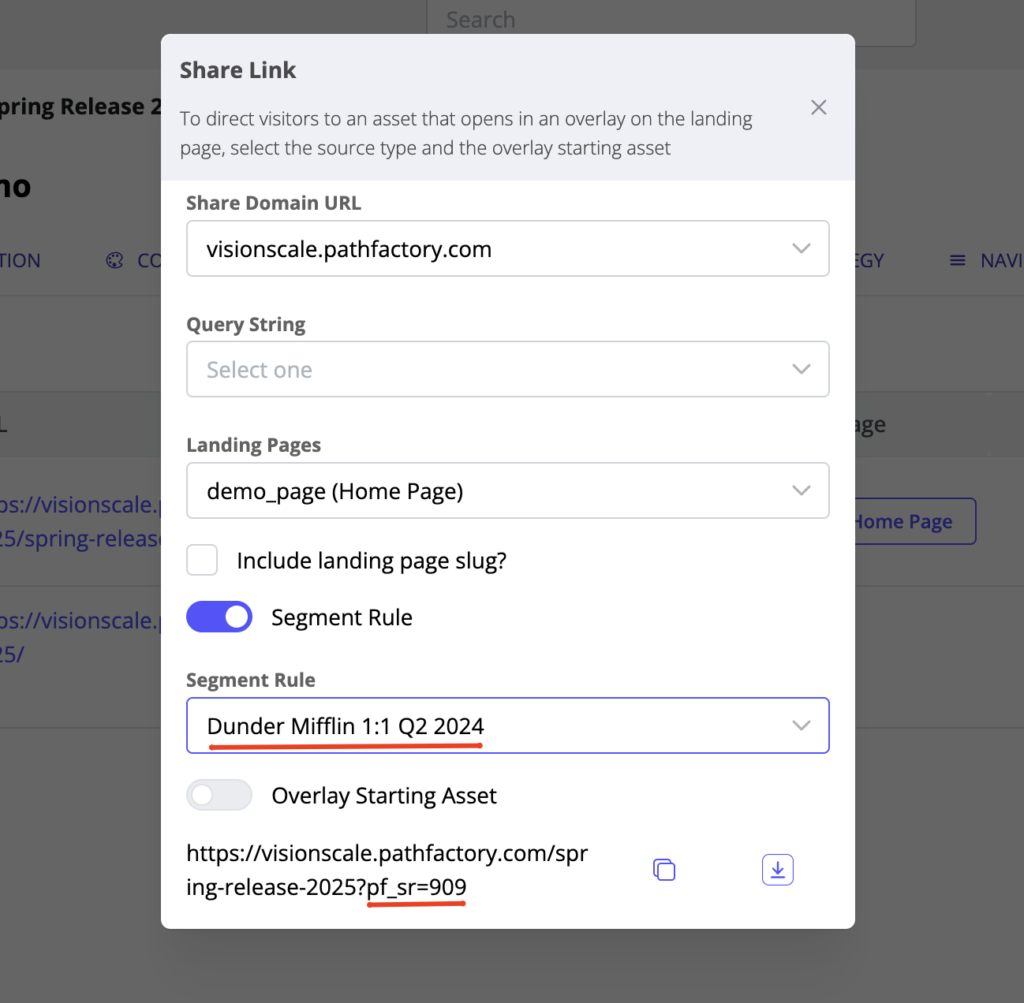
The url of the Experience with the query string will now dictate the appearance of the page:
Views: 1074