Filters are big news for this release. We have added some new filters to the following modules, to increase customization for your visitors.
- Standard Forms
- Explore Pages
- Virtual Events
New Standard Form Filters
Within your standard forms, you can filter out choices for the Country field so that your target group sees only countries from their part of the world. When dropdown options exceed 15 options, the list becomes difficult to navigate and provides a poor user experience.
Allowing for customization of the list of countries provides an enhanced user experience for visitors by reducing the time it takes to locate their specific country. Additionally, this customization provides form creators more control over limiting form responses to their desired audience geographically.
This bit of personalization is also valuable for communicating with your viewers that you know who they are and what they need to see.
To use this new setting, follow these steps.
- Create or open a Standard Form.
- Open the form you created.
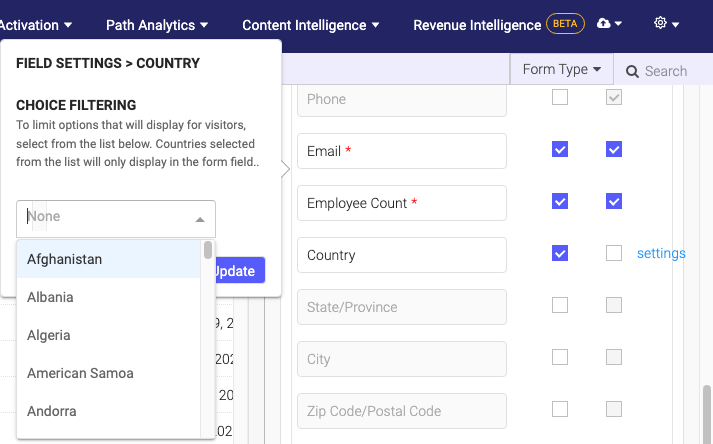
- On the right side panel, activate the Country filter to Show (and Required if you wish) and then click the Settings link.
Note: You’ll notice this user interface has improved to enable you to easily dictate which fields are shown to the visitor and of those, which fields are required to be filled in.

- Now you see a Field Settings > Country popup menu with a dropdown list to select the Country options you want to display on the form. Select as few or as many countries as you want your visitors to choose from.
When a visitor fills in the form, they will see a list of countries to choose from based on what you have selected during setup.
New Responsive Filters for Explore Pages
Explore page visitors can now apply multiple filters within a single category on Explore page content, to narrow down results to the material they are interested in. Previously, visitors could select one filter from each filter category.
Now visitors can select multiple topics within each category. For example, visitors can select more than one content type, funnel stage, and language. As the creator, you may add however many filter lists you wish. To enable this functionality, we have added checkboxes within the filter lists, to allow selection of more than one in each list, as shown below.
Note: The available filters to choose from are determined by the tagging in your content assets.

Visitors can view the overall content but also look at various perspectives, for example based on a campaign, target account list, or source (social vs. search) . These filters are consistent with the filters available for Microsites.
By helping visitors drill down with ease, you eliminate their need for numerous search queries just to find something specific.
To see these new filters, follow these steps.
- Create or open an Explore page.
- On the Explore page you opened, look at the left panel. Scroll down to the Filters section.

- In the Filters list, turn on the Filters toggle.
- Now select which filter lists you want to display for your visitors.
- Scroll down a little further on the left panel to Content Settings.
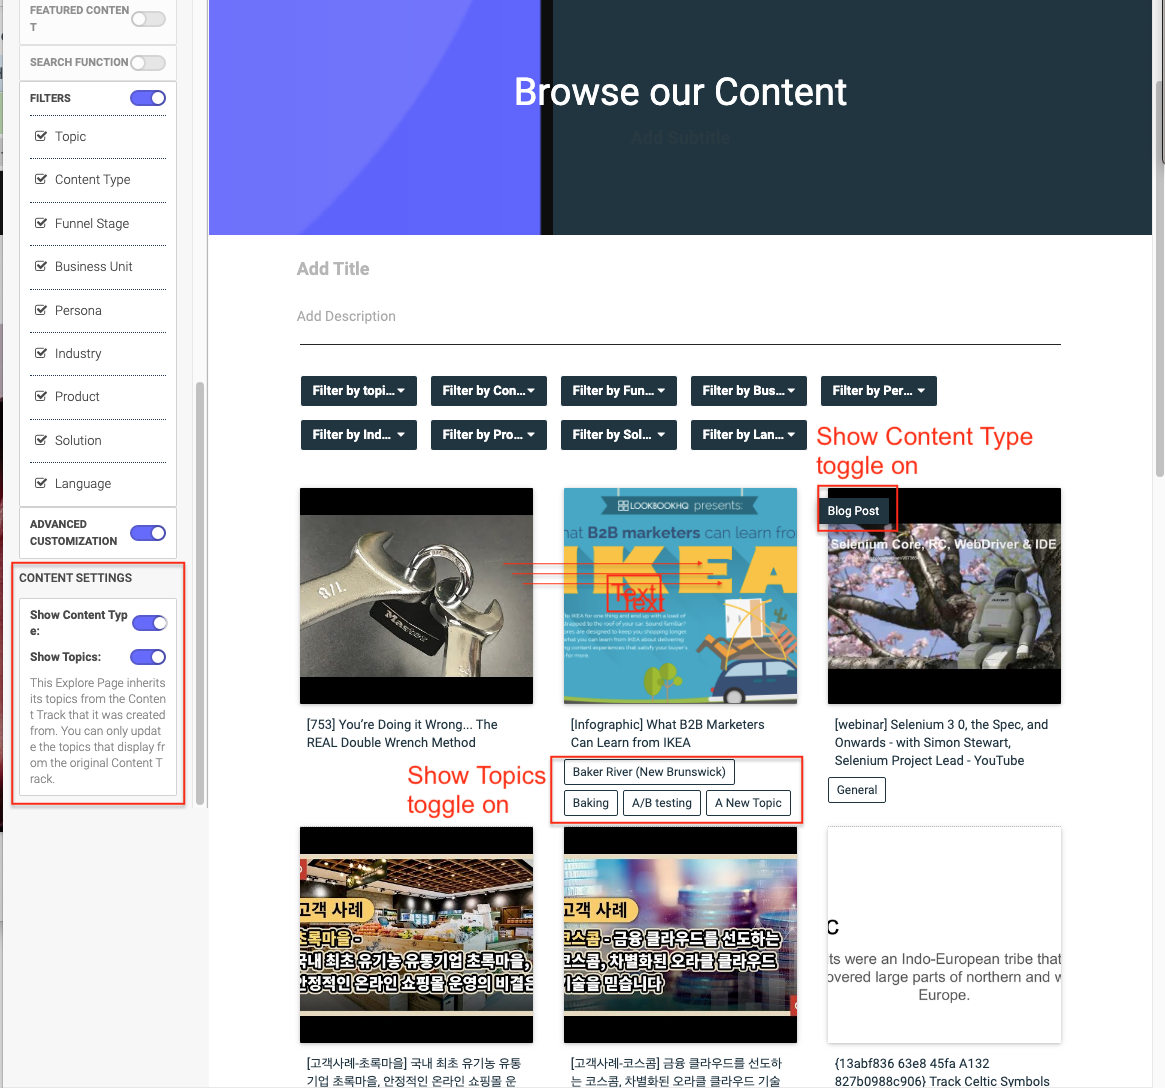
- There are two toggles here:
- Show Content Type – This toggle will display the label for the content type on each tile as applicable, such as Blog Post.
- Show Topics – This toggle will display the topics under each tile.
Note: Your changes are automatically saved.
- Don’t forget to preview your finished Explore page. Click the preview icon as shown in the screen capture below.

VEX Dashboard Filter by Country
We have added a filter to help better sort your VEX visitor data. All Analytics tabs are now filterable by country.
Using this new filter, you can gather data from regional reporting on registration, attendance, and engagement. Instead of building a new analytic report each time, we have improved our filters for you to customize the VEX dashboard for your audience by country.
To see this new filter, follow these steps.
- On the main menu, click Content Activation and then select Virtual Events.
- A list of Virtual Events opens. Select one (or create one).
- On the screen that appears, select the tab labeled Analytics (on the far right side of the screen).

- There are five tabs that appear for you to filter and analyze your visitor data. You’ll notice on each tab, within the Filters line, there is a filter labeled Country.
Views: 72