For this release we are introducing customizable Content Carousels for Explore pages, adding custom field capabilities in Standard Forms, and customizing filter values in Microsites. Read details below.
- Content Carousels for Explore pages. The new Content Carousel feature gives you full control over the content displayed in an Explore page carousel and the order of appearance. With a few simple steps, you can curate an engaging visual experience, directing your audience’s attention to the most compelling pieces of content to increase engagement.
- Enhanced custom form field options within Standard Forms. Our enhanced custom form field options allow you to set up fields that enable multiple selections so you can gather specific information from your audiences that you need for marketing campaigns.
- Microsite tags and filters. You now have the ability to retain or ignore filter values for content assets that you are using in a Microsite. This gives you a new level of customization and flexibility in how to deliver Microsite user experiences.
Introducing Content Carousel on Explore Pages
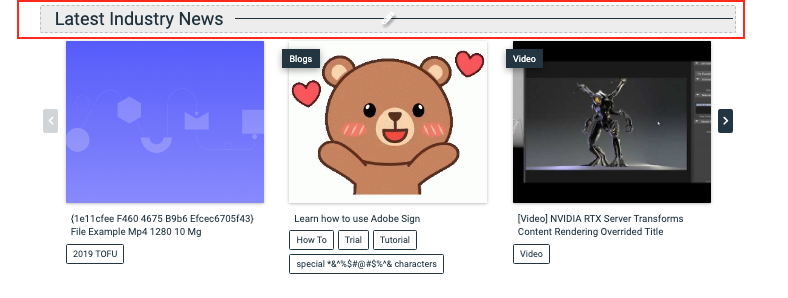
Customizable Content Carousels are now available for Explore pages. Content Carousels let you select precisely which content assets should appear in the carousel and in what order.
In previous versions, when creating a carousel on an Explore page there was no option to specify the placement of content assets within the carousel. Instead, the Explore carousel would display all the assets associated with this Explore page in random order.
During the Explore page creation process, you now will be prompted to provide a title for the carousel, the desired content assets, as well as the order in which you would like assets to appear. You have the flexibility to add more content assets or modify the Content Carousel title at any time. This feature gives you complete control over the Content Carousel title and the content assets that appear there.
Need a refresher on Explore pages? Read Introduction to Explore.
To use this feature, you must have a carousel layout selected for your content tracks. For more information about carousel layout, read Explore Page Layout Settings.
To use this new feature, follow these steps.
- Create, clone, or open an Explore page.

- With the Explore page open, scroll down until you see a field labeled Content Carousel, as shown in the screen capture below.

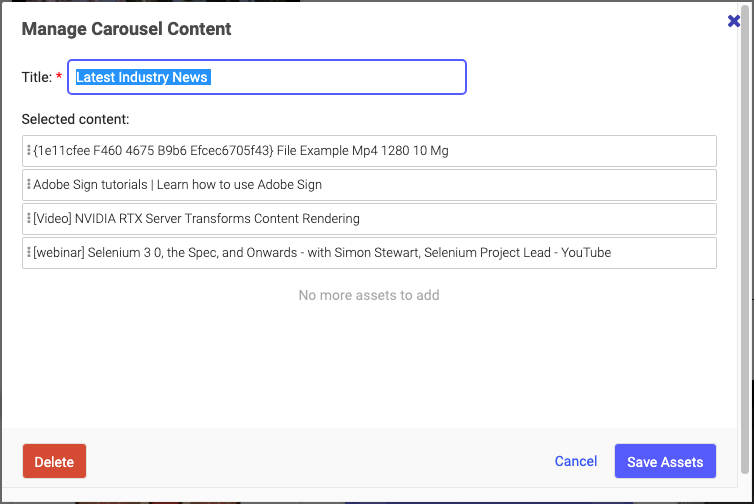
- Click on the Add Content Carousel field, and the following popup menu appears.

- On this menu, enter the name you want to appear as the carousel title.
- Add your content assets one at a time to the Content Carousel by clicking Add an Item.

- You’ll notice if you hover your mouse over a content asset, the cursor changes so that you can click and drag the content to modify their order in the new carousel. When you are finished adding and arranging the content, click Save Assets.
- You can later return and edit the Carousel Content by clicking on the carousel’s header as shown in the screen capture below, highlighted in red.
- The Manage Content Carousel menu reappears for you to add or reorder content. Adjust the content as you wish, and then click Save Assets.
Enhanced Custom Form Fields for Standard Forms
PathFactory understands the importance of capturing comprehensive data through the use of Standard Forms. In the past, our form fields allowed visitors to select just one answer from a list of options. However, we have listened to your feedback and are excited to introduce a new enhancement: the multi-select dropdown menu feature.
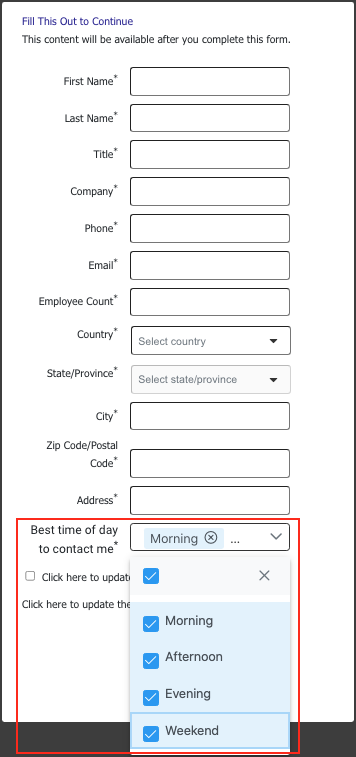
Now you can set up your custom form fields to allow your visitors to select more than one option at a time when applicable. For example, you can provide a field where visitors indicate the best times of day for you to contact them. With this new feature, they can select more than one answer to that question.
To use this new feature, follow these steps.
- On the main navigation menu, click on the Gear icon and then select Form Library.

- On the next screen, you have the option to create a new form by clicking + Add Form or you can modify an existing form.
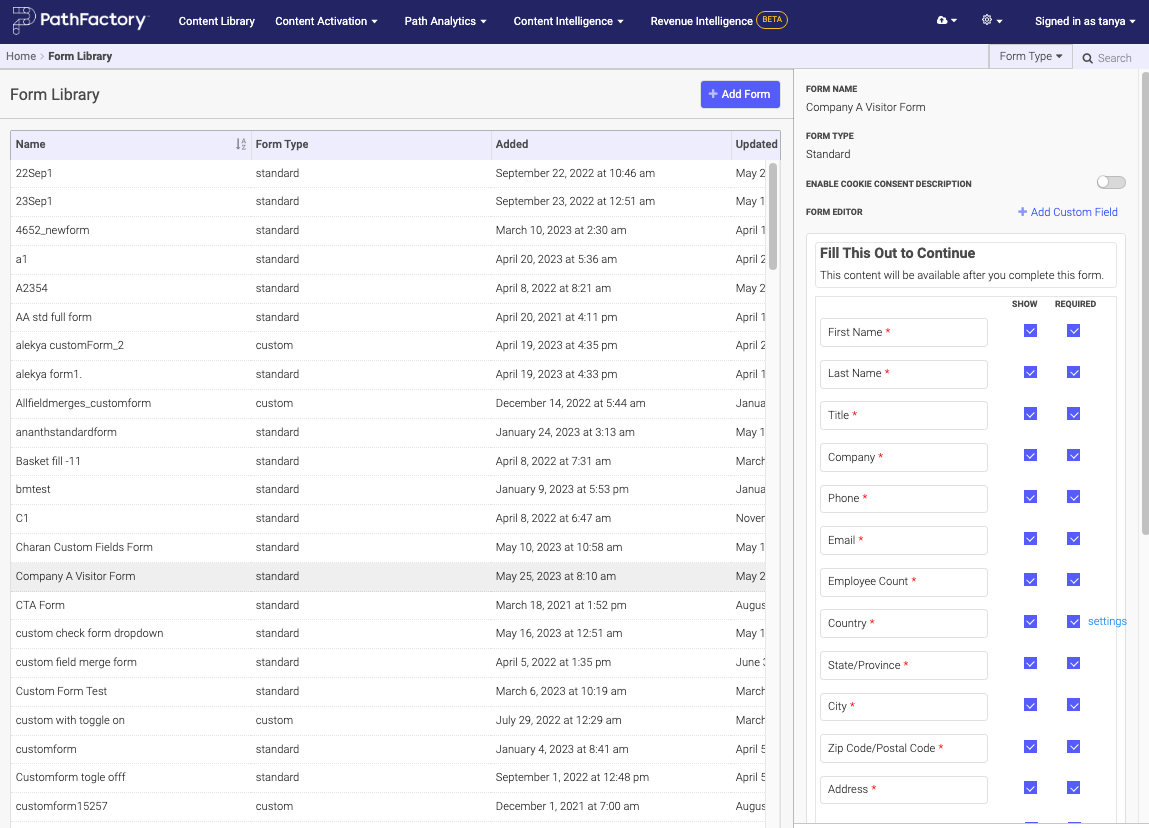
- When you save the form, it is automatically saved in the Form Library. Select the new form from the list and a panel appears on the right side that lists the form’s fields.
- On the right panel, click the link labeled Add Custom Field.
Note: You can add as many custom fields as you wish, one at a time.

- A blank Custom Field appears at the bottom of the Standard Form, ready for you to define and configure.

- Click on the Custom Field. A popup menu appears, for you to configure the options.
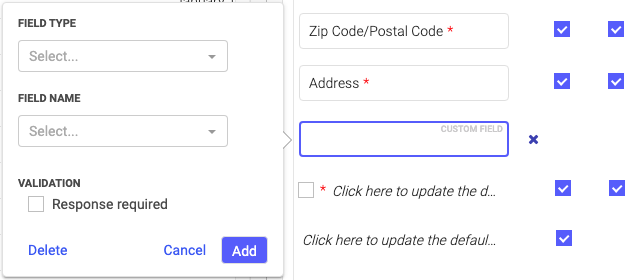
- On the Field Type dropdown menu, click the down arrow and you’ll notice a new option there: Dropdown Multi-Select.

- After you select Dropdown Multi-Select field type, the popup menu refreshes to offer options suitable for that field type.

- Next, add a Field Name. You can enter a new name, or select one from the Field Name dropdown list.
- Within the Choices field, enter the choices you want to offer your visitor, clicking Add after each entry.
- To make this field mandatory, activate the Validation checkbox.
- When you are finished configuring this field, click on the button labeled Add. Now you will see your new field displayed on the form.

- You’ll notice there is a gear icon beside your newly created field. To modify this custom field, click the gear icon. The popup menu to modify this field reappears. Make the modifications you want, and then click Update.
- To see your new form in action, add it to a content track (Target or Recommend) and then preview the track. Below is an example of a form with multi-select added.
Note: You’ll notice there is a checkbox at the top of the custom field that allows your visitor to select all options at once.
Microsite Tags and Filters
Previously, we had introduced an enhancement where the filter values that are applied to each content asset at the track level were persisting and getting passed to the associated Target or Recommend track even when inserted in a Microsite.
For example, you have a Target track and a French language filter was applied to the content in that track. In that case, your visitors would see all the French assets in that track but not the content that doesn’t have the French filter applied.
Some users do not want these filter values to persist and instead want visitors to see all content, regardless of the filters that have been applied previously. To accommodate that request and increase control over what assets are displayed, we have added two checkboxes to the Microsite Search & Filter sub-tabs as follows:
- Pass applied filter values to Target
- Pass applied filter values to Recommend

You can de-activate these checkboxes on each of the Search & Filter sub-tabs so that your content will not retain any of the filter values that had been applied previously.
To see this enhancement in action, follow these steps.
- On the main navigation menu, click Content Activation, then Standard Experiences, and then select Microsite Builder.

- On the list of Microsites that loads, modify an existing Microsite page or else create a new Microsite page by clicking the + Add Microsite button on the top right of the screen.

- With your Microsite open, click the Search & Filter tab.
Note: In this example, we are looking at the Topic sub-tab, but these checkboxes are available on all of the Search & Filter sub-tabs (Search, Business Unit, Persona, etc).
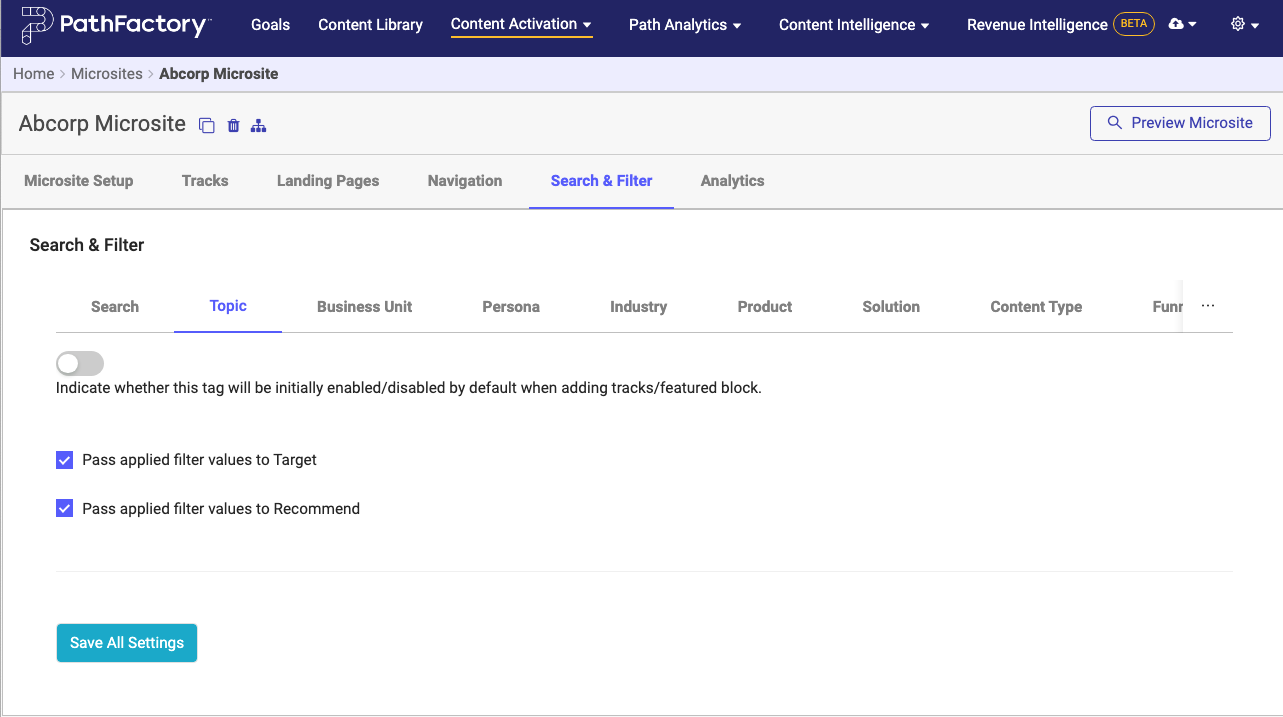
- Here you see the options for passing filter values to the Target or the Recommend track that you plan to embed in the Microsite. If you want your Microsite to ignore the filter values for these content assets, deselect the checkboxes.
- To lock in your changes, click Save All Settings.
.
Views: 88