A Theme serves as the foundation for your Templated Experiences. It’s where you configure various branding elements, styling, and colors that define your brand identity. Consider the personas that will be working with your Theme when you make your selection.
Theme versioning is a key aspect of our platform that allows you to stay up to date with new features and enhancements. Here’s a step-by-step guide to explain what Theme versions are, and how to tell them apart to ensure you are using the correct Theme for your Templated Experience.
If you want to employ Form Strategies in your Templated Experiences, you must upgrade the Theme files to at least V2.0. Form Strategies do not work on Themes that are pre-V2.0 (for example, V1.2), but are available and can be configured manually. In that case, please email our support team at support@pathfactory.com or contact your CSM for further assistance.
To learn more about Themes, read Introduction to Themes.
To learn more about Templated Experiences, read Introduction to Templated Experiences.
When upgrading a Templated Experiences Theme to a new version, it’s important to understand what changes you can expect:
- Out-of-the-Box Sections: In the new Theme versions, all the sections that come pre-packaged with the Theme (out-of-the-box sections) will be locked. This means you won’t be able to edit them directly. If you want to make customizations to these sections, you’ll need to clone the Theme files and make modifications to those files.
- Distinguishing Between Sections: Out-of-the-box sections will be identifiable by PathFactory icons, while custom sections you create will have a different icon. This visual distinction helps you recognize which sections are part of the original Theme and which ones are customized.
- Section Naming: Custom sections can be named differently or have the same name as their out-of-the-box counterparts. If you want a custom section to replace an out-of-the-box section, simply rename the custom section with the same name as the out-of-the-box one. Note: You can rename one custom section to match the out-of-the-box only once. In other words, you cannot create multiple sections with all the same name as each other.
- Custom Updates: Custom files and sections are not affected by version updates. This means that when you update your Theme to a new version, your customizations will remain intact. The Theme updates will focus on out-of-the-box sections and features.
- Frequency of Theme File Updates: The files are updated for major updates and bug fixes.
- Version Support: PathFactory supports up to two versions of a Theme simultaneously. For example, if you’re using version 1, and version 3 is released, PathFactory will no longer support version 1. Also, version updates are not automatically applied. You’ll need to manually switch to the latest version when you’re ready.
- Testing in Sandbox: Before updating your Theme files, we strongly recommend you test the new Theme version on a copied file in the sandbox environment. This allows you to preview the changes and ensure everything works as expected without affecting your live content.
- Custom Script and Styles: If you have changes such as CSS modifications or small adjustments, you can use the Theme File Editor to create custom liquid files after the upgrade to the latest version is complete.
- Use of Classes: The custom script and styles liquid file provide classes that make it easier to apply CSS changes. For example, you can use classes like cta-button to target specific elements for styling.
- Functionality Enhancements: New Theme versions may introduce additional features and improvements. We recommend you stay up to date with the latest version to benefit from enhancements.
- Consider Future Compatibility: While customizations should generally work, be mindful that as Themes evolve, there may be cases where older custom sections may not be fully compatible with newer features. It’s essential to test thoroughly when making significant changes.
Step-by-Step Process for Updating Theme Files
Overall, the process to update your Theme files is as follows.
Step 1: Select an activated Theme you want to update.
Step 2: Create a copy of the Theme and assign it Sandbox status (not Active).
Step 3: Update Theme for copied files, ensuring all the Experiences meet your requirements.
Step 4: Update the original (Active) Theme file.
Step 5: Delete the files that were automatically carried over by the upgrade process. Note: This step is required only if you are upgrading from a Theme file that is older than V2.0.
Step 6: Add custom Theme files to suit your styling needs (optional).
Step 1: Select the Theme You Want to Update
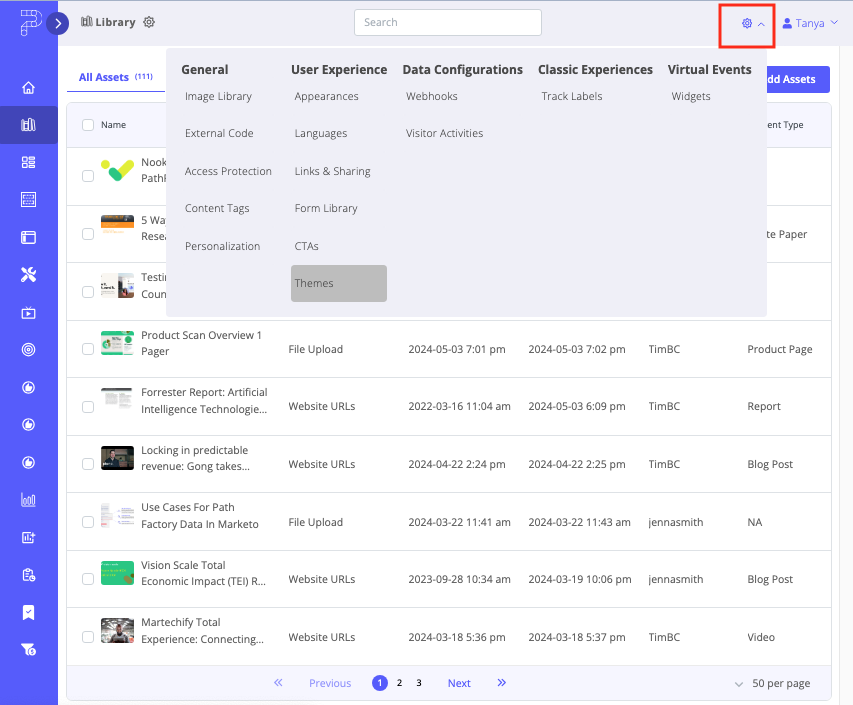
- Open Themes by clicking on the gear icon and then select the Themes menu item.
- On the list of Themes that appears, you can see which version of the Theme file has been used for each of its associated Experiences, as highlighted below.

Once you have determined which Theme file you want to update, proceed to the next step to clone the Theme and add it to your sandbox.
Step 2: Copy a Theme And Add to Sandbox
To edit a Theme file and test it before implementing changes, assign it a Sandbox status. This allows you to make and test modifications without affecting the associated Templated Experience. When you are ready to allow access to this Theme file, change its status to Active.
Continuing from the previous section, follow these steps.
- In the list of Themes, click the clone icon beside the one you want to duplicate for testing purposes, as highlighted below.
Note: To narrow down your search results, use the Status (Active or Sandbox) and Added By dropdown lists on the top left of the screen to filter the list of Themes.
- In the popup menu that appears, enter a name. We recommend you begin the name with the word CLONE or similar, to prevent confusion.

- Next, select a Theme to clone from, from the dropdown list.
- In the Status field, select Sandbox.
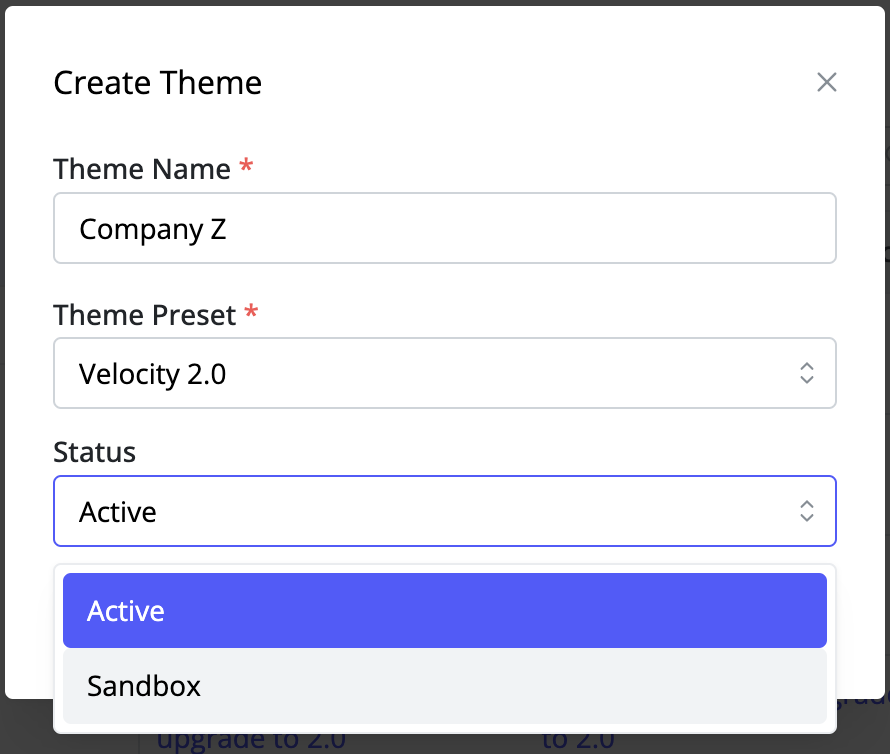
5. Finally, indicate if you want to clone the Experience(s) for which this Theme has been used.
6. Click Save to lock in your changes.
Note: If you are creating a new Theme from scratch, assign the Sandbox status by selecting that option in the Status field. Once you have created a Theme, you cannot alter its status.
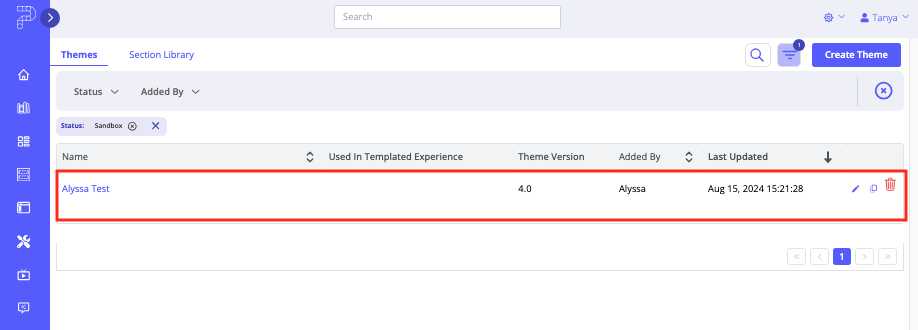
7. Go back to the Themes main page and select Sandbox from the Status dropdown list. The newly cloned Theme now appears, as highlighted in the screen capture below.
Step 3: Update Theme for Copied Files
These instructions describe how to update Theme files to 2.0 or higher.
- Open the Themes menu.
- The Themes main view opens, displaying all Theme files, with Sandbox and Active statuses.
- To view only Active or only Sandbox Themes, select an option from the Status dropdown list.
- You will again see the column that displays the Theme version that has been applied to each of your organization’s Themes, as highlighted in the screen capture below.
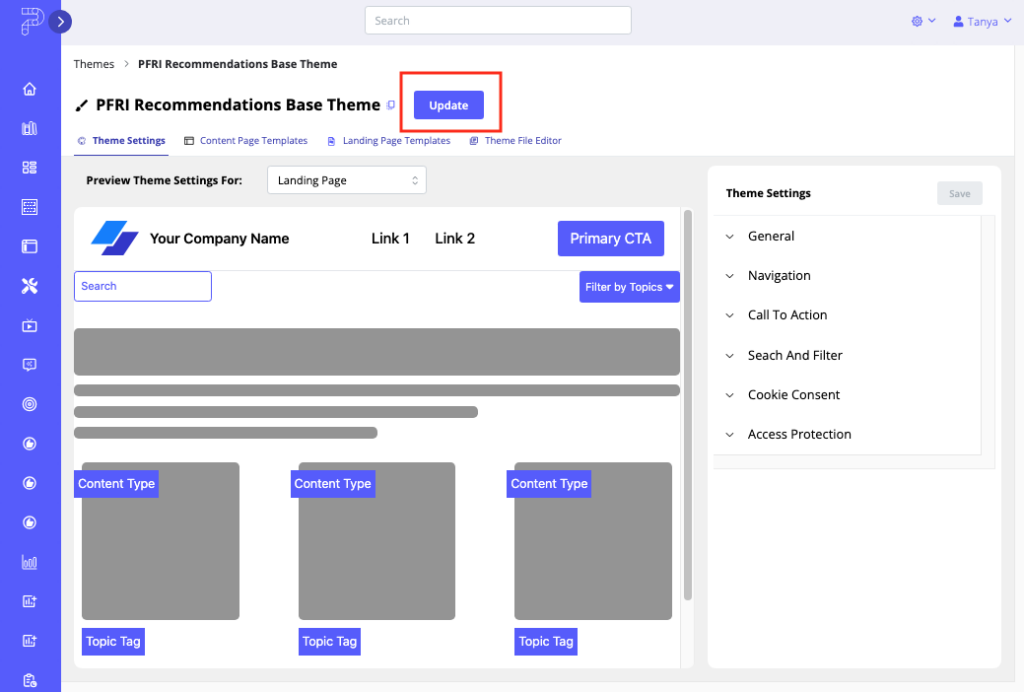
- Select a Theme file that has a version lower than 4.0. Once your cloned Theme file is open, you’ll see a button at the top labeled Update, as shown in the screen capture below.
- Click Update. Select the Theme version you want to update to, from the Theme Preset dropdown list.
- Click Save to update the Theme. Click Cancel to exit without saving.
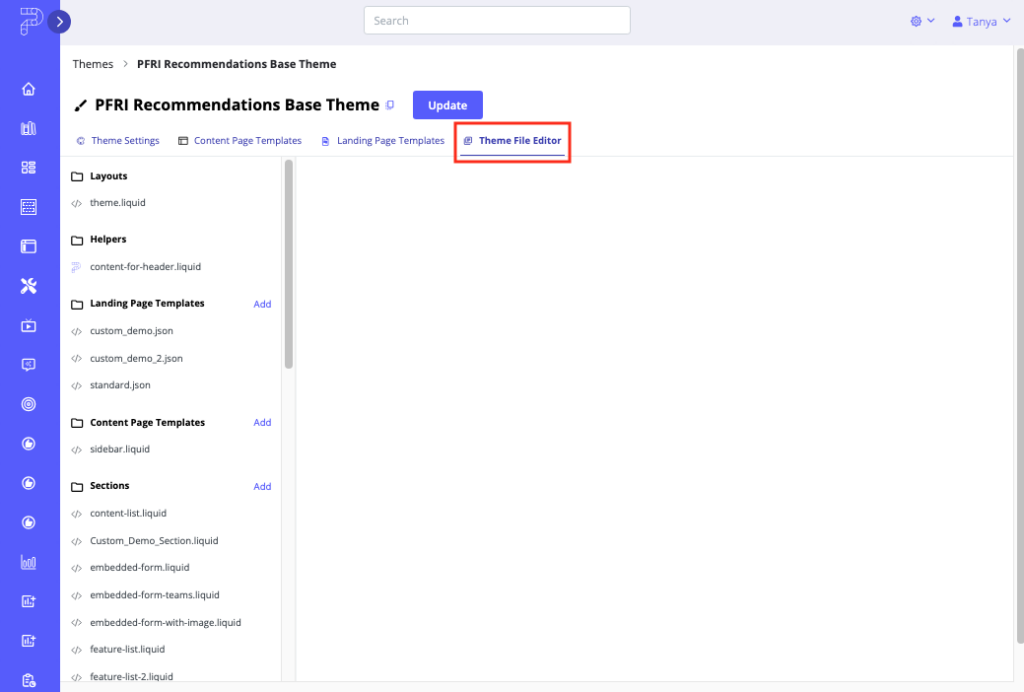
- Still within Themes, select the tab labeled Theme File Editor.
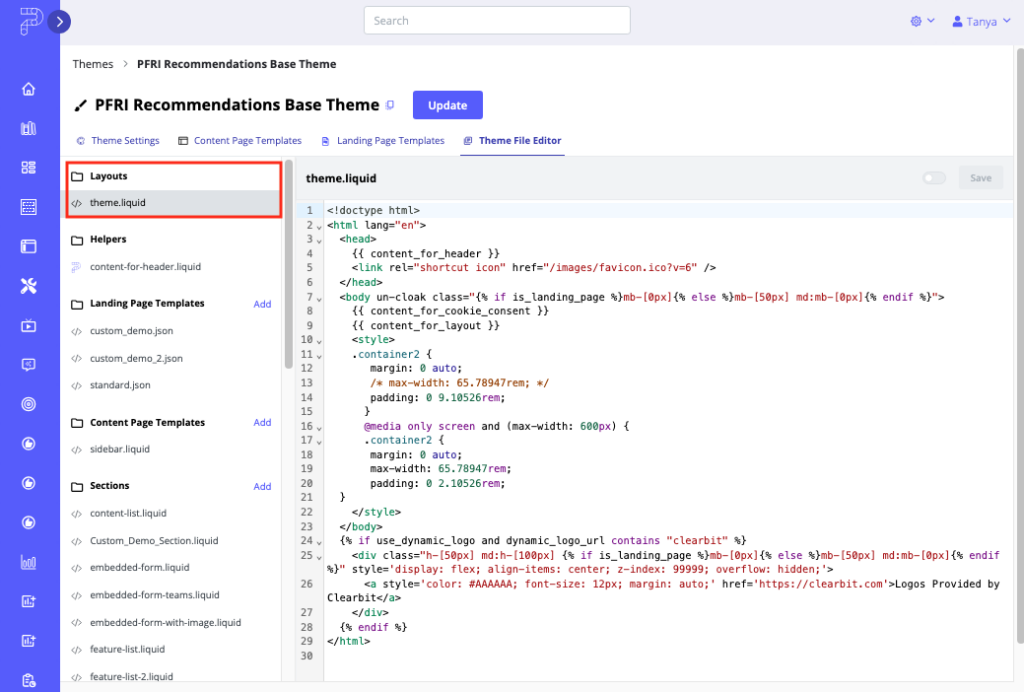
- In the Layouts section, open the theme.liquid file, then note and copy any customizations made to the file.
Note: Remember to review ALL other customizations in your cloned Theme file to ensure the sections are rendering correctly, and make a note of what you need to adjust.
Step 4: Update the Original Theme File
Once you are satisfied with how the updated Theme looks on your cloned Theme, you can repeat the update process for the original Theme file.
Step 5: Delete Old Custom Files From V1.X
This step is required only if you are upgrading from a Theme file that is older than V2.0.
In the Theme File Editor, for Themes that are V1 or V1.2 you’ll see most if not all sections contain custom code that looks like </> custom-form.liquid. To get access to the out-of-the-box code, you will have to delete all the custom code you had previously added to your Theme file.
This step is required only when from a Theme file that is older than V2.0. Going forward, you will not have to delete the custom files you had previously added the next time you perform an upgrade for a Theme file. Once you have deleted the extraneous files, the new files automatically appear in their place.
The process for deleting old custom files is as follows.
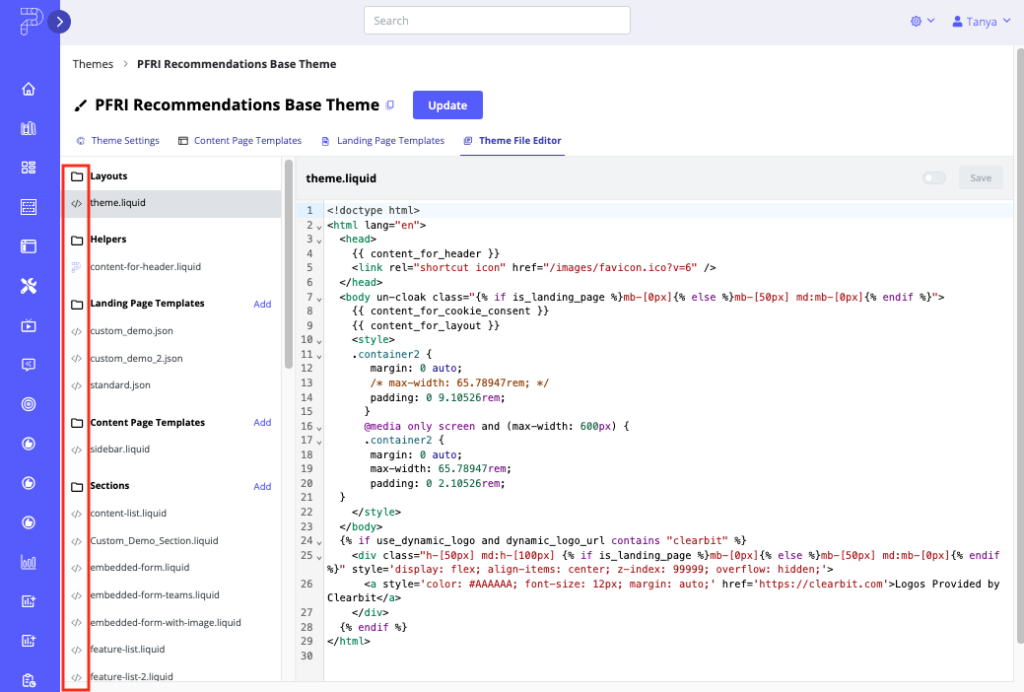
- Select the Theme File Editor tab. You’ll notice that the icons for the liquid files are labeled with the PathFactory logo (read only) or a script </> (custom editable files) as highlighted in the screen capture below. All of the custom files are automatically labeled with </>.
- After the upgrade process is complete, delete the custom theme.liquid file and any other custom Theme files that remain.
Step 6: Add New Custom Theme Files
All of the PathFactory Theme files are read only, so if you want to add your own modifications to the Theme file, you must create custom liquid theme files.
To add custom liquid theme files to the Theme Files, follow these steps.
- On the Theme File Editor tab, select a PathFactory liquid file on which to base the new liquid file. Hover over the filename and a copy icon appears, as shown below.
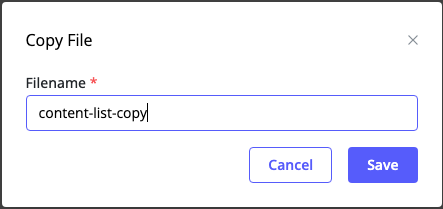
- Click on the copy icon, and a popup menu appears for you to enter the new file name. There is a file name automatically assigned, but you may edit this name if you wish.
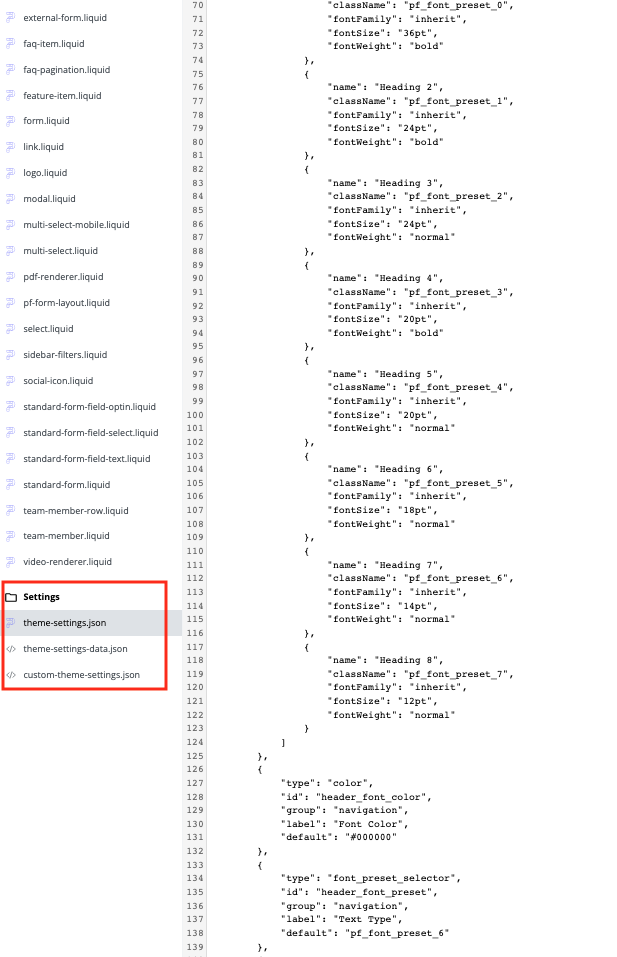
Note: in the Settings section of the Theme File, theme_settings.json is a read only file. You may have to scroll down the page to see it, as it’s at the very bottom. If you want to customize the file, copy it to the custom_theme_settings liquid file, as shown in the screen capture below.
Views: 78