What are promoters?
Promoters are the tools that encourage visitors to navigate your Content Tracks, Templated Experiences and Content Playlists to encourage them to view additional content.
You can customize the look and feel of promoters by applying different appearance and language settings.
For a comprehensive overview on promoters, click here.
Promoter Types
Flow

Behavior: Scrollable content menu allows visitors to jump ahead in their Content Track, or simply use the Next buttons to move forward.
Available in: Target
Signposts
Behavior: Customizable Next and Previous buttons allow visitors to navigate through content.
Available in: Target
Bottom Bar

Behavior: Collapsible content menu along page bottom.
Available in: Target
End
Behavior: Opens final asset in a new tab.
Available in: Target
Sidebar
Behavior: Scrollable content menu allows visitors to jump ahead in their Content Track.
Available in: Recommend
Topic Sidebar
Behavior: Scrollable content menu displays topic tags on content, allowing visitors to filter by topics of interest.
Available in: Recommend
Exit
Behavior: Suggested content window appears when visitor tries to navigate away from the Content Track.
Available in: Target, Recommend, Templated Experiences and Content Playlists.
Inactivity

Behavior: Message flashes on tab when left inactive.
Available in: Target, Recommend, Templated Experience and Content Playlists.
How to Add Promoters to a Content Track
- Select the Content Track you want to edit.
Recommend tracks - Select promoters from the promoter list.

Promoters - Toggle the promoters on or off. Some promoter types are incompatible, and will automatically turn off when you select another promoter.
How to Add an Inactivity or Exit Promoter to Templated Experiences or Content Playlists
To incorporate a Promoter into a Templated Experience or Content Playlist to re-engage users who may have moved away from the experience to another tab, follow these steps.
- Open a Templated Experience in edit mode. To do this, follow these navigation instructions depending on which version of PathFactory your organization is using.
- In the legacy interface, on the top navigation click Content Activation and then select Templated Experiences.

Templated Experiences menu item
- In the latest interface, expand the panel on the left side and then select Templated Experiences or Content Playlists, depending on which Experience type you are editing.

Side menu bar
- In the legacy interface, on the top navigation click Content Activation and then select Templated Experiences.
- In the list that appears, select the checkbox for the Templated Experience or Content Playlist you want to edit, and then select the edit icon, as shown below.

Edit mode - In the Templated Experience or Content Playlist, select its Content Page Setup tab.
- You’ll notice on the right menu panel is an item labeled Add on Promoters. Click its arrow to expand it.

Add on Promoters menu item - Toggle on the promoters you want to add:

Add on Promoters menus - To enable the Inactivity Promoter, toggle the switch to the “On” position. You can then customize the text that displays when this promoter is activated. The menu refreshes to give you options for the Title and Delay (in seconds).

Enable Inactivity Promoter toggle -

Exit Promoter with Content Asset Selection - When you are finished, click Save to lock in your changes. To cancel all changes, navigate to a different tab and then at the prompt click OK.
 Exit Promoter example
Override Promoters’ Default Settings
The override function allows you to change the behaviors of promoters for the specific Content Track you are editing.
- Select the Content Track you want to edit.
Recommend tracks - Click No Overrides under whichever promoter you want to adjust.
Overrides option - Enter the promoter behavior and information you want it to display.
See below for details on what each promoter’s override function allows you to change:
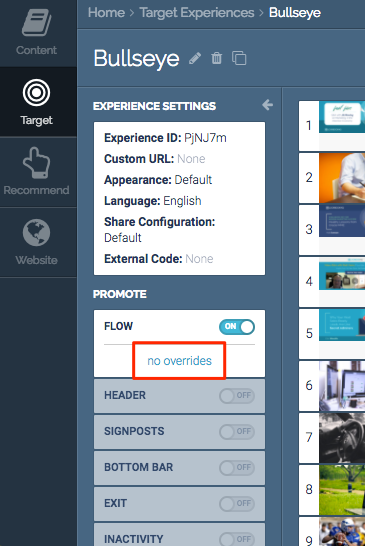
Override Flow Promoter
The flow promoter override allows you to add a header to your flow Target Content Track.
Override Signposts Promoter
The signpost promoter override allows you to select whether the signpost is entirely hidden or just in its collapsed state when an asset first loads.
|
Note
|
To ensure that this behavior occurs you must set Next Promoter Delay to be more than 0 seconds. This gives the promoter time to be hidden or collapsed.
|

Override Sidebar Promoter
The sidebar promoter override allows you to change the title of the sidebar promoter, adjust the number of items shown in the sidebar, and change the location of the sidebar on the page.
Override Bottom Bar Promoter
The bottom bar promoter override allows you to change the title of your bottom bar promoter, adjust the number of items shown in the promoter, and change the amount of time before the bottom bar promoter appears.
Override Card Promoter
The card promoter override allows you to change the title of your card promoter, adjust the number of items shown in the promoter, and change the amount of time before the card promoter appears.
Override Exit Promoter
The exit promoter override allows you to add a headline and message to your exit promoter, change the number of items shown in the promoter, and change the amount of time before the promoter appears.
Override Inactivity Promoter
The inactivity promoter override allows you to change the inactive tab title and change the amount of time before the promoter appears.
Recommend Only: Disable Content Asset from Showing in Promoters
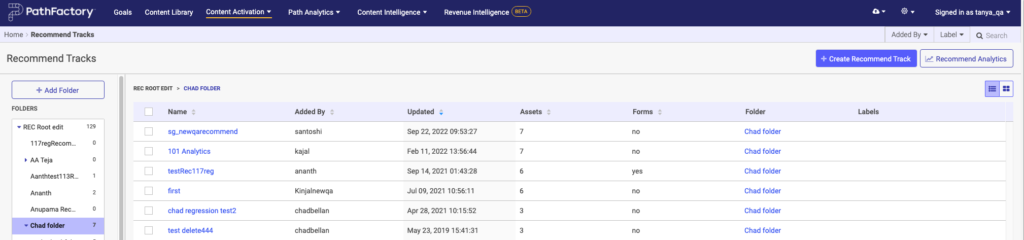
- Select the Recommend Track you want to edit.
Recommend tracks - Select the content asset you want to edit. The configuration window will open on the right.
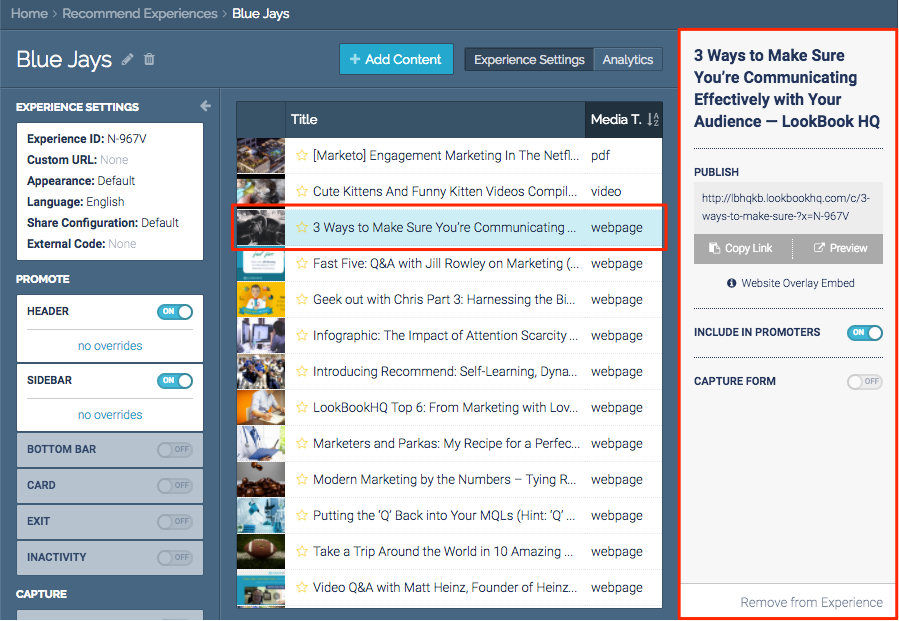
List of content assets - Click Include in Promoters to switch the toggle to the OFF position.
Note
This will only affect the asset in this Content Track. The content asset will still appear in promoters in other tracks. 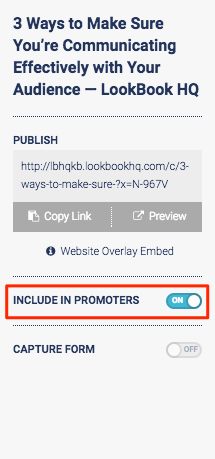
Include in Promoters toggle
Views: 154