To create a form, follow the steps below.
- Click on the gear icon on the main screen (top right). On the popup menu that appears, select Form Library.
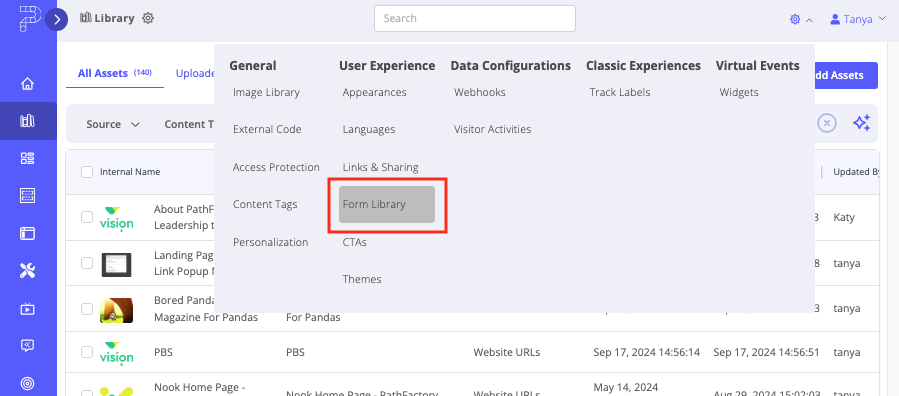
Platform Settings Form Library - In the Form Library, to add a new form select Add Form.
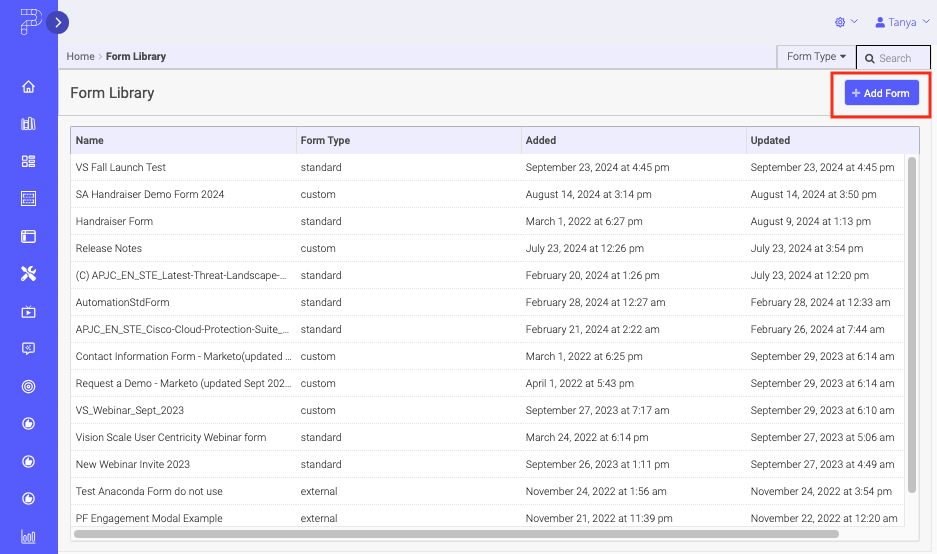
Add Form button - The Add Form menu opens. Type in the name of your new form and then click Add Form.
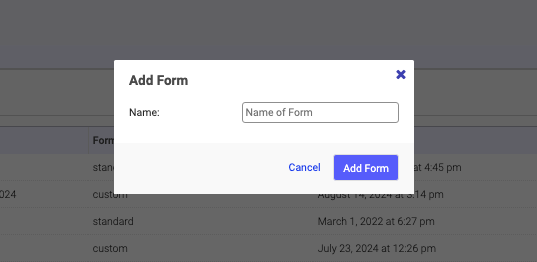
Add Form menu - The new form will appear in your Form Library. Select a type of form you want to create by selecting the Form Type dropdown list and clicking on Custom, External or Standard. depending on your needs.
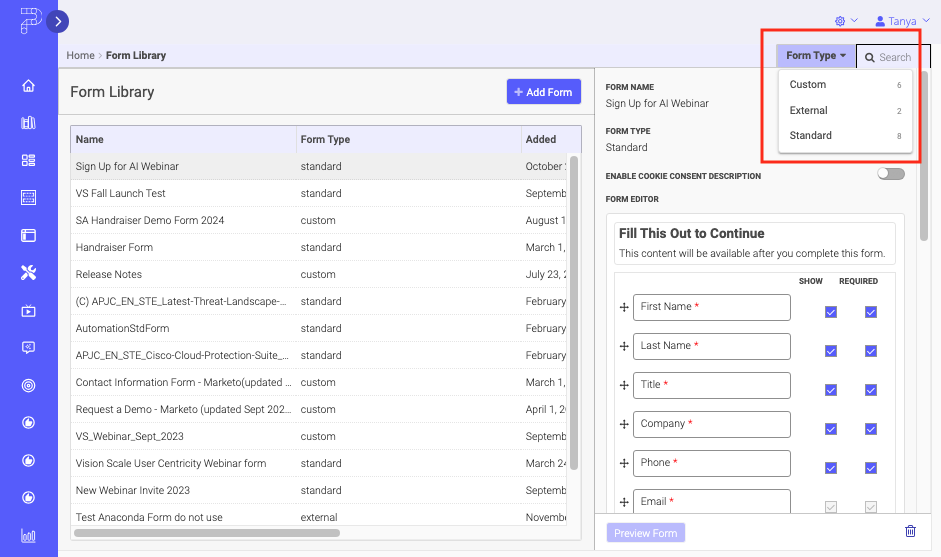
Form Type dropdown list Note: Standard Forms are those created entirely in the PathFactory platform, unlike External URL and Custom HTML forms which are originally built outside of PathFactory.
How to Customize the Styling of a Form
Now that you’ve created your form, you can tailor its appearance and functionality to align with your brand and campaign.
- Hover your mouse over the Form Header and a pencil icon appears. Click the pencil to edit the form’s Title and Description, and add a thumbnail image.
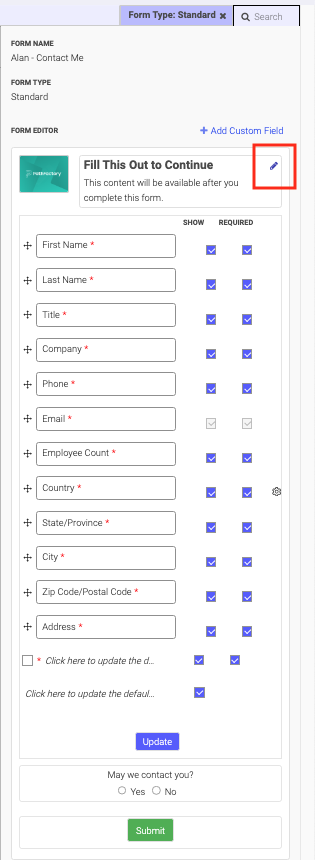
Form Header - If you want an image to appear on your form click the box next to Enable Header Image.
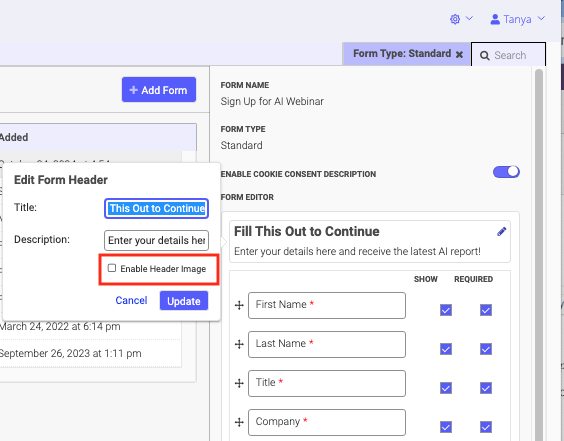
Enable Header Image - When you are done making changes to the title and description, click Update to save.
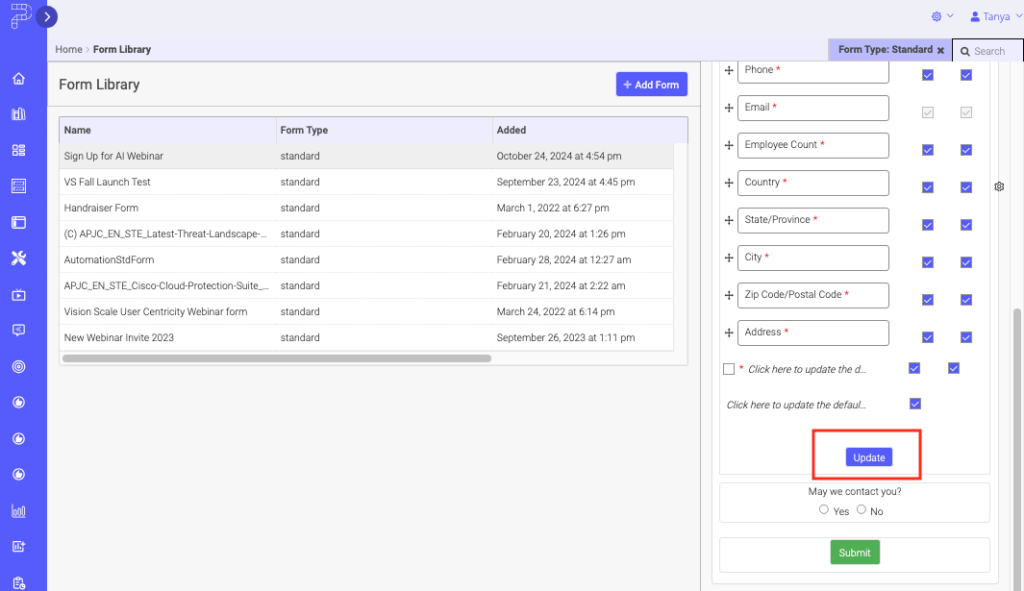
Update button - To add or change the image that will appear in the header of your Form, hover over the (currently blank) image and you will see a pencil icon. Click the icon, and in the popup menu that appears, select the thumbnail image you want to display on the header. To change it again in future, repeat this step.
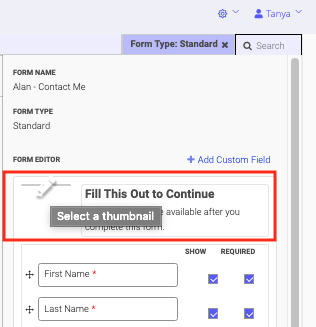
Edit a Thumbnail - To save the new thumbnail to the given Form, click Save. To leave the process without saving any changes, click Cancel.
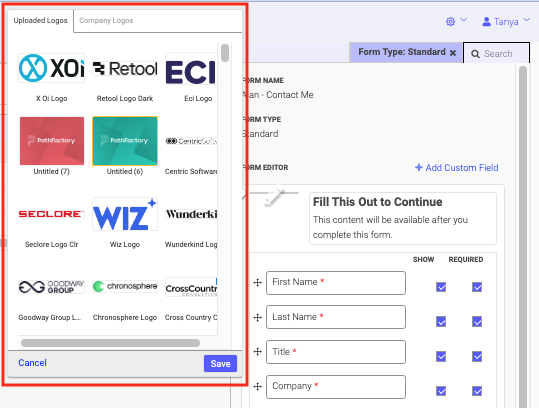
Select a Thumbnail popup menu - Click anywhere within the body of the form to edit the available fields.
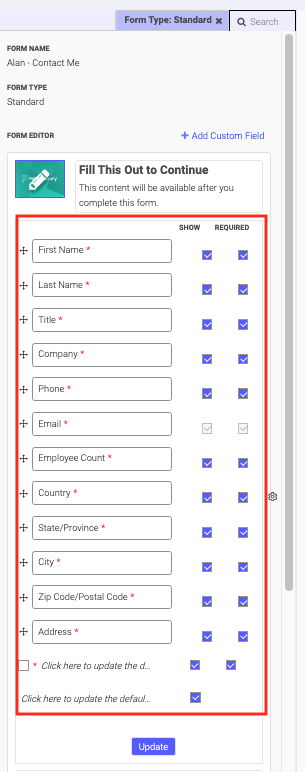
Example of a Form menu - Select and deselect any of the fields by clicking on them. You can assign fields to be displayed or not, and within those you choose to display, you can designate them as required for the viewer to fill out. When you are finished, click Update to save any changes you made.
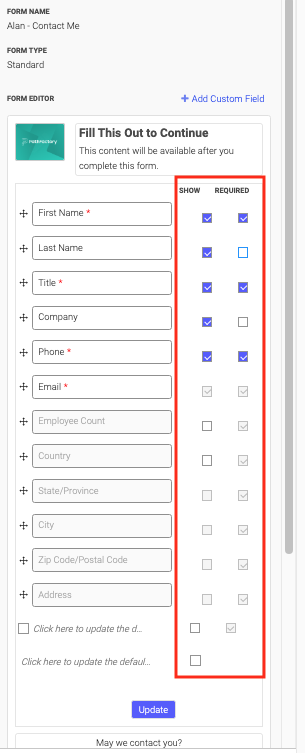
Show and Required fields - To edit the wording and button color of the Submit button, hover over the button. Select the pencil icon that appears. A menu pops up, enabling you to edit the button’s appearance and wording. To save your changes, click Update. To leave without saving, click Cancel.

Submit section of a Form - To edit the appearance and text of the Opt-In section, hover over it and then click the pencil that appears. If you don’t want to give users the option of not being contacted, deselect the opt-in checkbox, highlighted in the screen capture below.

Opt In checkbox - On the Opt-In menu you can also include a link to your company’s privacy policy in the field provided. When you are done making changes, click Update to save them.
- To customize the menu options on the Form, hover your mouse over the given field’s checkboxes, and then click on the gear icon that appears. A popup menu opens, enabling you to add specific options to the given field.
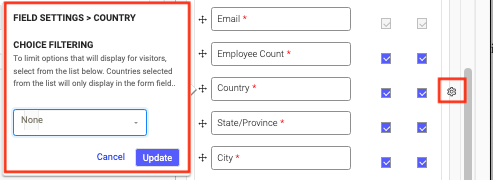
Field Settings menu - To add a custom field, click the link as highlighted in the screen capture below.
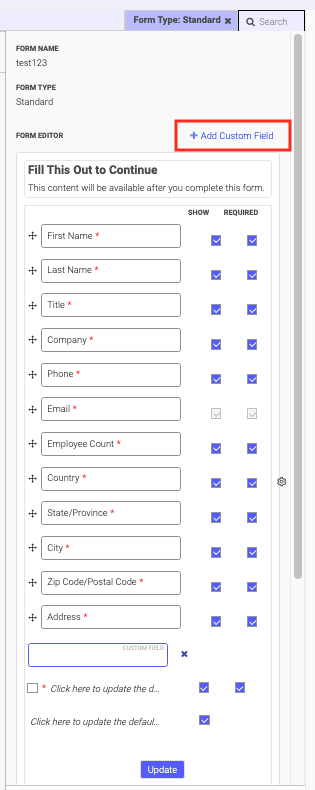
Add Custom Field link - A blank field appears at the end of the list of fields, ready for you to configure. As with the other changes, if you want to save them, click Update.
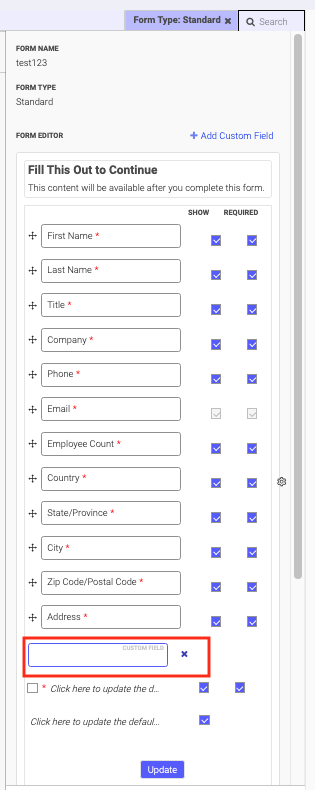
Blank field
Views: 230
