|
Warning
|
If you are using a Custom HTML Form you must add a capture tag to ensure your form fills are tracked in PathFactory. |
Create the Form
- Click on Add Form.
 Add Form button
 - The Add Form window will pop up. Type in the name of your new form and then click Add Form.
 Add Form popup menu
 - The new form will appear in your form library. The default form type is Standard. Click on Form Type to select Custom.

Form dropdown list
Add HTML
- Click Custom HTML.
 Add Custom HTML code
 - Enter your custom HTML and click Submit to save your changes.
 HTML code example
Look and Feel
- Click Form Header if you want a form header to be included on your custom HTML form.
 Form Header toggle
 - Click anywhere within the header box to edit this section.
 Form Header text
 - You can change the text which will appear on your header. Select Enable Header Image to include an image in your header. Click Update to save your changes.
 Enable Header Image checkbox
 - Click the image space to edit the header’s image.
 Form Header Image
 - Click the image you want on your header. Then click Save.

- Click Form Dimensions to edit the size of the form.

- Enter the desired size. Click Apply to save your changes.
Note: Height and wedge are measured in pixels.
- If you are using HTML from an Eloqua or Marketo form you will see an additional configuration to apply default styling to your form, choose a primary and secondary form color and font for your form. These settings will edit your form’s CSS so you can customize the look and feel of your MAP form.
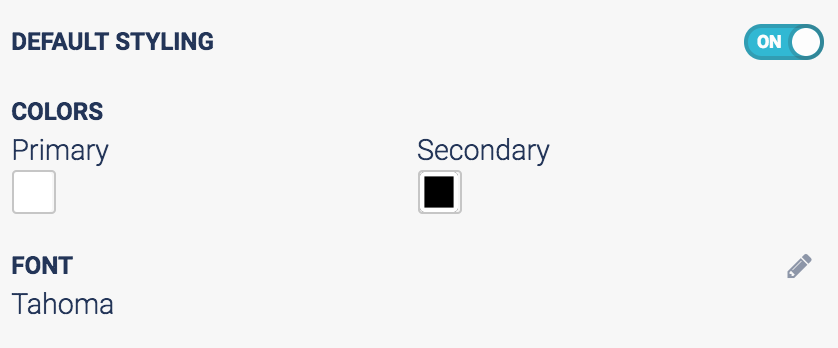 Default Styling menu for Eloqua or Marketo
 - To preview these changes click on the preview button on the lower right side of the configuration screen.
 Preview Form button
Views: 256