Summary
The second stage of the content upload process is to configure your content assets.
You can return to this advanced configuration window later on by selecting a content asset to edit, and clicking Advanced Edit.
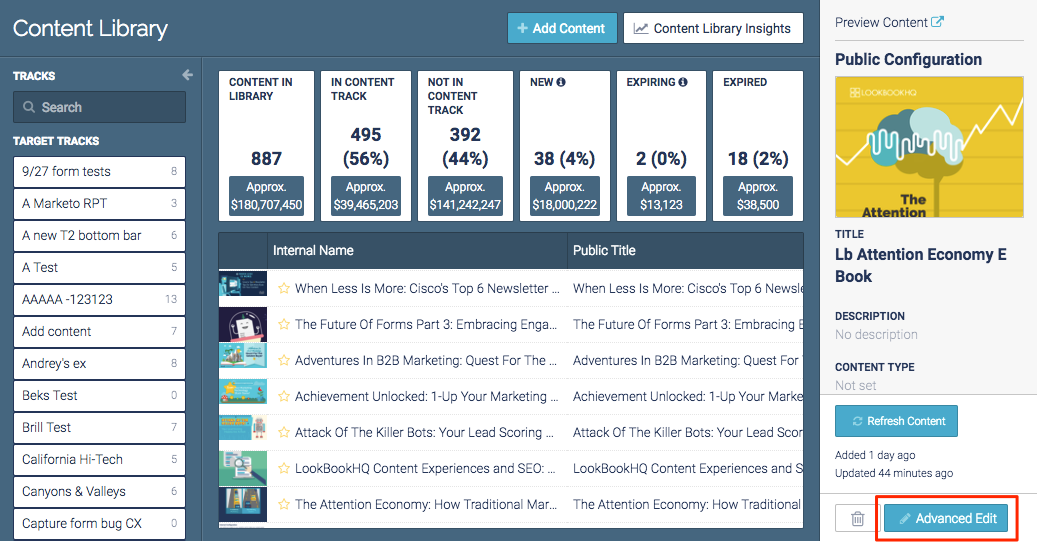
Content Library main screen
- You are able to begin configuring your content assets even if other assets are still being processed.
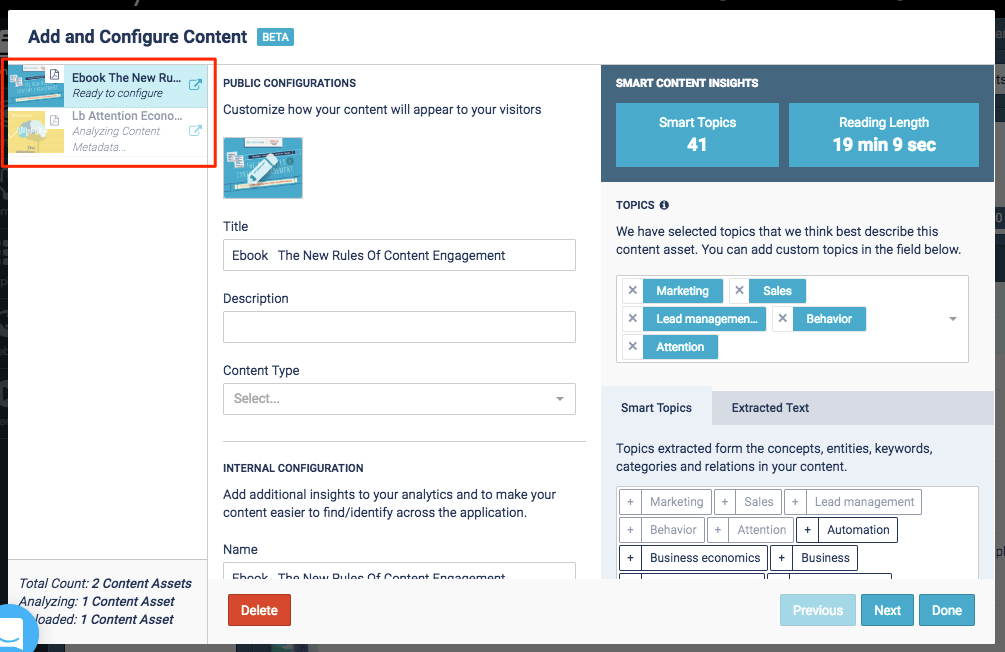 Add and Configure Content screen
Note
Add and Configure Content screen
NoteA warning symbol  will appear next to any content assets which could not be uploaded. Click on the affected content asset to learn why it was unable to upload.
 - Click on Next and Previous to move between content assets, or select them from the left. Click Done to close the configuration modal when you have finished configuring your content.
Note
Your changes will be saved when you navigate between the content assets and/or click Done.
Changes will not be saved for the active content asset if you exit by clicking the X in the top right. - Click Delete to delete an uploaded content asset.
Clicking Reset Changes will reset the content asset’s configurations to the last saved state.
Public Configurations
|
Note
|
You are also able to edit all fields after the content assets have been added to the Content Library. |
- A thumbnail image will automatically be pulled from your content, but you can change the image by clicking the thumbnail.
Note
The recommended size for thumbnail images is 400x300px. 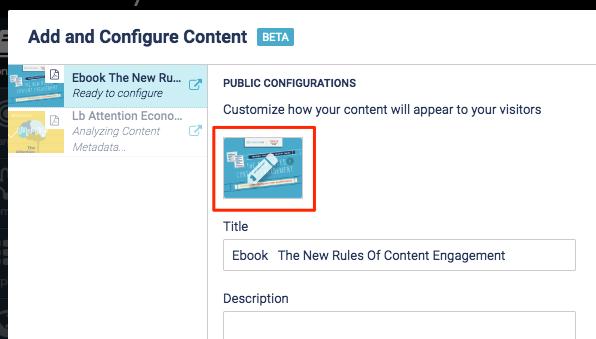
Thumbnail image example
- Select a new image, or click Upload to add a new image.
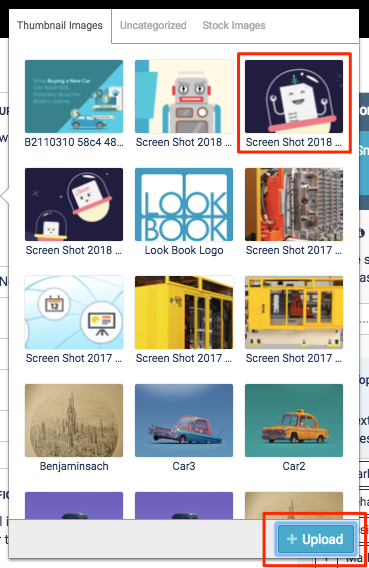 Upload button
 - You can edit the title that will appear to your visitors.
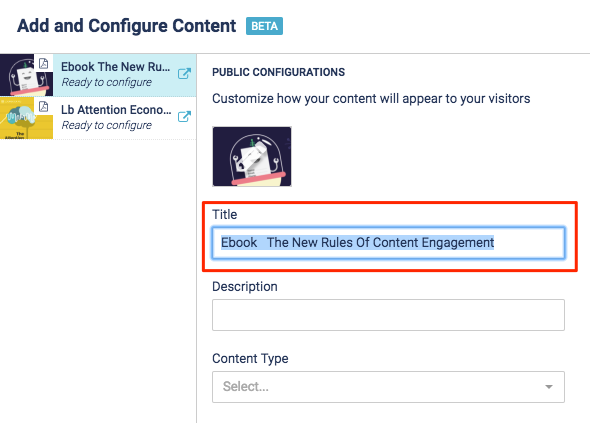 Title field
 - If you add a description, this text will appear when using a header in any Target or Recommend content track.
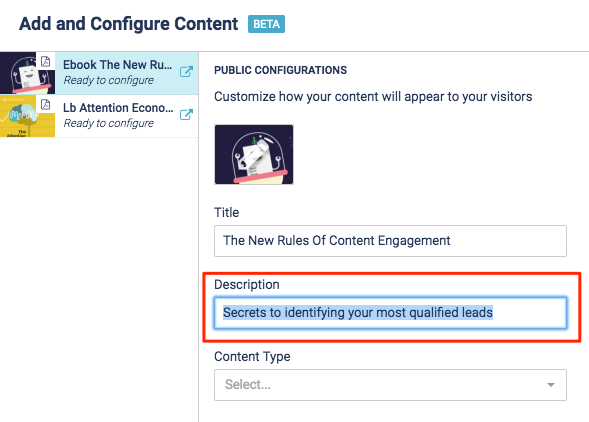 Description field
 - Select a content type from the drop-down menu.
Note
If you do not see the content type you need, you can create a new tag.
Content Type tags are useful for organizing your content, but they are also tied to Funnel Stage and Estimated Cost. Click here to learn more about setting up Content Type tags.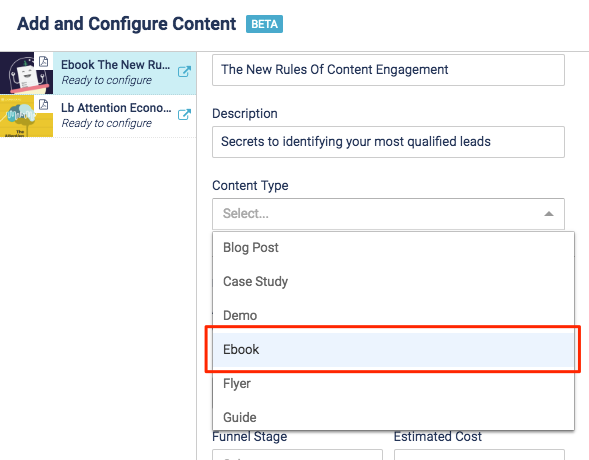
Content Type dropdown list
Content Engagement Score
Each content asset can have its own score signifying meaningful engagement. This is set by defining how many seconds a visitor must engage with the content asset, and what score they will be given after that time threshold has been met.
|
Note
|
We recommend leaving the Engagement Score at the default setting when you are first setting up your content, and make adjustments later once you have an established baseline. |
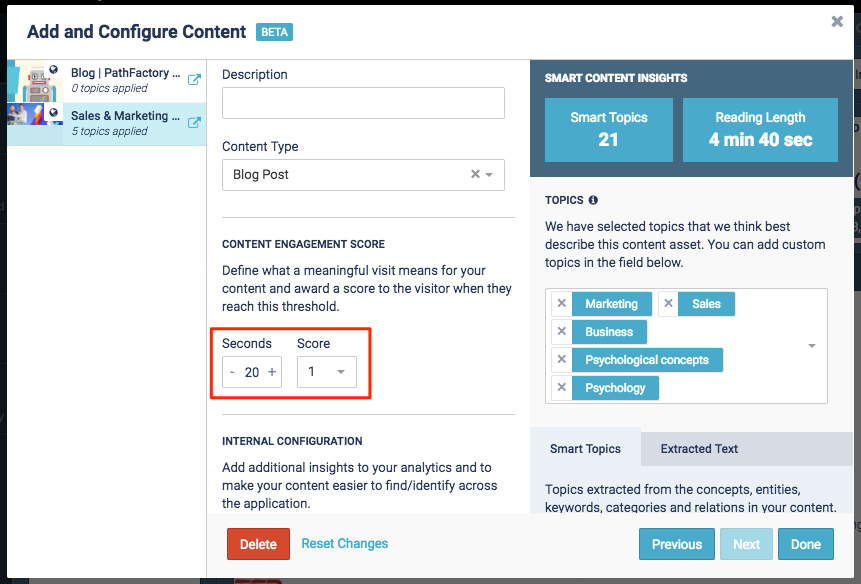
Content Engagement Score
Internal Configuration
|
Note
|
You are also able to edit all fields after the content assets have been added to the Content Library. |
- The Internal Name is only visible within your PathFactory instance, and will not be seen by the public.
Note
You can include any markers or abbreviations which are meaningful to your organization and will help you keep your content assets organized. Click here for naming convention suggestions. 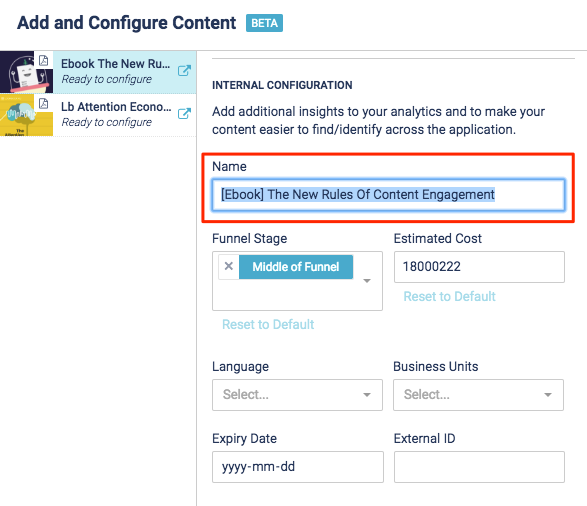
Name field
- Funnel Stage and Estimated Cost will be automatically populated once you have selected a Content Type in Public Configurations.
You can override these default values.NoteClick Reset to Default to cancel the changes you made. This will revert the values back to the default values attributed to the Content Type. 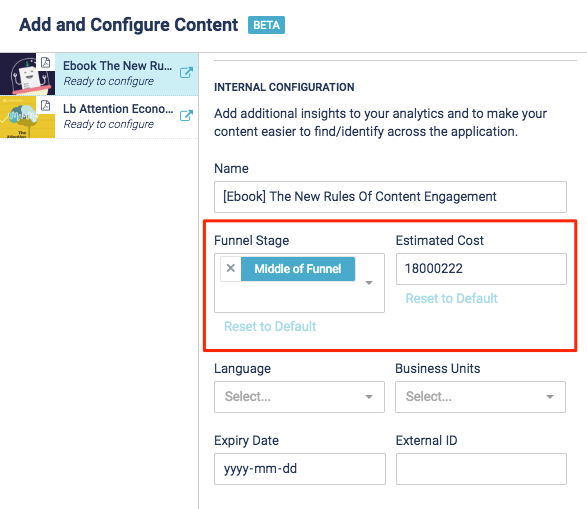
Funnel Stage and Estimated Cost fields
- Select Language and Business Unit tags. These tags can also be customized on the Content Tag Configuration page.
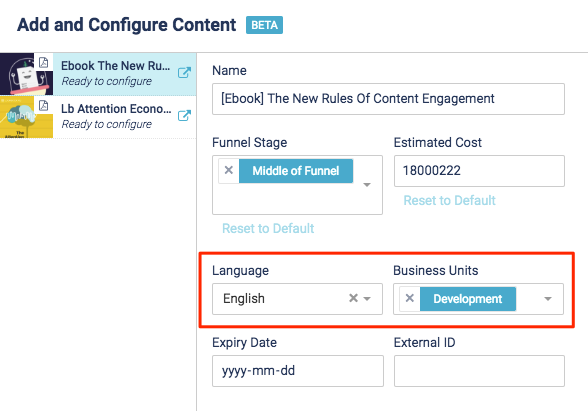
Language and Business Units fields
- Add an Expiry Date. You can either type in a date, or click the arrow to select from a calendar.
Note
Your content will not be deleted or made inactive after its expiry date; this feature allows you to keep track of content assets which should not be used after a certain date. For example, you may not want to use a holiday-specific content asset after that holiday.
You can view your expiring and expired content assets using the Content Library Summary.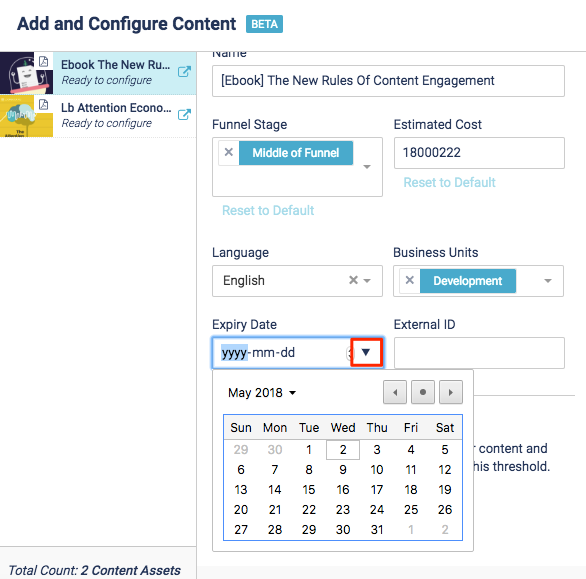
Expiry Date field
- Add an External ID. This can be used for additional tagging used within your organization.
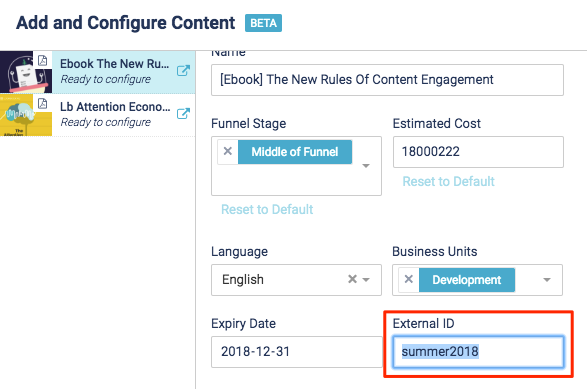 External ID field
Views: 66