Now that you’ve finished building your Explore page, you’re ready to publish it!
This article covers:
- How to preview your Explore page
- How to publish your Explore page using its URL including optional query strings parameters
- How to publish your Explore page by embedding it in an email or webpage including optional query string parameters
|
Warning
|
For any traffic coming from an email sent by your marketing automation platform you must use a query string in the URL which merges in the email address of the recipient. For more detail, see “sending the Explore page as a link in an email” within the Publish an Explore Page section below. |
Preview an Explore Page
- Select the Explore Page you want to preview.

List of Explore Pages - For the Explore Page that opens, click on its Eye Icon button in the top right.

Explore Page Preview button - The Explore Page will open as a preview in a new tab.

Explore Preview example
|
Note
|
Previewing your Explore page does not affect the page’s analytics. |
Publish an Explore Page
There are 2 ways to publish and share your Explore Page:
- Use a URL to link to the page (including special considerations when linking from an email)
- Use HTML to embed the Explore page in an email or webpage
Share URL Link
- Select the Explore Page you want to publish.
- Click the Share button in the top right corner.

Explore Page Share button - The following menu opens.

Explore Share Link menu Using the dropdown menus, select a Topic, Query String, and Sharing Domain URL. If you are NOT deploying your Explore Page in an email and do not require any custom query string parameters be appended, you can simply click the “copy” button.
 Note
NoteThe default is for visitors to begin on the Explore/landing page. - Select and copy the URL according to where you are using the link.
- If you’re sending the Explore page as a link in an email you must select your Marketing Automation Platform (MAP) in the Query String section in order to ensure email tracking and metrics are collected.Note: If you are using this link within an email, using this feature ensures that PathFactory is able to de-anonymize the visitor when they click the email link.
- If you’re sharing the Explore page on any non-email channel you can simply Click the Clipboard Icon to copy the URL. Remember you can add custom query strings using our Custom Query String functionality if desired. You can now paste this URL to be deployed anywhere.
Embed HTML in Email or Webpage
- Select the Explore Page you want to publish from the Explore page.
- Click the Email Icon in the top right corner.

Explore Page Email button - Select and deselect the content assets that will be shown in the email. A preview of the selected assets is displayed beneath the list.
Note
Deselecting content assets in this configuration window does not remove them from the content track. This only changes which content assets will be shown in this particular email. 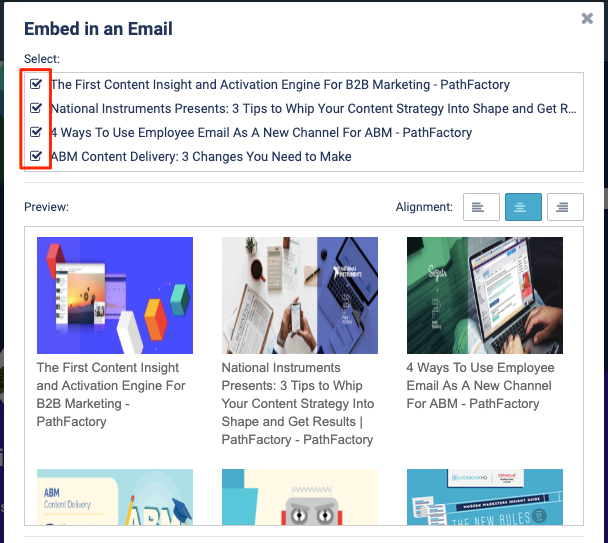
Selecting content assets - Select the alignment of your content assets.
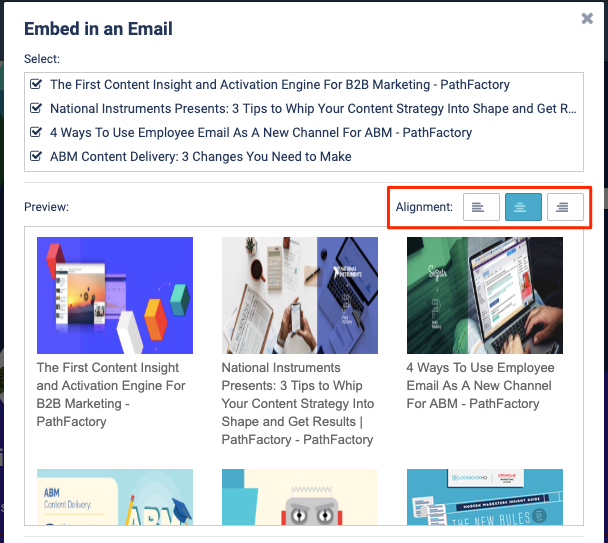
Alignment button - If you are embedding the track in an email, ensure you select your Marketing Automation Platform in the Query String dropdown (this ensures that PathFactory is able to identify the visitor when they open the email link).
Note
If you are embedding the track on a website, you do not need to select your Marketing Automation Platform from this list, but may wish to use other Custom Query Strings such as UTM tags. - Click Copy HTML. You can now paste this HTML embed code into your emails or onto your webpage.
Views: 91