A Resource Center enhances a Landing Page by providing easy access to supplementary materials, which could include documents, guides, videos, or other relevant content.
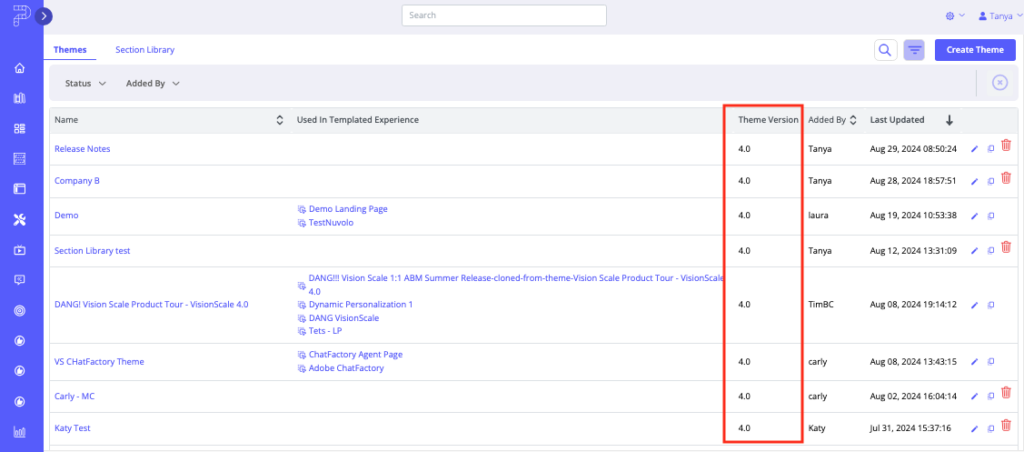
Note: This feature is available when you create an Experience based on a Theme that is version 4.0 or higher. If you’re not sure which version you are using, open your list of Themes (click the gear icon, then select Themes). Locate the Theme you are using. There is a column that lists the version of each Theme, as shown below. To read more about Themes and their uses, read Introduction to Themes.
To add a Resource Center section to a Landing Page, you will edit a Theme’s Landing Page Template section and then use that updated Template to create Landing Pages. Follow the steps below to use this feature.
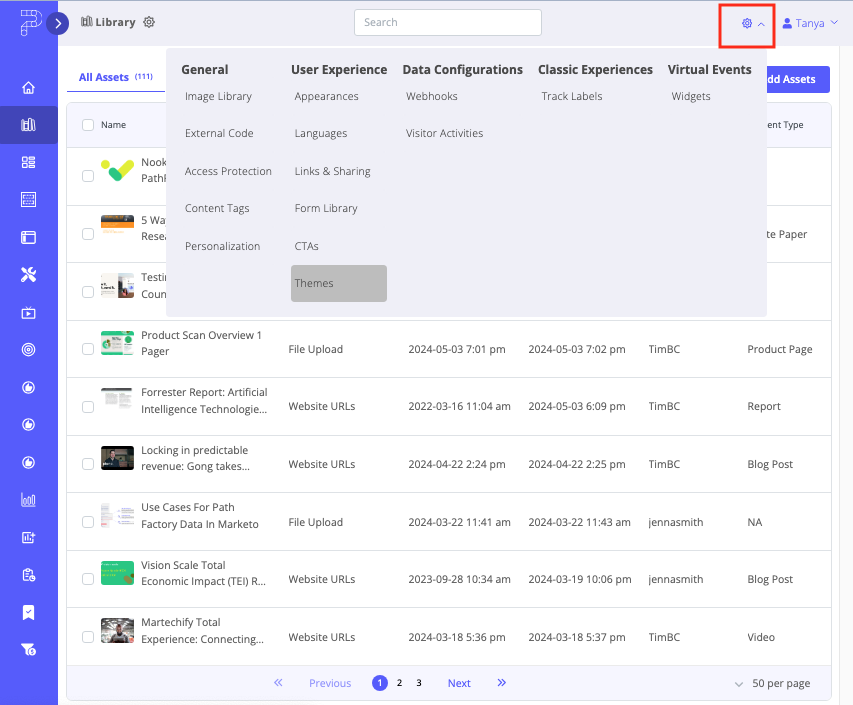
- On the main navigation menu, click the gear icon, and then select Themes.
- Choose a Theme from the list and click on its title to edit.
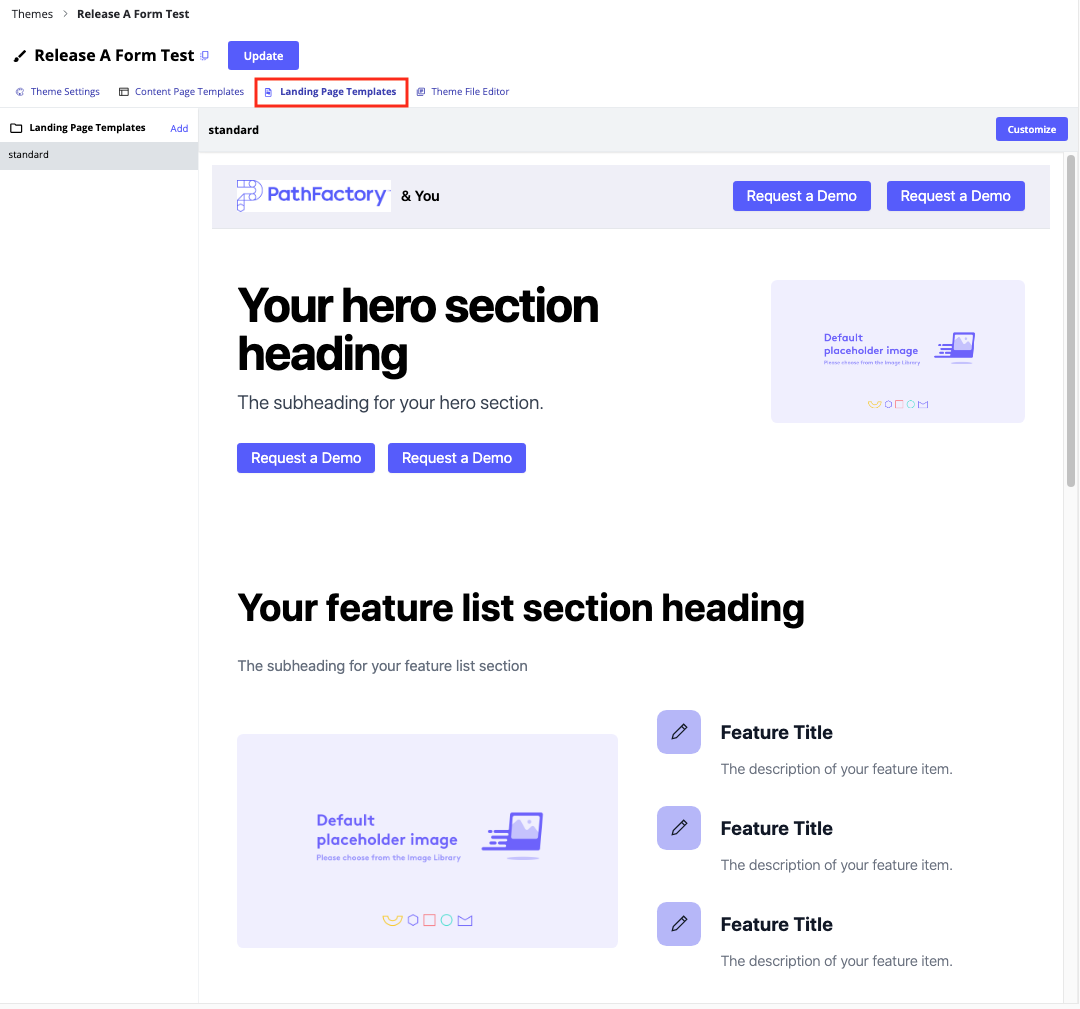
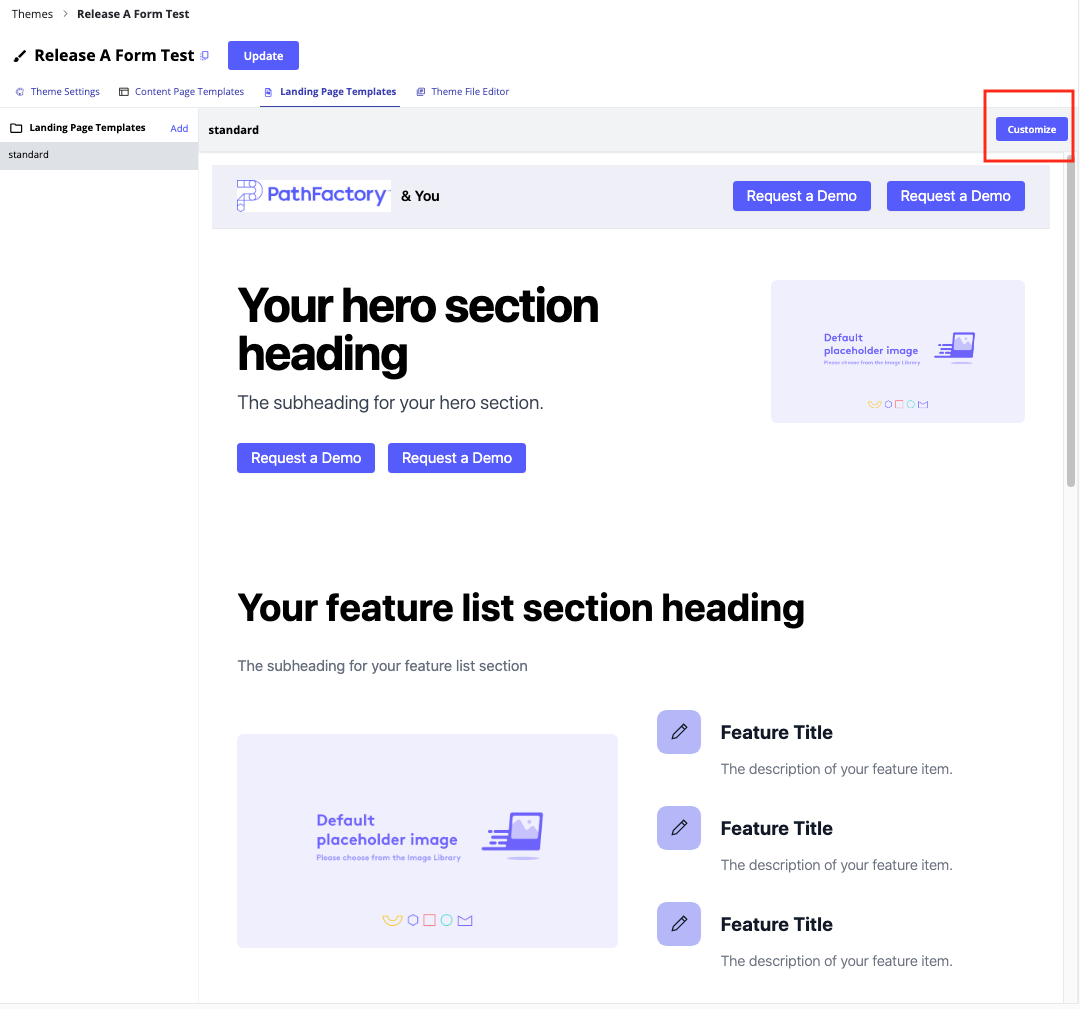
- On the Theme that opens, select the Landing Page Templates tab.
- On the top right corner of the screen, select Customize.
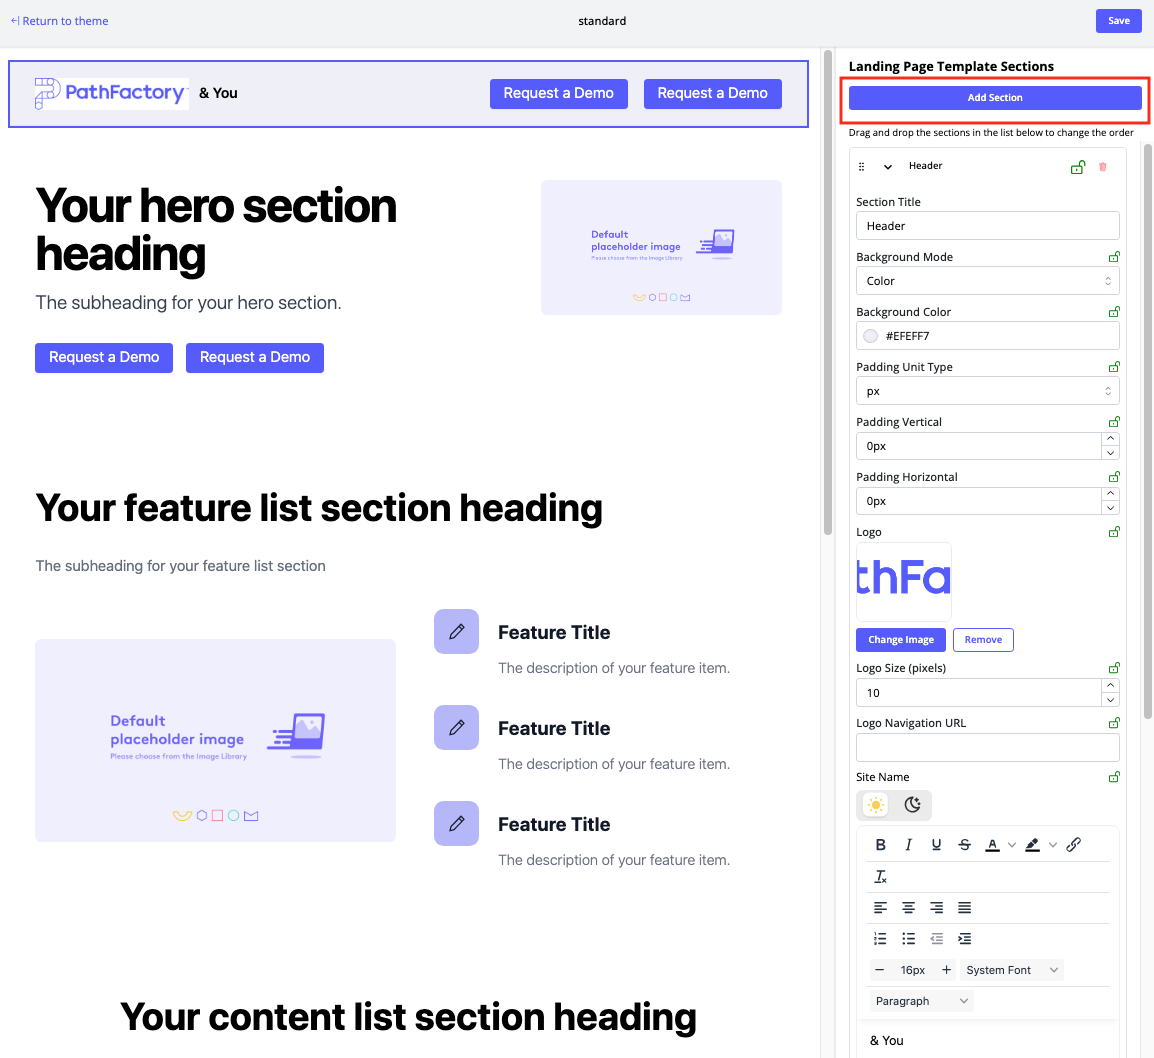
- Next, select Add Section as shown below.
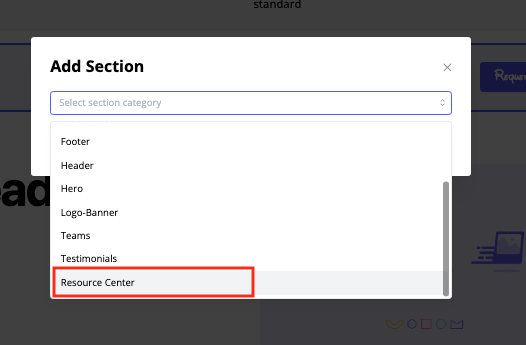
- The Add Section menu pops up. From the dropdown list, select Resource Center.
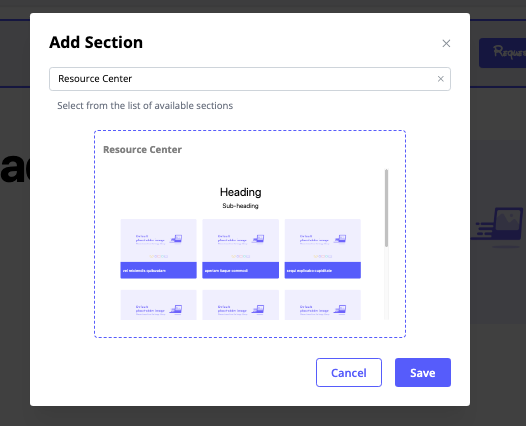
- The following layout is available for the Resource Center. Select it and then click Save.
- You’ll notice the newly added section is now visible on the list of sections for the given Landing Page Template.
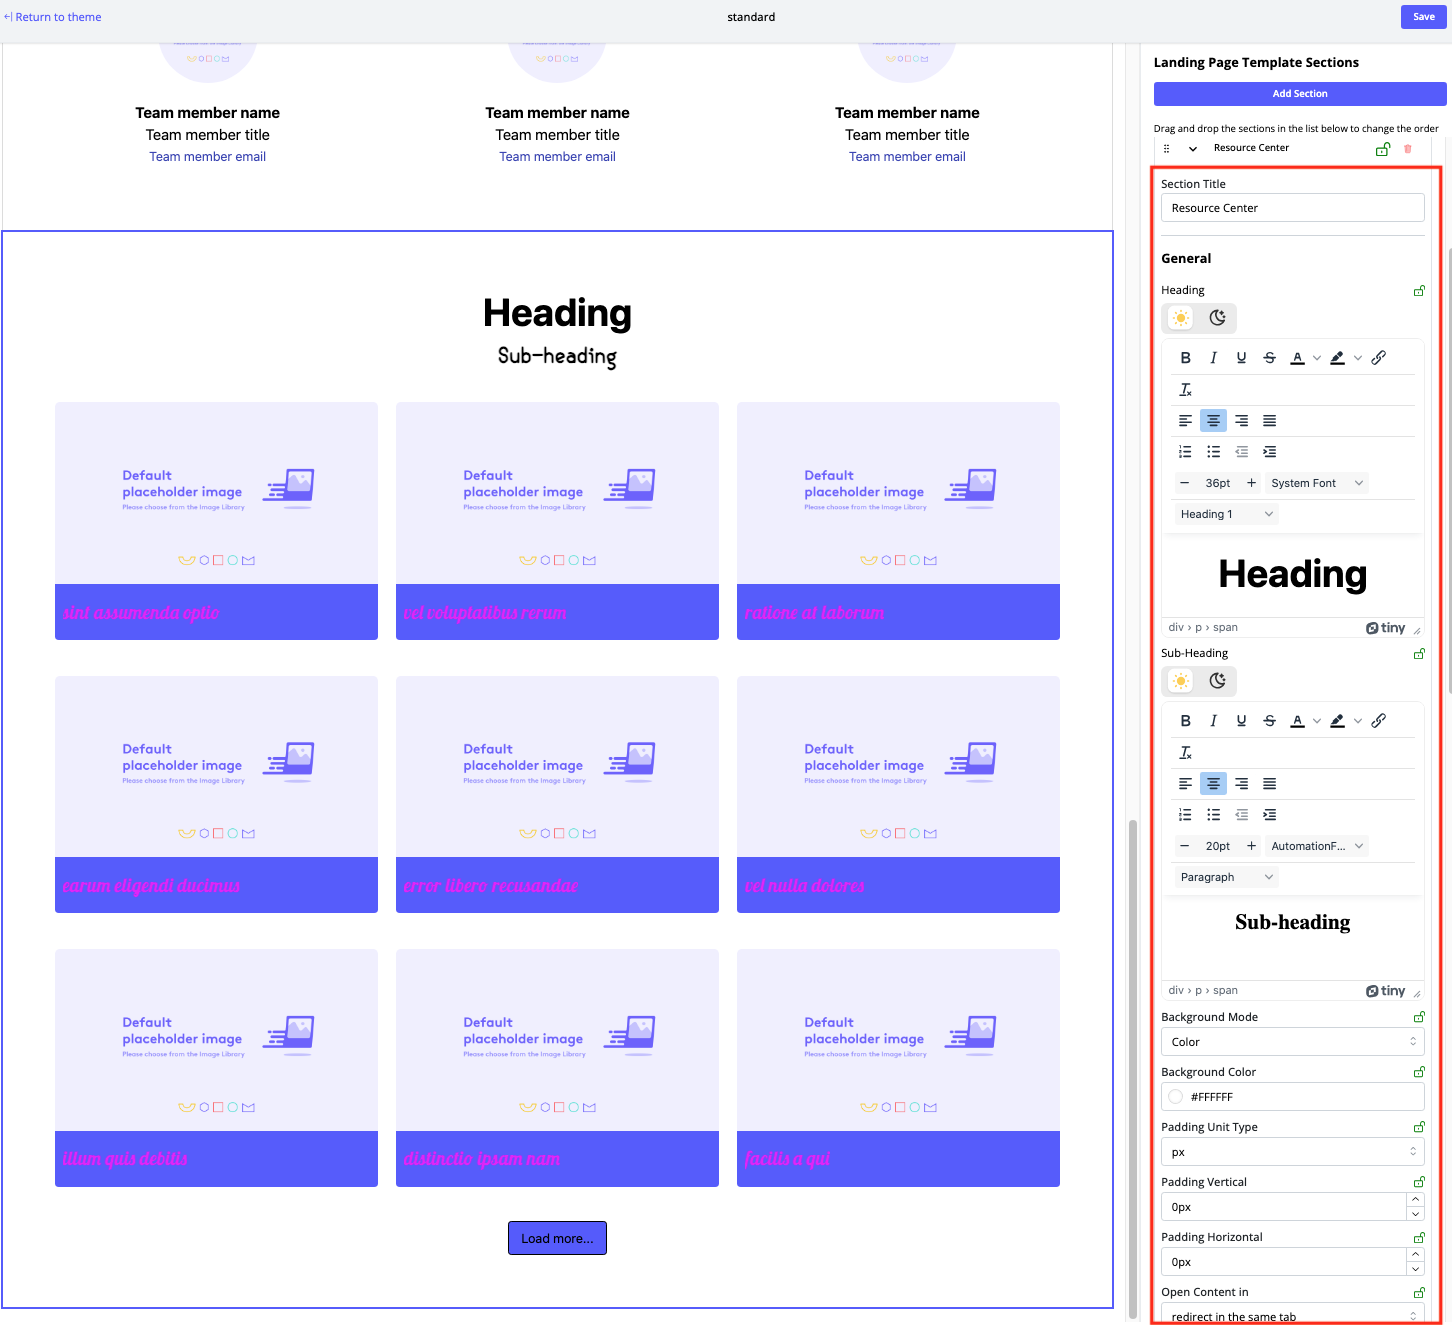
- Using the editing menu for this section, you can customize its appearance and heading of the Resource Center section you just added, including the background, padding, redirection, and number and appearance of content asset cards that are displayed.
- When you are finished editing the Landing Page Template, lock in your changes by clicking Save. Or, to exit without saving if you do not want the changes applied, click on the Return to Theme link. Then, at the confirmation, click Yes.
How to Customize a Resource Center Section
You can customize the appearance and order of content assets for a Resource Center section on a Landing Page. The following screen capture shows the editing menus for content assets: which ones to include, which ones to display first, and how you want them displayed in the given Resource Center section.
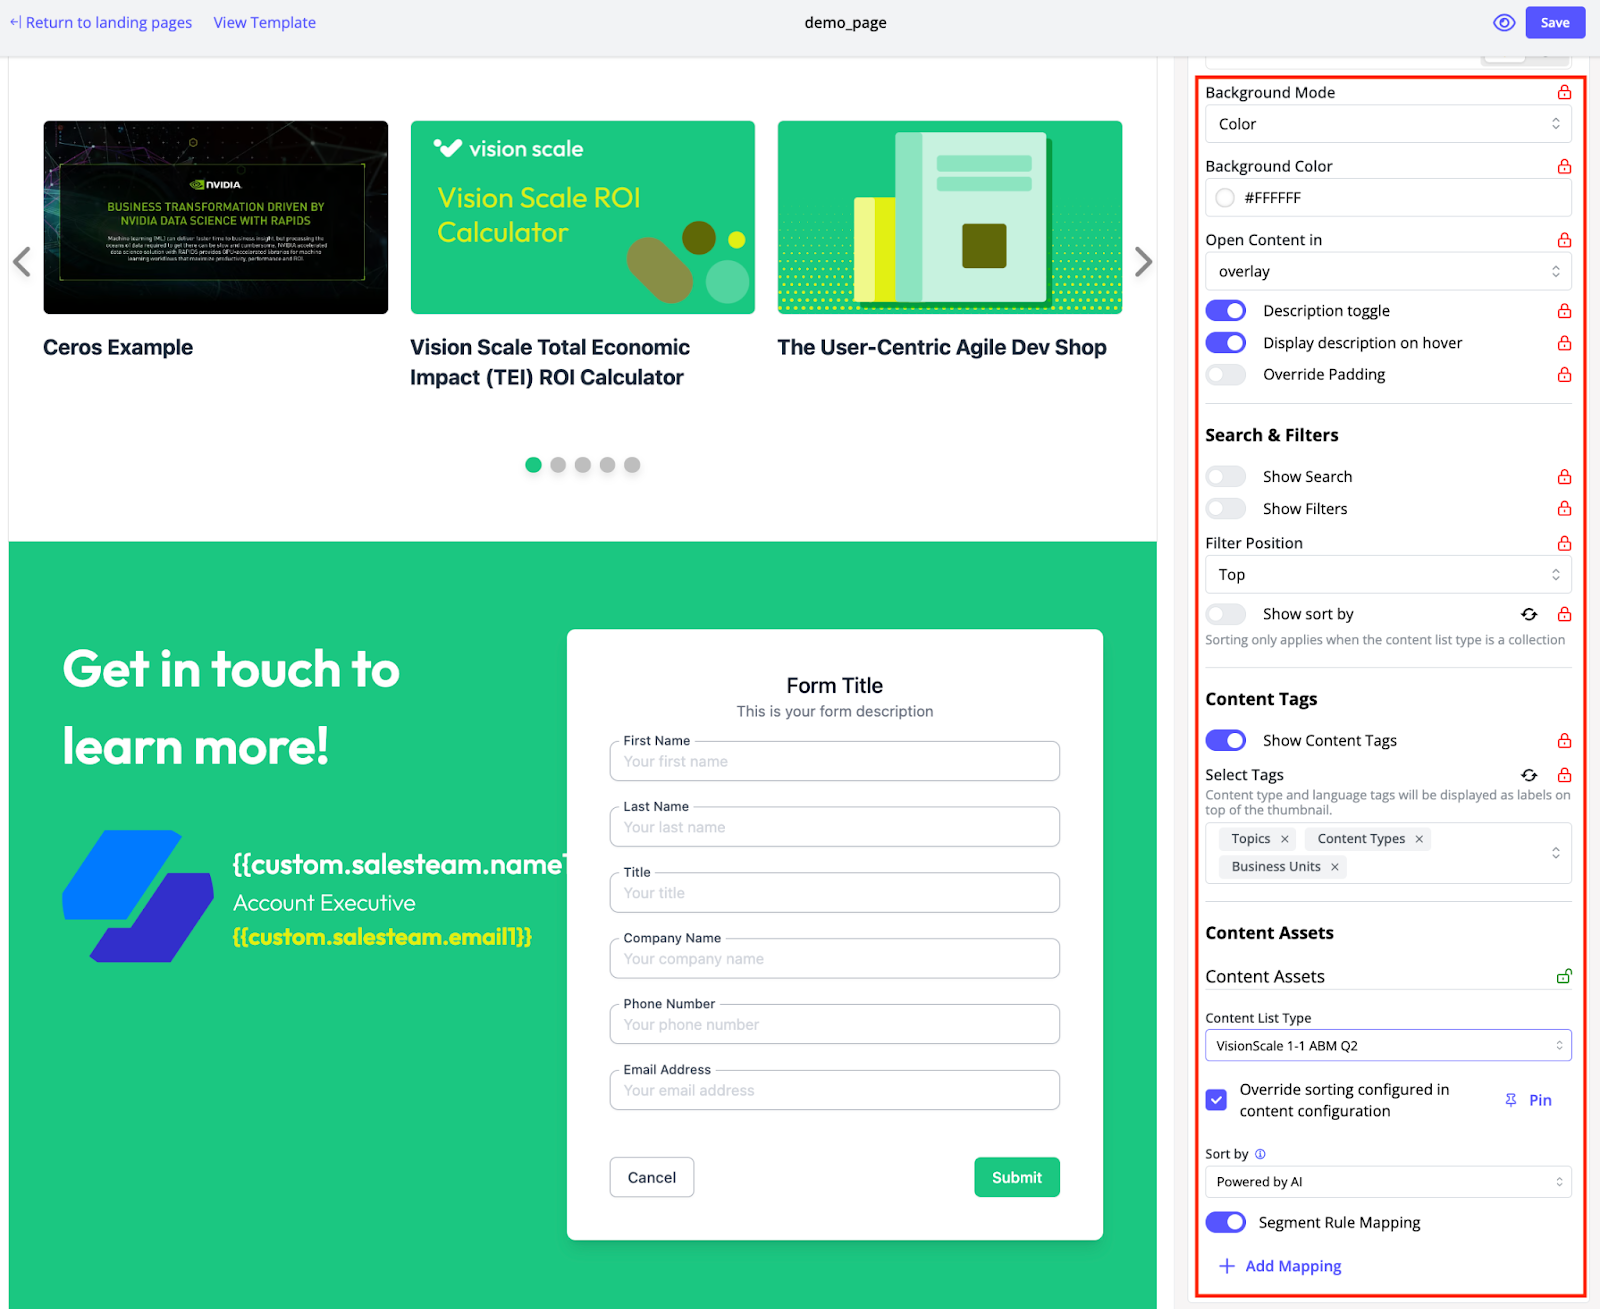
Open Content In – Select whether the content opens in a new tab, as an overlay, or redirects within the same tab.
Description – Toggle on or off to enable descriptions for content assets, or display descriptions on hover.
Override Padding – Adjust padding for better control over the content’s layout.
Search and Filters – Enable options for search and filters, and choose the filter position (top or side). If the content list is a Collection, you can also enable a sort-by option.
Content Tags – Show content tags by toggling on, and select tags from the dropdown menu.
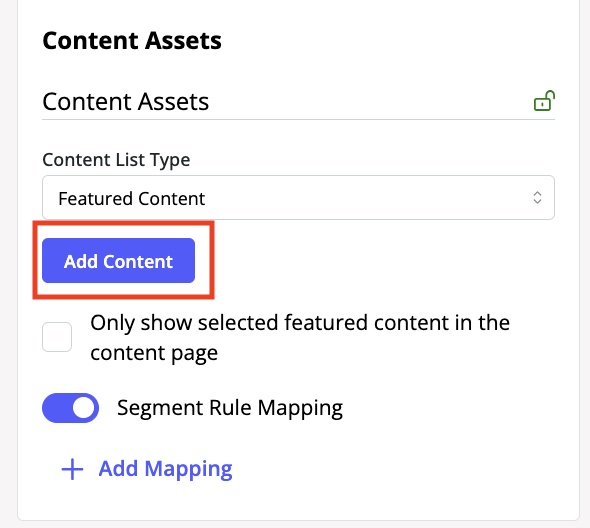
Content List Type – Choose how content is displayed—either as individual content assets, featured content, or another landing page.
Featured Content – Select specific content assets to promote by clicking Add Content, searching within your Collection, and previewing selected assets.
Landing Page Promotion – If you are promoting another Landing Page’s contents from the same Templated Experience, select it from the dropdown list.
Sort Order – Use Override Sorting to manually adjust the order of content assets.
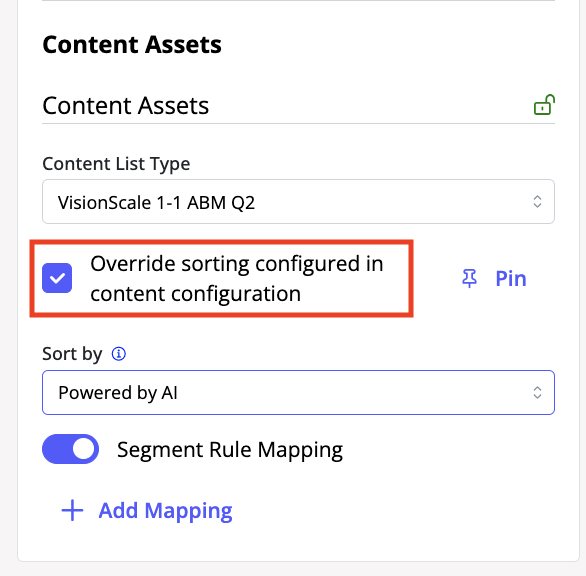
Pin – To select specific content assets to appear to visitors first, click Pin. Follow the prompts to select content assets to insert.
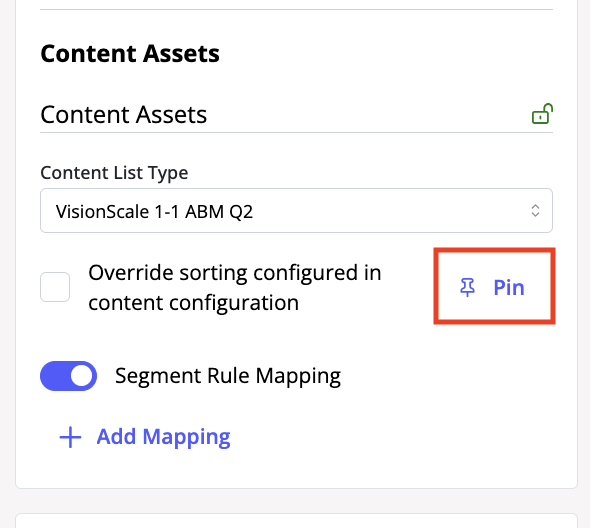
Segment Rule Mapping – Toggle on to enable segment-based personalization, allowing content to be tailored for specific audience segments. Click Add Mapping to include additional segments.
Views: 95