Content tags are an important part of filtering and navigating for your visitors, and they also allow for robust content data insights and may be used in your marketing automation tool for scoring or alerting mechanisms.
When your users create content assets, your organization can enforce strict governance for content tagging. By making content tags required for all of your content assets, you are helping your users create a better content library taxonomy and ensuring adequate tracking of consumption of these assets, which in turn leads to more detailed and accurate analysis of your content. You can also use mandatory content tags when your users are bulk uploading or configuring content.
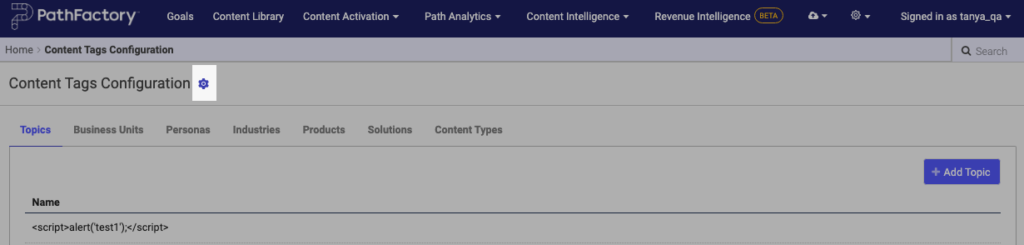
- To make your existing content tags mandatory, navigate to the Content Tags section of your platform settings, as shown below.

2. Select the gear icon next to the header.
3. A popup window appears, so you can specify which categories are necessary for creating a content tag.
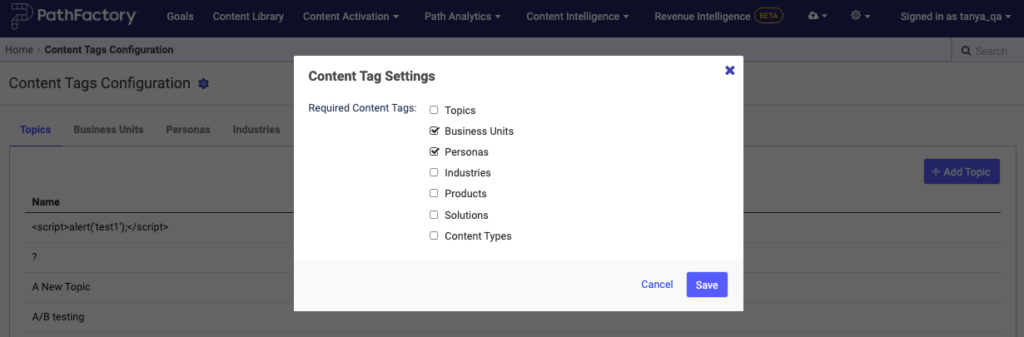
By making these tags a requirement for users creating content, you are ensuring your content is complete, searchable, and trackable.
Note: This capability extends to our .csv bulk upload feature. If a required cell is empty when trying to upload the file, an error message email will be sent from support@pathfactory.com with the .csv file showcasing the error location.
The purpose of content asset tagging is for consumption analysis. For example, when users view the content assets, you will be able to see engagement by content type, and which industries have highest engagement.
Let’s see these mandatory tags in action.
- On the main menu bar, select Content Library.

- Next, click + Add Content (top right).
- At the prompt, enter a website URL. Click Add.

- You are then taken to the Add and Configure page for your content asset. You’ll notice if you scroll down to the Internal Configuration section, there are some fields marked with a red asterisk.

- These mandatory fields have been designated as such, to ensure the content asset is adequately and accurately categorized and tracked. Go ahead and fill these in, and then click Done.
Note: You cannot save the new asset without completing the mandatory field.
- The asset is saved and you are returned to the Content Library.
- Now you can see your new asset listed there with a New tag beside it. When you select the asset, you can see in the right panel which categories have been saved that will group this asset with others.
For instructions on how to view the analysis of your content asset tags, click here.
Views: 64