Sometimes when you’re building your VEX event it can be useful to create several different pages in addition to the automatically generated event home page. VEX Landing Pages lets you create as many additional pages as you need for your event and you can create customizable navigation to link everything together. Using VEX Landing Pages you can use an HTML editor or incorporate your VEX Session Groups.
Examples of pages you might want to create for an event could include a tech support help desk, a sponsor marketplace, and dedicated pages for personas or tracks.
How to Create VEX Landing Pages
When editing your event, select the Landing Pages tab and then click the Add Page button in the top right corner.
- On the Content Experiences menu, select Virtual Events.

Virtual Events menu item - On the list that appears, click on the name of the VEX event you want to edit.

List of VEX Events - On the screen that appears, select the Landing Pages tab.

VEX Landing Pages tab - To create and add a landing page for the given VEX event, click +Add Page.

VEX Add Page button - A menu pops up, prompting you to assign a name to the new page, and you have the option to clone the landing page from existing ones in your repository. To see what’s available, click Clone From. A list appears.

VEX Add Page popup menu
There are 4 primary functions that you can choose from once you’ve added a page.
- Modify Page: Select this to start adding content and styling on the chosen landing page
- Edit: This allows you to:
- Rename the title of the page
- Control the page visibility.
- Public – A session with the public status appears on the VEX event landing page and is readily accessible to all users who visit the event’s landing page.
- Private – A session with the private status cannot be viewed by anyone other than the person who created it.
- Hidden – A session with the hidden status is not displayed on the VEX event’s landing page. While the session remains accessible via a direct URL, the session is not visible to users browsing the event’s landing page. This status is used for testing purposes or for restricting access to certain sessions while they are in development or review stages, without interfering with the VEX landing page.
- Change the URL slug of the page.The URL slug is in the page URL and therefore, it is best practice to use semantic language that is concise and easy to to understand. The URL slug cannot contain spaces.
- Remove: This will remove the respective landing page, there is a confirmation pop-up but once you’ve confirmed deletion, we are unable to retrieve it anymore.
- Clone: This function allows you to create a new landing page by duplicating an existing one, saving time and effort when creating similar pages.
If you want to set a landing page you’ve built as the Event’s Home Page you can do so by clicking on ‘Set as Home Page’ under the Home Page column (you may have to expand your browser window laterally to see the column).

If you don’t see this option for your page, you should check that the page’s visibility is set to Public (as described above).
If you wish to change your homepage, simply go back to the Landing Page tab and select `Unset` & choose another page to be set as your home page. If you do not choose a page in the Landing Page list as the home page, then the event home page will be the default home page.

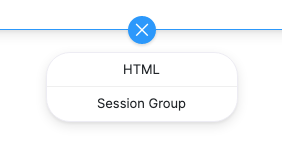
Once you’ve added your Page Title, click the ‘Edit’ link to start editing the experience. To begin creating a page, click on the `+` button at the top center of the landing page editor and then select Session Group or HTML. Follow the popup menus and prompts to complete the process.
You can add as many additional blocks you need by clicking anywhere on the page and looking for the ‘+’ buttons to add a new block above or below an existing one.

Add an HTML block
If you decide to select HTML, you can code the entire section from scratch. Hover over the section and click the pencil icon to start customizing your HTML block. Make sure to hit Confirm when you are finished, to save your changes.
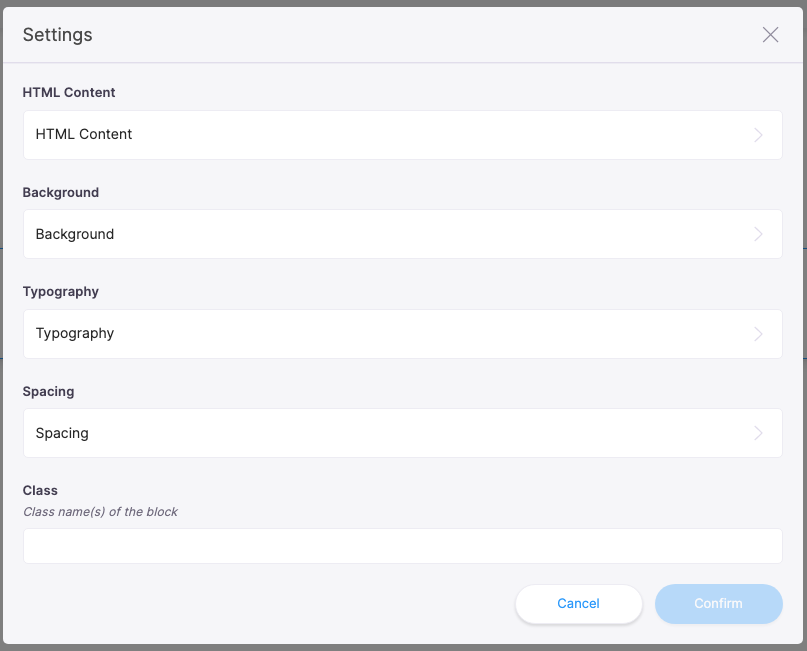
When you click the edit button on the HTML block you’ll see a new window which allows you to edit the following areas:
- HTML Content: This is where you can edit all of the HTML in this particular block. Any styling, content, and scripts you want to code to go in the block which will sit on the page is added in here. These are auto-saved, so once you are ready to go back to other settings of this container, feel free to click on the back arrow on the top left corner without losing the HTML you’ve just written.
- Background: You’ll notice several options for how the background can be styled. Any background options chosen here only be applied to the background of the particular block you’re working on. You can select a solid color using the color picker, RGB as well as a HEX code. In addition, you can also choose to select an image as a background. Additional styling can be configured within these options.
- Typography: Change font color and alignment if that’s not currently added on the HTML content snippet already. If you wish to change the font, you can do so directly in the HTML code.
- Spacing: Add padding around the entire HTML container. Padding and spacing can also be configured directly using the HTML code if you’d like to add padding to individual HTML elements.
- Class: If you’d like to target this block using CSS or Javascript (such as External Code or the Advanced Customization area of Appearance Settings), you can add a class name for the container block.
Add a Session Group Block
If you decide to utilize a Session Group that you’ve previously created, you can select this option after clicking the `+` button on the page. This allows you to insert the Session Group block at your desired location between other blocks. Click anywhere on the page, and then click the + sign. Choose the Session Group option.
You can select the Session Group in the drop-down after clicking the ‘+’ button.
When you’re ready to edit the block, hit the `Pencil` icon of your newly added session block to select which session group you want to add.

After you click the pencil icon, you see the following popup dialog box.
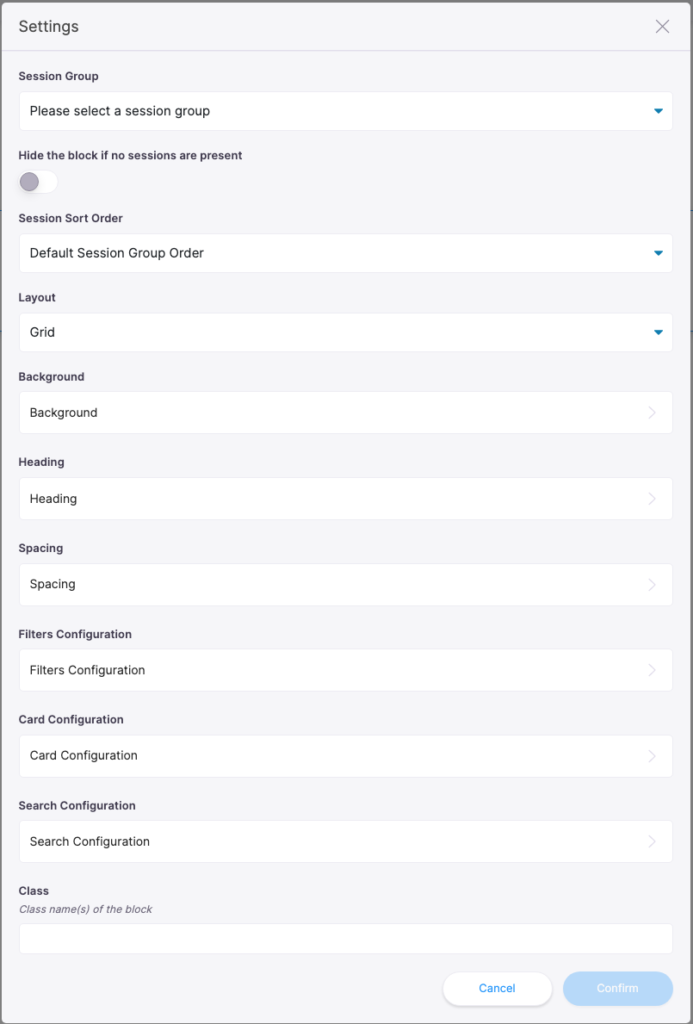
You can add only one session group to each block. If you want to add all session groups you’ve created, you must create additional blocks.
Once you’re in the Session Group configuration (as shown above), you’ll find three other options that impact the look and feel of the section:
Background: Similar to HTML Configurations, this controls the background color and/or image of the respective session group block.
Heading: This changes the text color and alignment of the session block header title.
Spacing: Similar to HTML Configurations, this controls the padding around the entire Session block content.
Additional Info
If you wish to completely restart your Landing Page and build the page from scratch, there is an option to reset the entire page. You can find this option on the left side of the `Save` button in the top right corner. This action erases the entire content of the page so you’re able to recreate a new experience. While the backward facing arrow might look like an undo button it is not.

You can use the arrows that appear when you hover over a block to reorder the blocks on your landing page. You can also reorder blocks by using the quick drag and drop option which is the icon with up & down arrows. This way, you can easily reorder blocks visually.
It’s important to know that the delete button on each block does not ask for your confirmation and will immediately delete the block without providing you an option to undo your changes. So be cautious when deleting blocks.
IMPORTANT: Please make sure that you hit ‘Save’ at the top right corner to save the page you just built. If you leave the page without hitting save, your page changes will not be saved at all. You should receive a confirmation message at the bottom stating ‘Page saved successfully’.
Once you’ve built your page and have hit Save, you’re ready to go! Your new page is accessible at the URL you’ve defined and can be added to your event navigation in the Navigation tab.
- Feel free to use <style> and <script> tags that target elements within the page you’ve created. Custom fonts can be used if called out in your <style> tags as needed.
- Where possible you should create your own unique classes or ids for your HTML elements. For example rather than styling a `p`, it would be better for assign an id to `p` and then apply a style to that unique id.
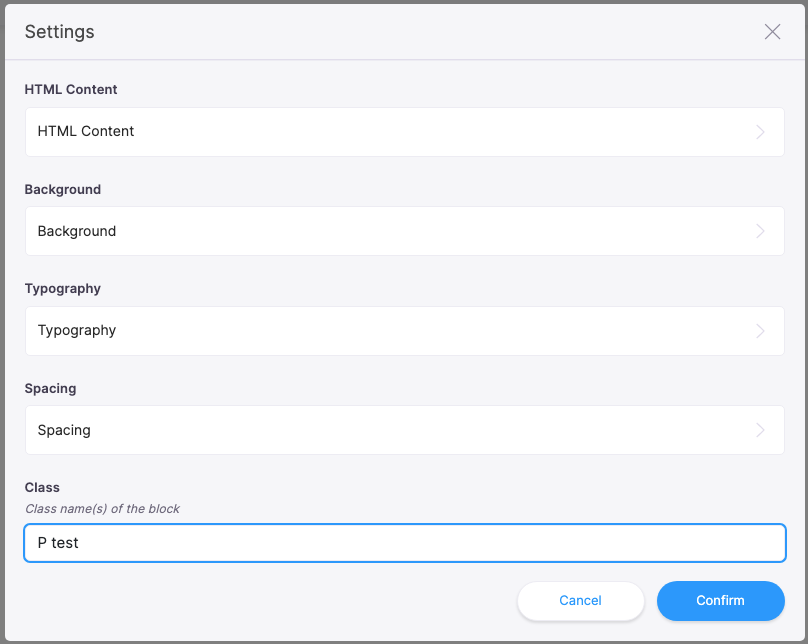
HTML class example
Views: 126