PathFactory offers 2 methods for managing your visitors’ cookies in your content tracks:
- Cookie Message: use to inform visitors that their web experience is using cookies
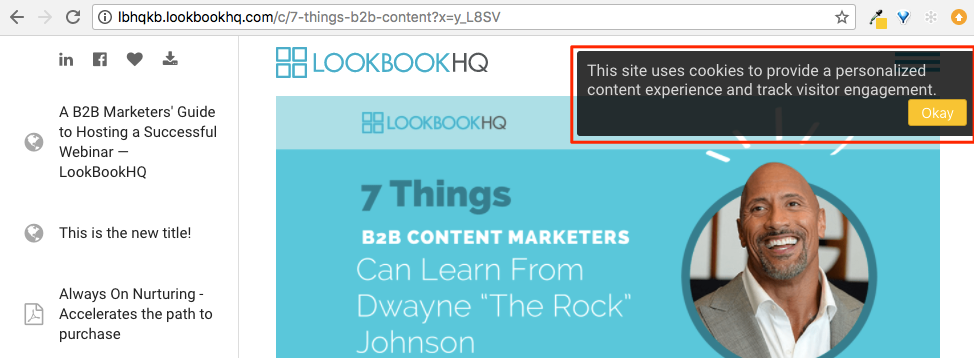 Example of Cookie Consent in a Content Track
 - Cookie Consent: use to capture consent from visitors to use cookies on their web experience
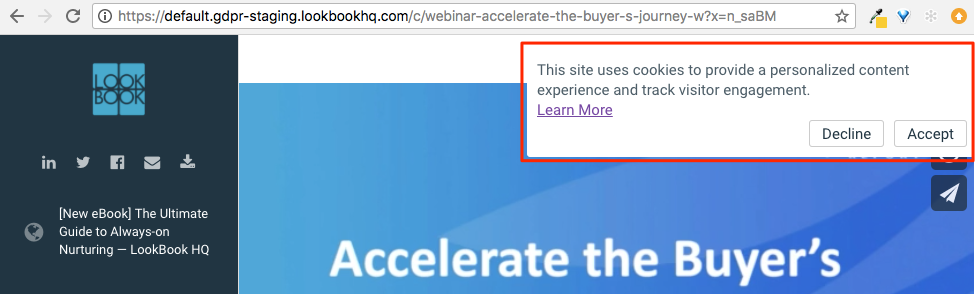 Example of Cookie Consent in a Content Track
|
Warning
|
If your organization requires GDPR compliance, Cookie Message may not be sufficient. If this is the case, and your organization requires explicitly consent for tracking purposes, then you will need to enable the new Cookie Consent feature. |
Enabling Cookie Consent for Experiences
Note: Only users who have administrative privileges can toggle on cookie consent.
For detailed instructions on how to make cookie consent available to the users in your organization, read Enable Cookie Consent.
Using Cookie Message
|
Note
|
You cannot have both Cookie Message and Cookie Consent enabled on the same content track. |
- Select the Content Track you want to edit.
- If you are using the Legacy version of PathFactory, select Content Activation, then select Standard Experiences, and from that menu select Target or Recommend.

Legacy Experiences
- If you are using the latest version of PathFactory, expand the left menu panel. Scroll to the Classic Experience menu and expand it. From there, select the type of Experience (Target or Recommend) you want to edit.

Classic Experiences menuScroll down the left panel menu and click Cookie Message to toggle it to the On position.
2. From the list of tracks that appears, click on the title of the track you want to edit. A window opens that displays the track and its settings, as shown below.

3. Scroll down the left panel menu and click Cookie Message to toggle it to the On position.

- To capture consent from visitors to use cookies on their experience, toggle on Cookie Consent.
- To inform visitors that their web experience is using cookies, toggle on Cookie Message.
- To craft a custom cookie information message for this content track, toggle on Cookie Message and then click Customize. A popup menu appears for you to compose a custom message. By using this option, cookie consent is also turned on.
Note: This will only change the cookie message within this content track. If you want to change the default text settings for all of your cookie messages, you can do so in Themes.
4. If you click Customize, a menu pops up where you may type in the new cookie message. When you are finished, click Save Cookie Message Message Customization

5. To ensure your Cookie Consent is properly configured, select a content asset and click Preview.

To find out more about cookie consent, read How do I Set Up Cookie Consent?
Views: 104