Step 1: Create Custom Property Fields (Settings > Properties)
Object Type: Contact
Group: Contact Information

Refer below for the Standard Label & Field Type Inputs that most of our clients are using:
*To explore more of the fields PathFactory supports see Webhook Event Fields.
Label: pathfactory_experience_name
Field Type: Single-line Text
Label: pathfactory_number_of_assets_viewed
Field Type: Number
Label: pathfactory_content_count_threshold_met
Field Type: Number
Label: pathfactory_content_journey
Field Type: Multi-line Text
Label: pathfactory_content_list_threshold_met
Field Type: Single-line Text
Label: pathfactory_topic_list_threshold_met
Field Type: Single-line Text
Label: pathfactory_funnel_stage_threshold_met
Field Type: Single-line Text
Label: pathfactory_engagement_score
Field Type: Number
Label: pathfactory_external_id
Field Type: Single-line Text
Label: pathfactory_engagement_time
Field Type: Number
Moving forward, please make sure that these fields are shown in forms

Step 2: Set up a HubSpot Form
|
Note
|
This form functions as a bridge between PathFactory and Hubspot in transferring engagement data for each visitor session from your PathFactory Instance to your Hubspot Instance. The Hubspot form you create for this purpose will never be visible to your visitors. It is blindly submitted after a visitor finishes their session to pass their session data from PathFactory to Hubspot. |
- Label the Form with “PathFactory Webhook Visitor Session” (this webhook is required during during implementation) or “PathFactory Webhook Visitor Activity” (optional – please ask your CSM or SA to learn more)
- Ensure that the 'email address' field as the one and only Required Field in this form and add all the Pathfactory Fields you initially created as a property field (Refer to Step 1)

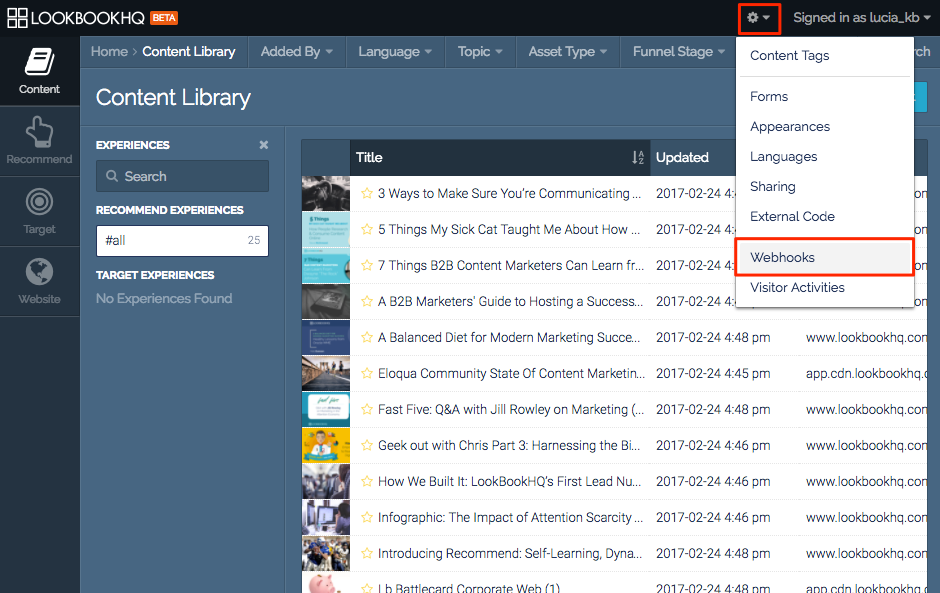
Step 3: Create a PathFactory Webhook
-
Click on the gear icon at the top right of the page, and select Webhooks from the drop-down menu.
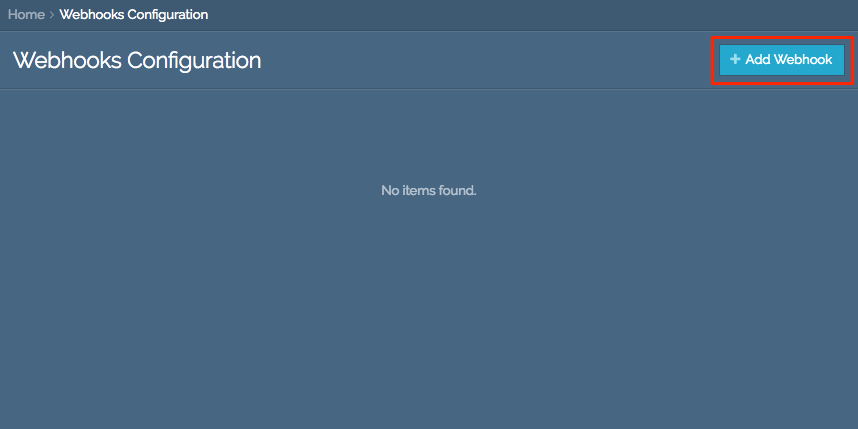
-
You are now on the Webhooks page. Click Add Webhook.
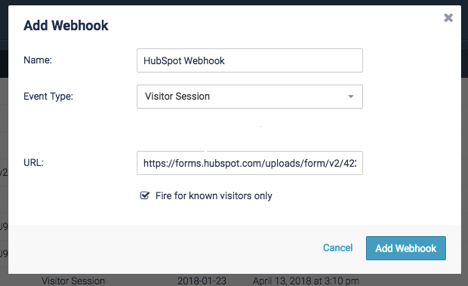
-
Name the Webhook.
-
For the Webhook URL, get the Form Submission URL for your HubSpot form following this guide:
https://developers.hubspot.com/docs/methods/forms/submit_form.In your form URL you will find your portal ID (the first, smaller number highlighted below), and the form id (the second, longer number highlighted below). Copy and paste those values into this URL: https://forms.hubspot.com/uploads/form/v2/portal_id/form_guid

-
Select the webhook event type which will trigger this webhook.
-
If you only want information sent for visitors who are known, click Fire for known visitors only.
-
Click Add Webhook.
-
Ensure that all the mapped event fields you need are present in Event Fields.
NoteIf you added any fields to your HubSpot form which aren’t listed under PathFactory’s Event Fields, you can add them as custom fields. 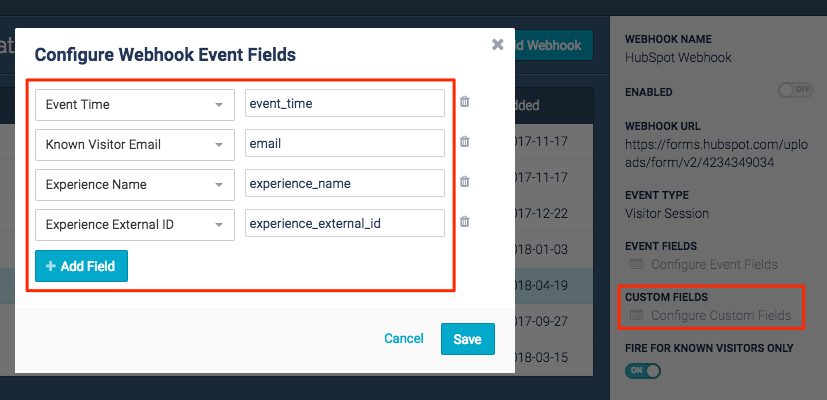
-
Use the internal name from HubSpot for each of the form fields that you want to map to one of our Webhook PathFactory fields.
NoteThese can be found in HubSpot under Contact Settings > Contact Properties. 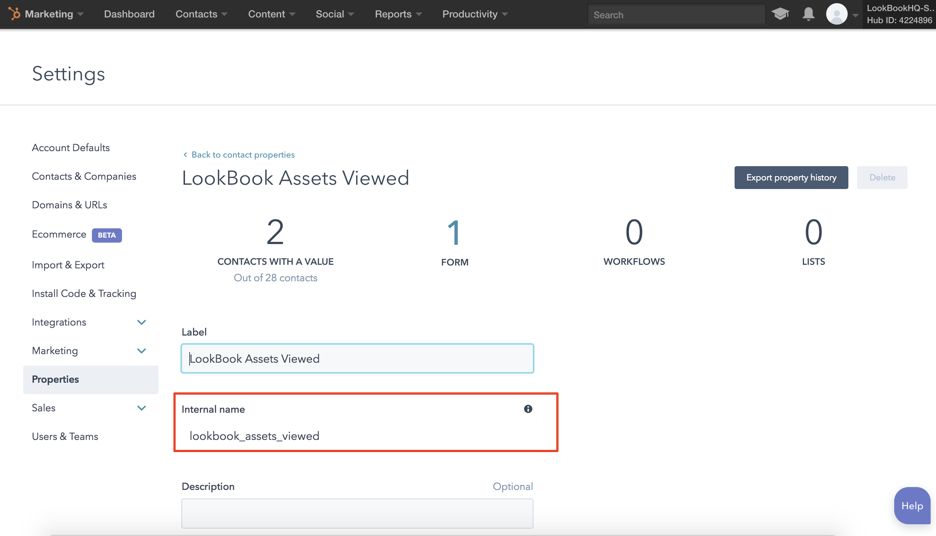
-
Enable the webhook.

Step 4: Test the Webhook
Congratulations! You’ve now built a PathFactory Webhook to send data, and a HubSpot form to receive that data. All that’s left is to do is test your webhook.
Views: 453