Summary
Sharing Settings are used to create different configurations of sharing options, which can then be easily applied to content tracks.
For example, you could use this feature to set up one sharing configuration which links to your organization’s main Facebook page, and then set up another sharing configuration which links to a specific event page on Facebook.
Navigate to Sharing Settings
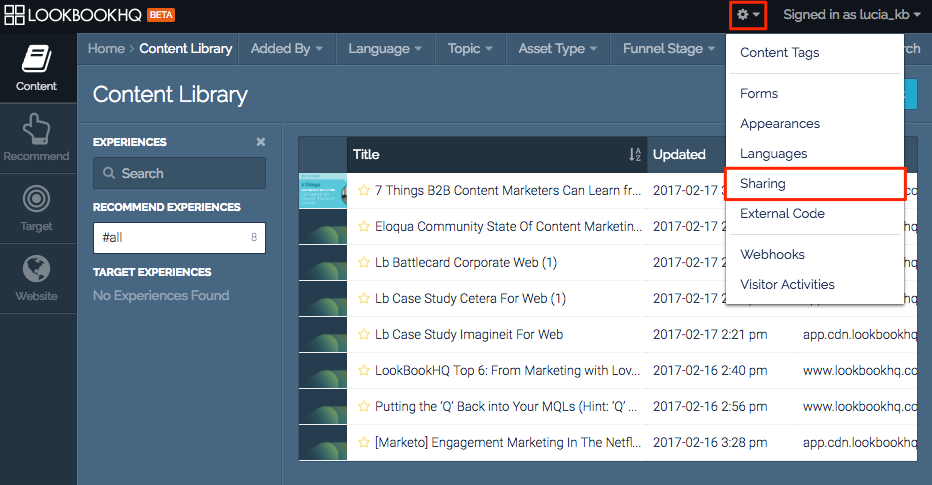 Sharing menu item
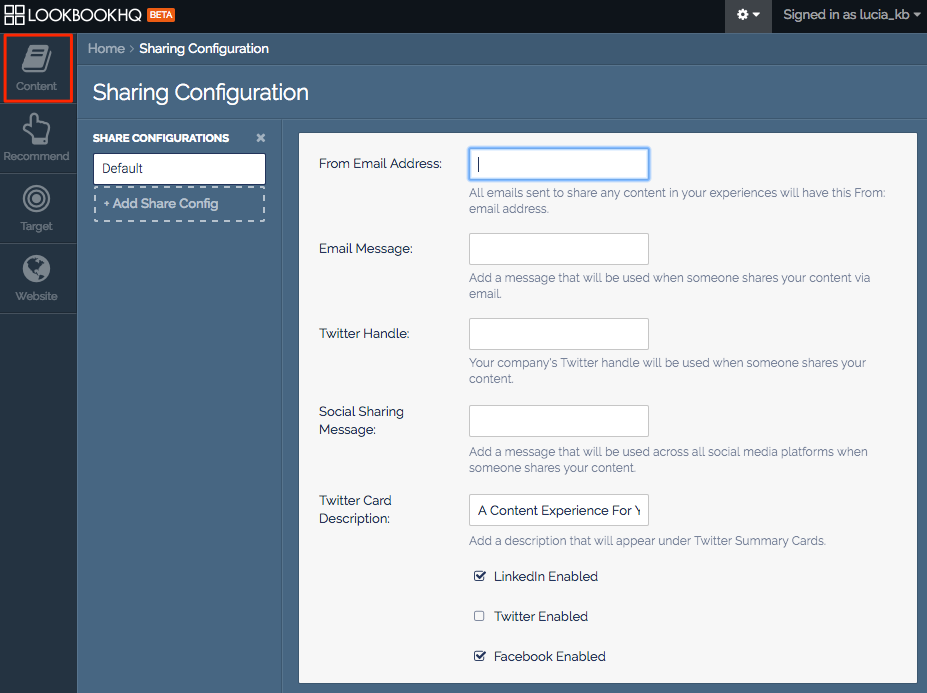
You are now on the Sharing Configuration page. To return to the Content Library click on Content icon in the side menu.
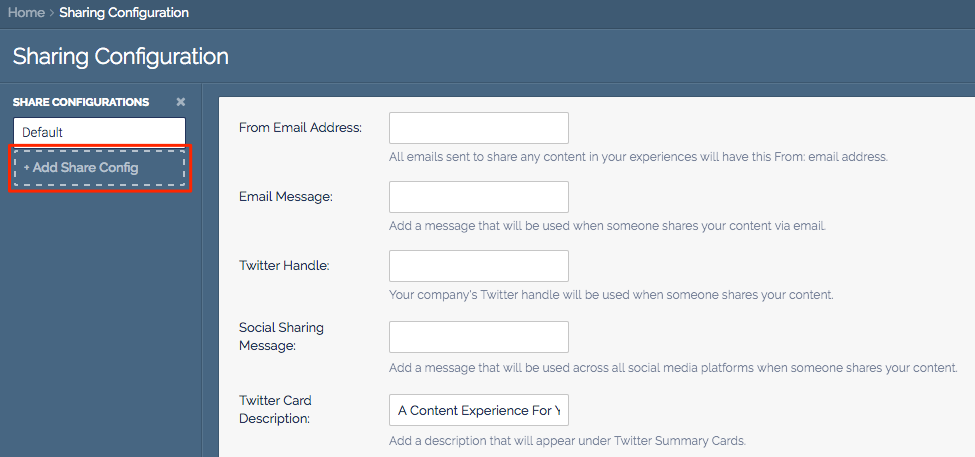
Create a New Group of Sharing Settings
- Click on Add Share Config.
 Sharing Configuration menu
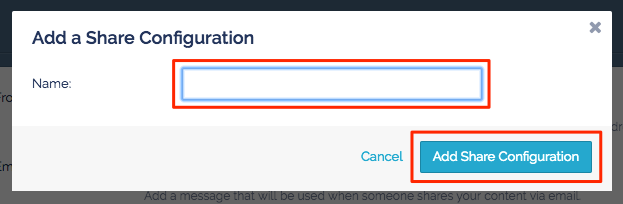
- Enter the name of the new sharing group. Click Add Share Configuration.
 Add a Share Configuration menu
- You will now see the new sharing configuration group added to the list of share configurations.
 Sharing Configuration fields
Set Up Default Sharing Settings
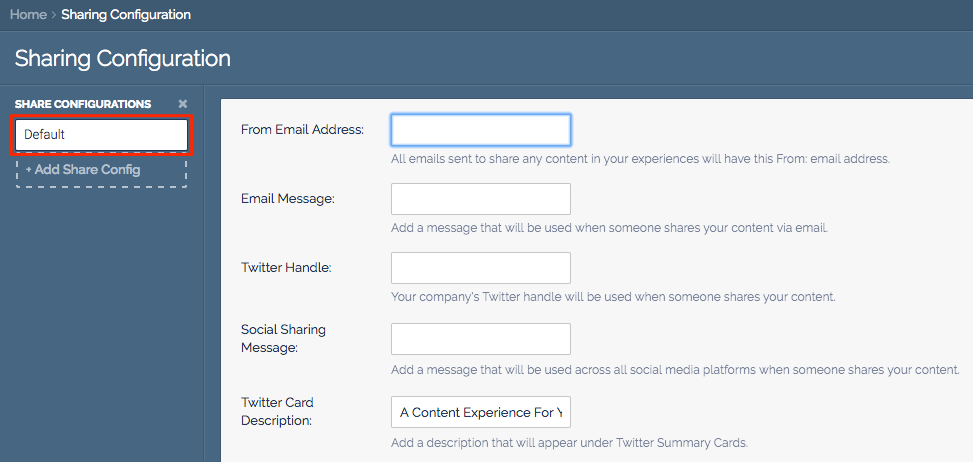
- If this is your first time on the Sharing Settings page you will want to configure your default settings.
 Sharing Configuration fields
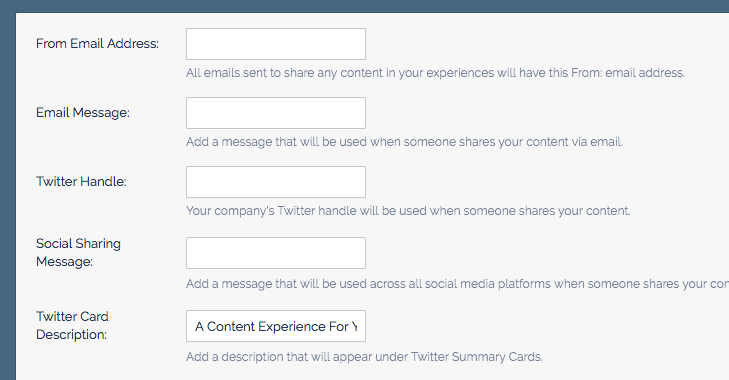
- Enter the necessary information in the following fields:
- Email Address Field: Any content shared from your tracks will be from this email address
- Email Message Field: Add a message that will be used when someone shares your content via emailField
- Twitter Handle Field: Add your company’s Twitter handle to be used when someone shares your contentField
- Social Sharing Message Field: Add a message that will be used across all social media platforms when someone shares your content in the Social Sharing Message Field
- Twitter Card Description Field: Add a description that will appear under Twitter Summary Cards
Configuring fields for Sharing 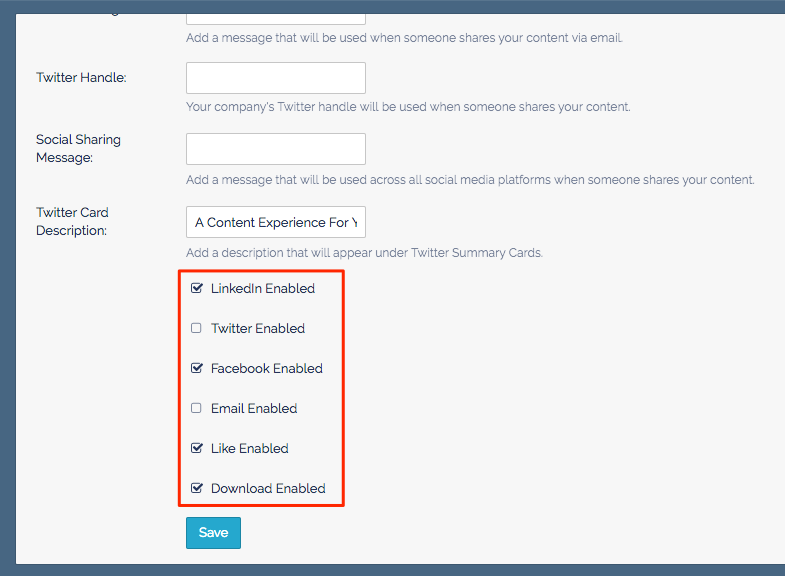
List of Media Types for Sharing Select the media types you want to include.
- When you are done editing the settings click Save.
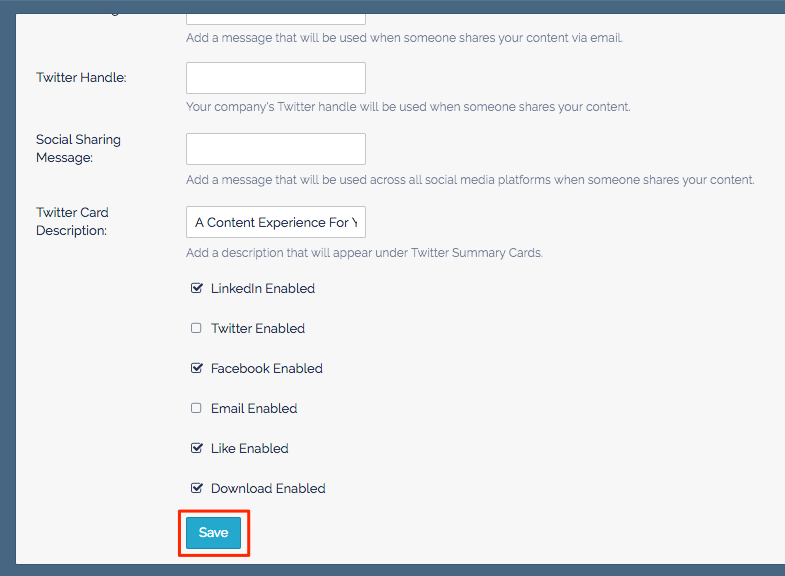 Save button
Edit or Delete a Sharing Configuration
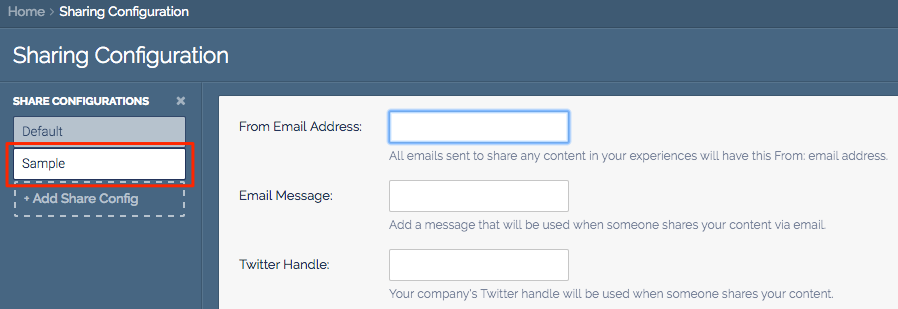
- Select the sharing group you want to edit or delete.
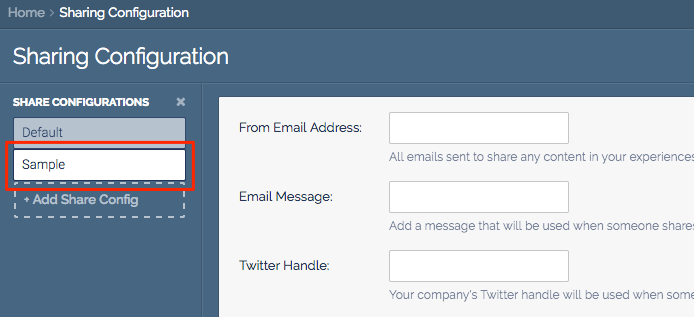 Example of Sharing Group selection
 - Fill in the media fields and select the media you want enabled. When you are done making changes click Save.
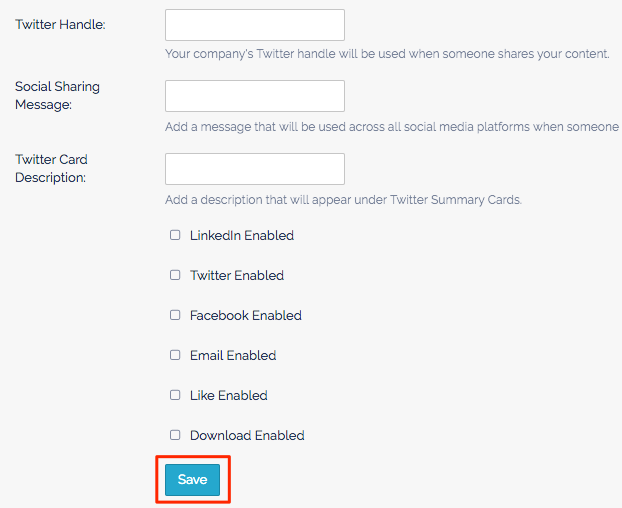 Save button
 - To edit the name of a sharing group, hover your mouse over the sharing group you wish to rename. Click the pencil icon.
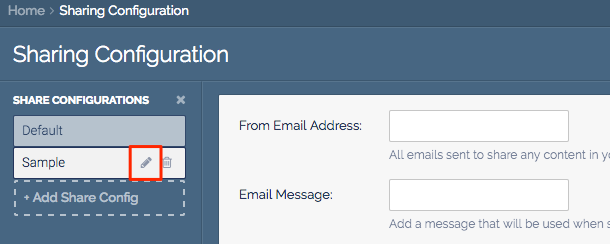 Pencil icon
 - Once you have entered the new name click Save Share Configuration
 Edit Share Configuration menu
 - To delete a sharing group, hover your mouse over the sharing group you wish to delete. Click the trash bin icon.
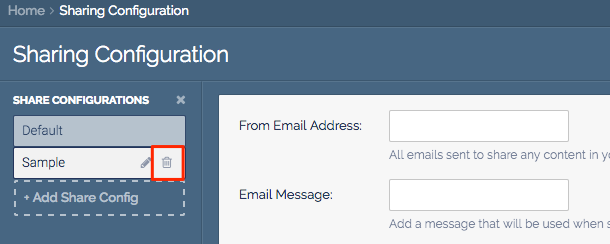 Trash bin icon