The Hero Section is the top area of an Explore page. This article explains how to add and configure a hero section.
Add a Background Color
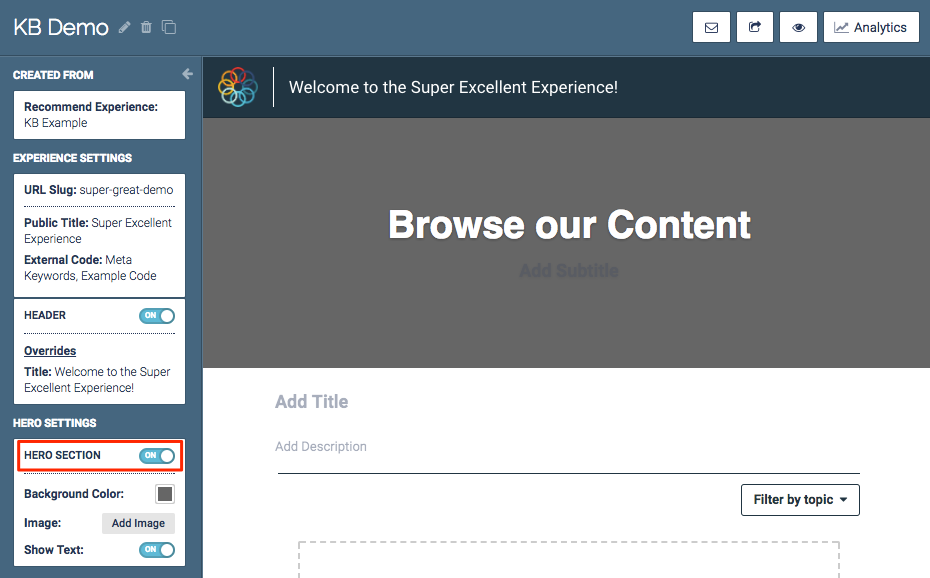
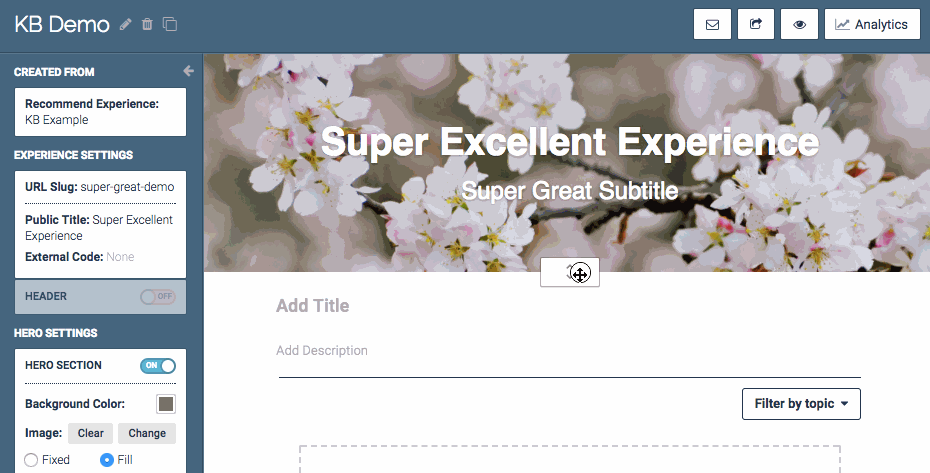
- Ensure that the Hero Section toggle is On.
 Hero Section toggle
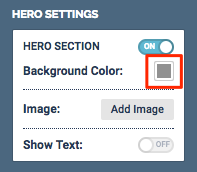
- Click the Background Color square to change the background color of the hero section.
 Background Color square
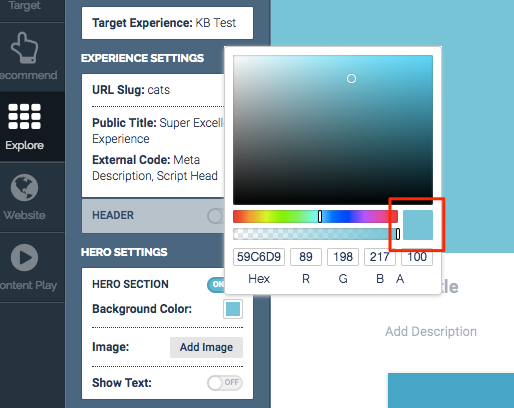
- Select the desired color by clicking on the color gradient, entering a Hex code, or entering RBG values.
- Click anywhere outside of the color selection window to save and exit, or click on the preview color square for even more color selection capabilities.
 Color Selection menu
Add a Background Image
|
Note
|
The recommended image size for your Hero section is 1024 X 400 px. |
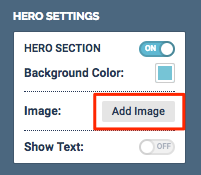
- Click Add Image to add an image.
 Add Image link
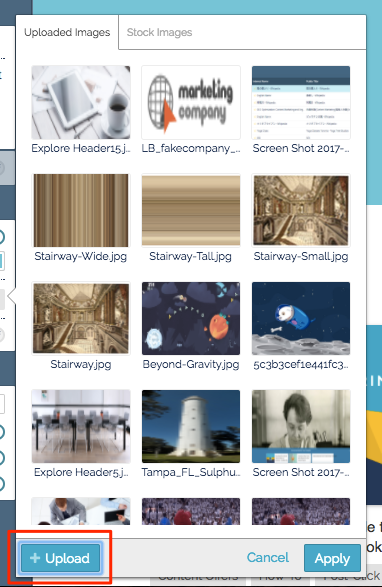
- If you have already uploaded an image you want to use, skip ahead to Step 5. If you need to add an image, click Upload.
 Upload button
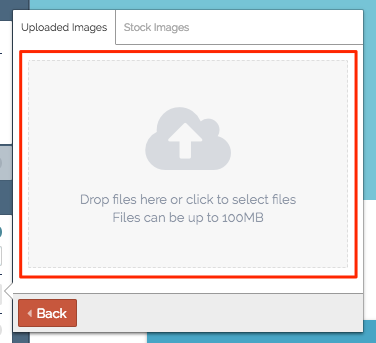
- Click inside the upload box.
 Upload Box
- Select the image you want to upload and click Open.
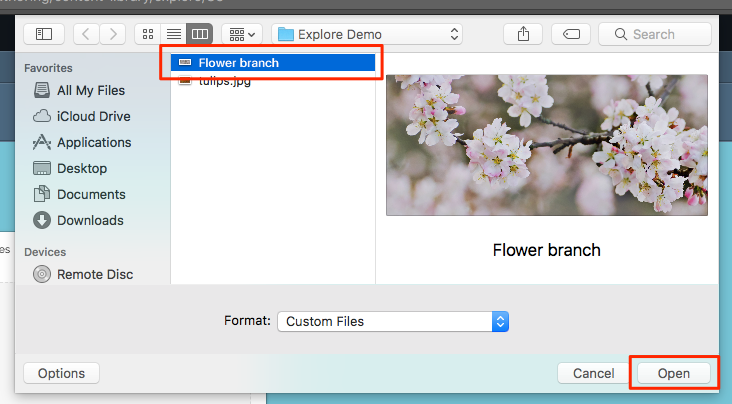 Image selection menu
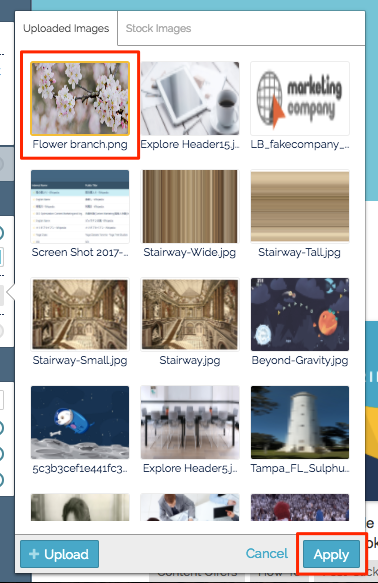
- Click the image you want to use. A yellow square will appear around the selected image. Click Apply.
 Apply button
- Select whether you want the image to be “fixed” or “fill”.
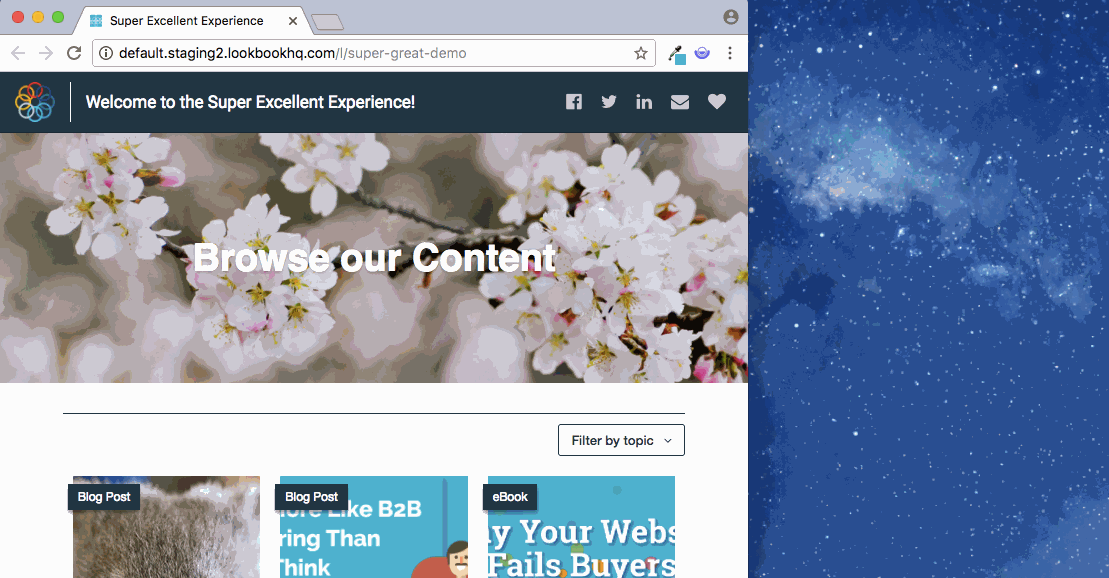
Fixed: Ensures that the same portion of the background image will always be shown.
 Example of Fixed
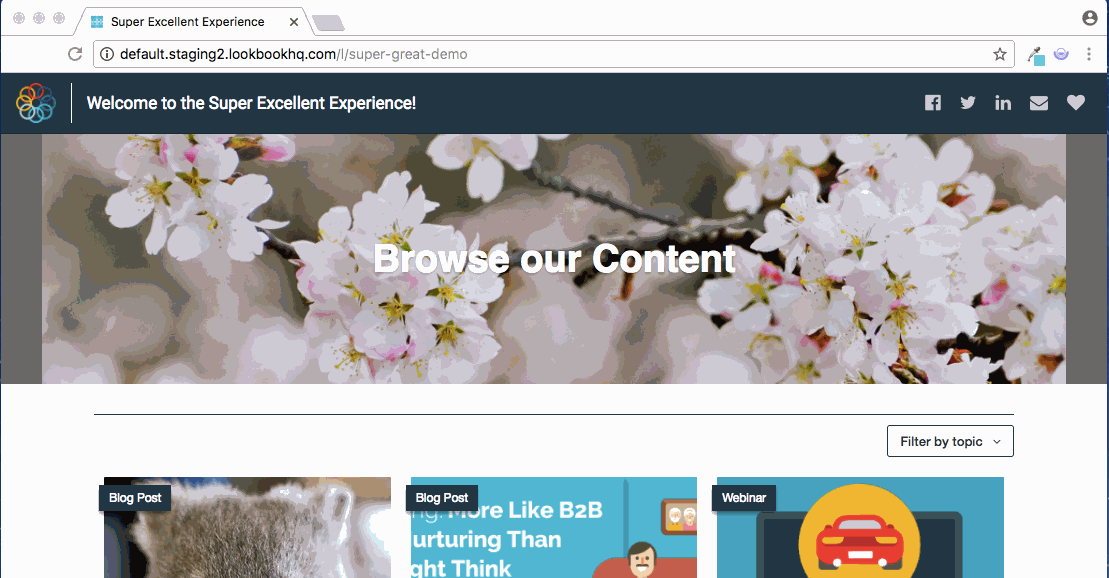
Fill: Responsive to the size of the window, ensuring that the background image always fills the Hero section. The background color will never show.
 Example of Fill
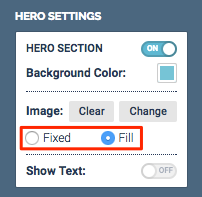 Fixed and Fill radio buttons
 - Click and drag the image to adjust its placement.
 Placement adjustment example
- Click and drag the expansion bar to make the Hero Section taller or shorter.
 Click and drag example
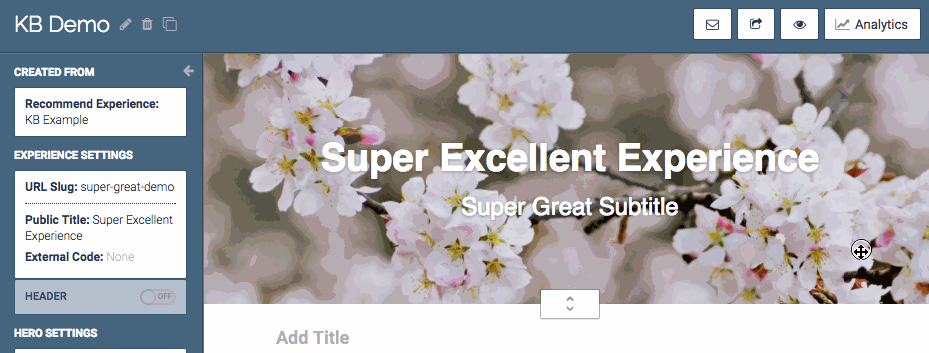
Add Text
- If you want to include text over the hero image click the Show Text toggle to the On position.
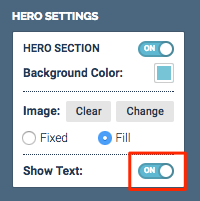 Show Text toggle
- Click the default title to edit.
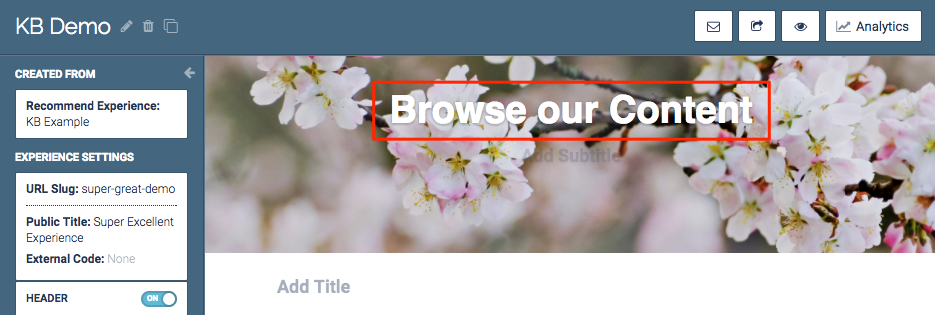 Default text title
- Use the tools to edit the font, boldness, size, and color of the text. Click Save.
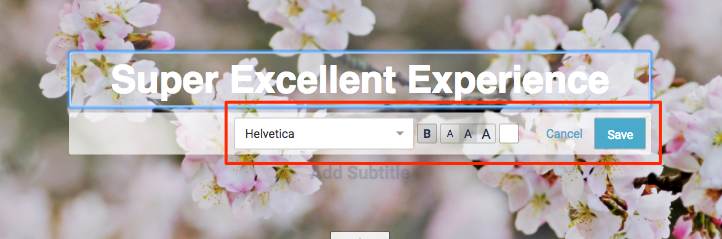 Font options
- Repeat this process with subtitle if you want a subtitle. Click Save when finished.
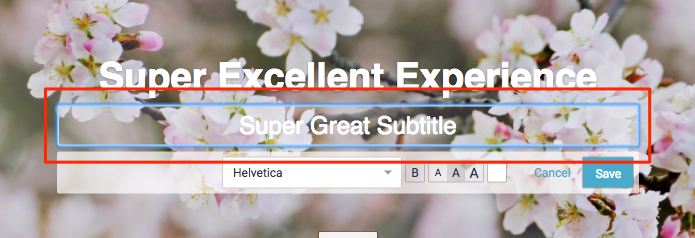 Subtitle field