Guide is a content promoter that helps you recommend relevant content to users directly on your website. It appears on selected pages and uses PathFactory’s Recommendation service to draw from both your Content Library and tracked pages on your site. By using Guide, you can enhance visitor engagement with personalized and timely content suggestions.
How Guide Displays Content on Your Website
Guide intelligently displays content based on its origin to provide a seamless browsing experience in the following ways:
- First-party content: If the content is hosted on the same domain or subdomain as your website, it opens directly in the same browser tab. This ensures visitors remain on your site and can easily continue their journey without disruption.
- Third-party content: For content hosted on external domains, Guide opens it in a lightbox overlay. This approach keeps the visitor on your website while allowing them to view external resources without navigating away, maintaining their focus and engagement.
By tailoring how content is displayed, Guide ensures a smooth and user-friendly experience, regardless of the content’s source.
Configuring Appearances and Languages
Appearances
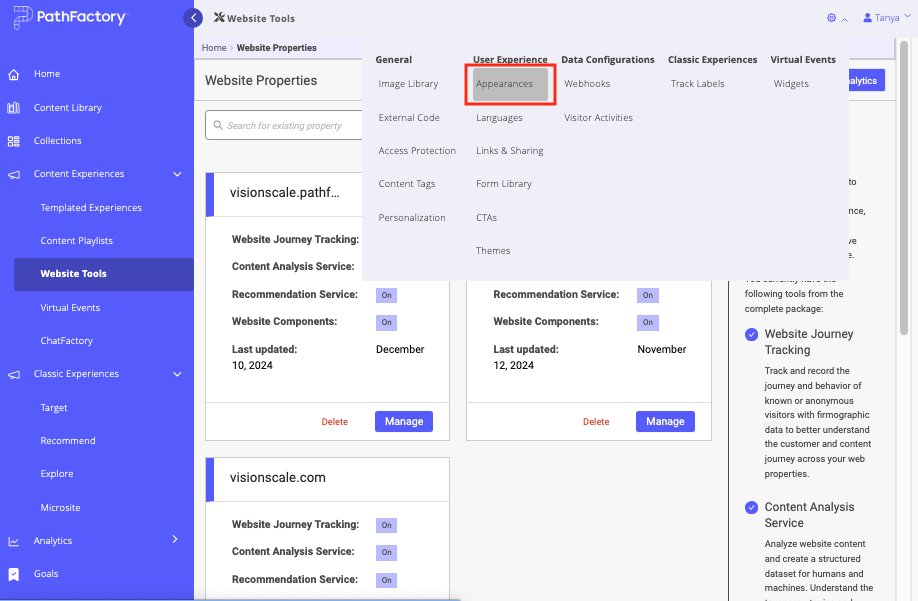
- Click the gear icon and in the menu that drops down, select Appearances.
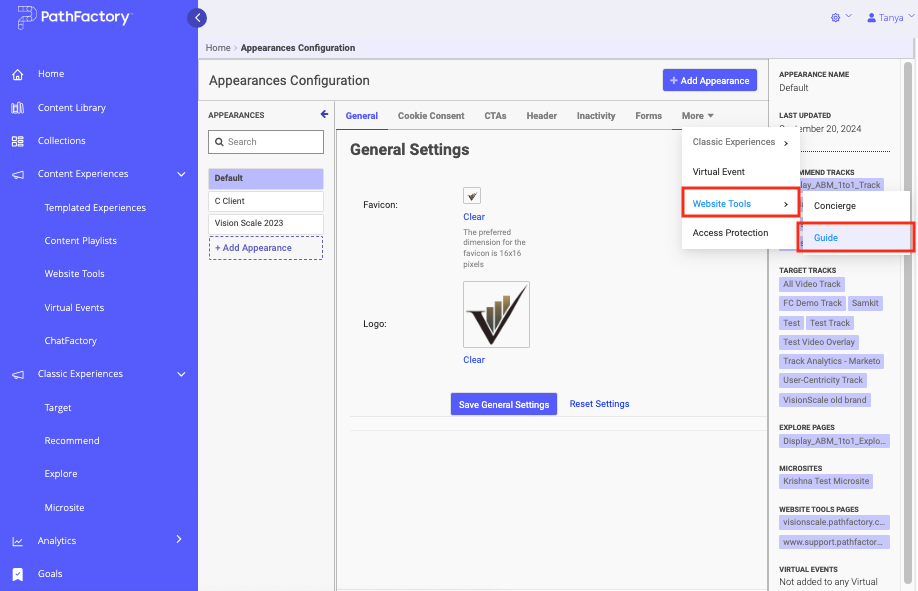
Appearances menu item - Locate and click on the Website Tools tab and then select Guide.
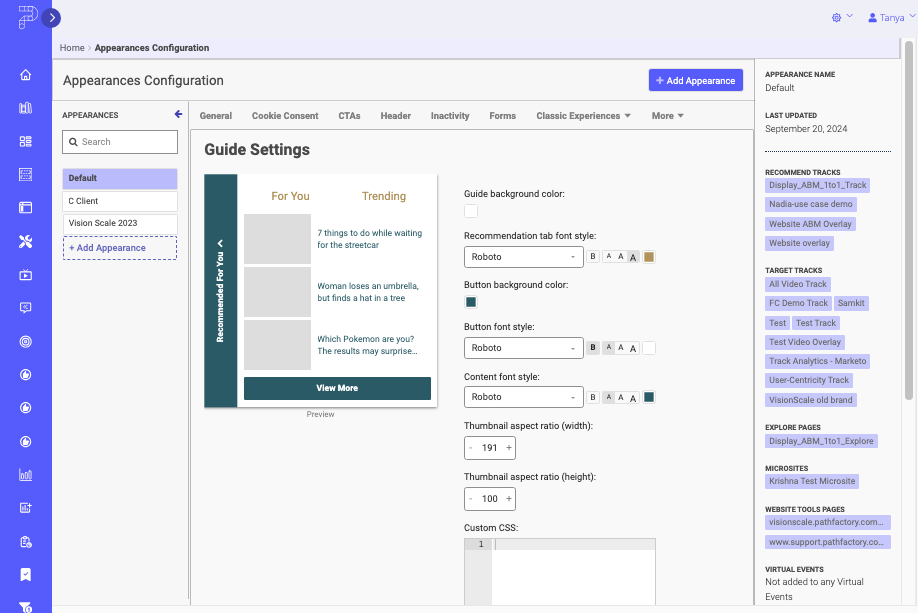
Guide menu item - Configure the color and text settings.
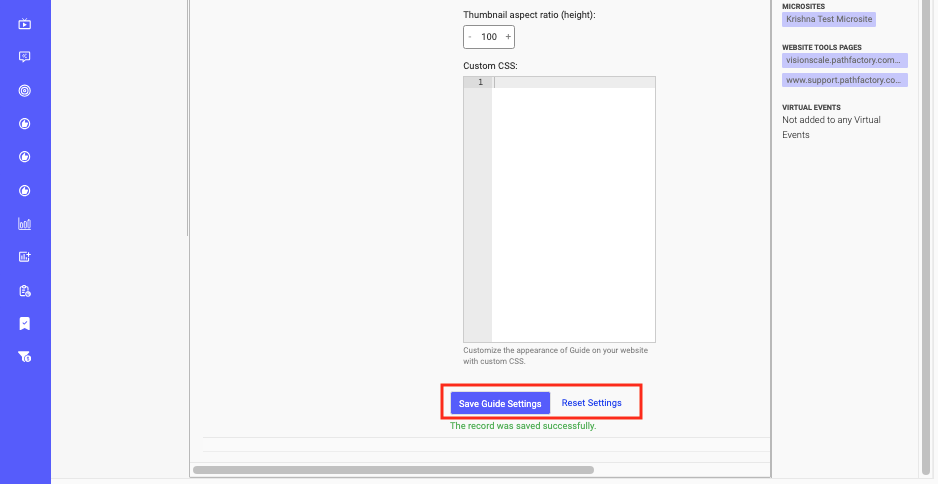
Guide Settings menu - To lock in your changes, scroll down the page and then click Save Guide Settings. To revert the appearance of the given Explore page Guide to its previous settings, click Reset Settings.
Save Guide Settings button
Languages
- Click the gear icon and select Languages from the drop-down menu.
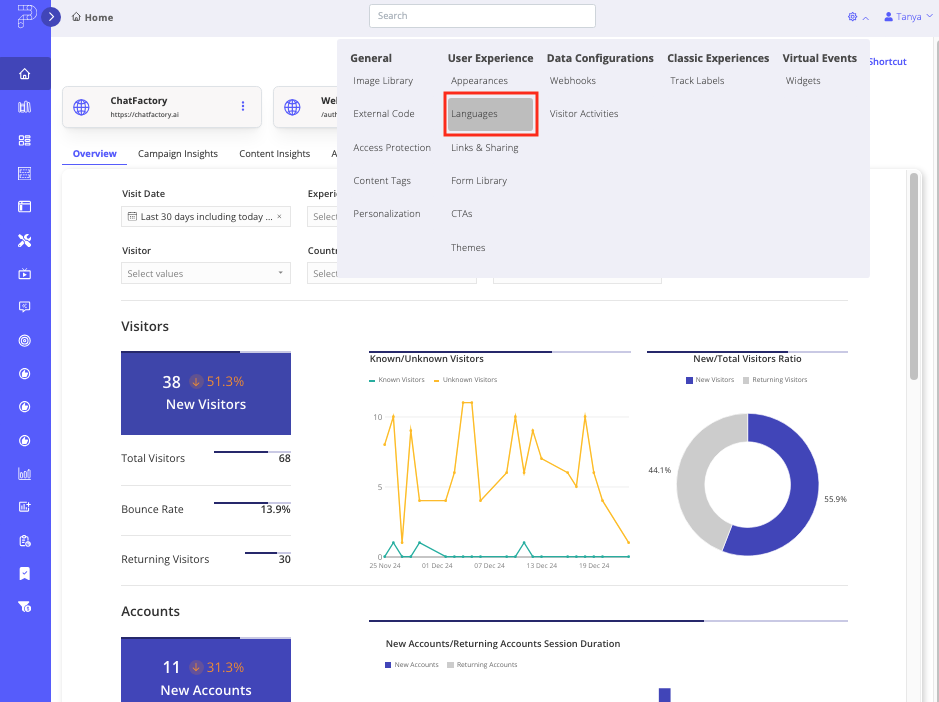
Languages menu item - Select Guide.

Languages Guide menu item - After you’ve made the desired changes to the copy displayed on your guide, click Save Guide Settings.

Languages Guide Headline Text
Adding Re-Engagement Promoters to Guide
Once Guide is set up, you can enhance its functionality by adding re-engagement promoters. These tools help re-capture visitor attention and drive further interaction:
- Exit Promoter: Engages visitors who are about to leave your website by recommending relevant content to keep them engaged.
- Inactivity Promoter: Targets visitors who have been idle on your site, prompting them to re-engage with suggested content.
Re-engagement promoters ensure visitors stay connected with your content, increasing the likelihood of meaningful interactions and conversions. Follow the steps below to add them.
- Select Website Tools from the main navigation.
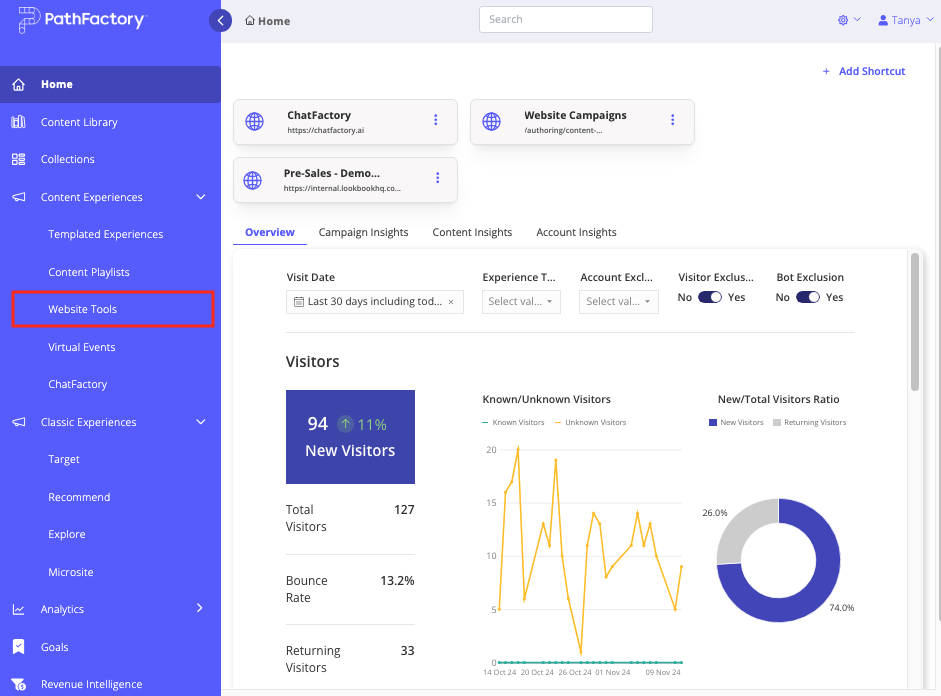
Website Tools menu item - The list of Website Properties appears. Locate the domain for which you want to add promoters to its guide and click its associated Manage button.
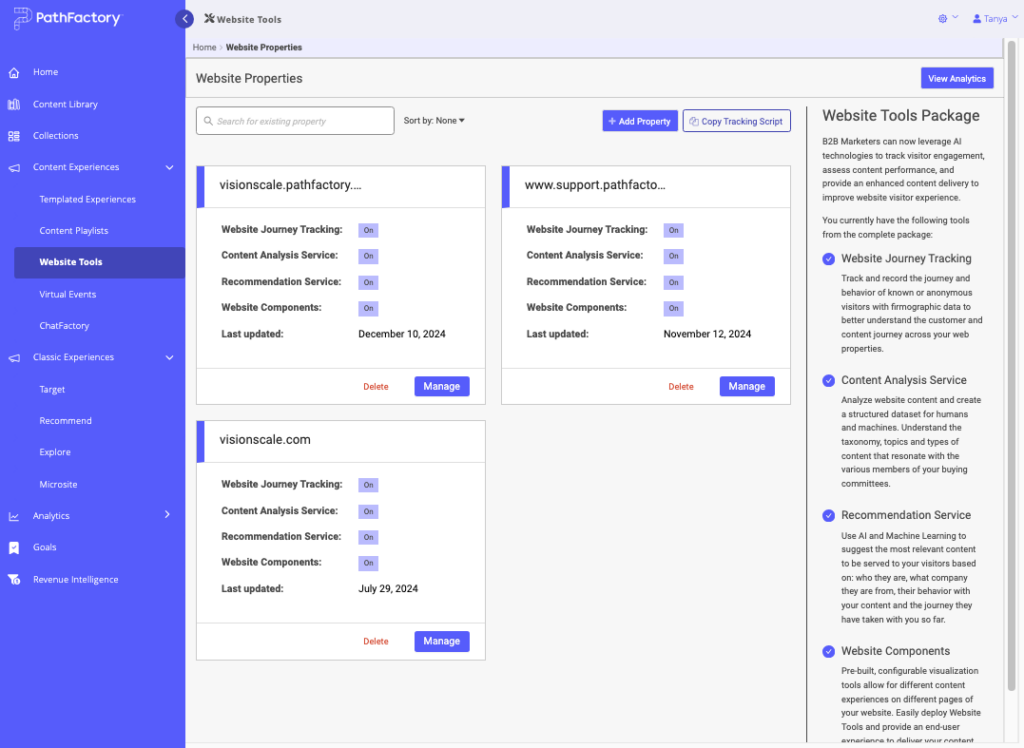
Website Properties - Click the Edit link to continue the process. And if you ever want to delete a component from a website, click Delete.
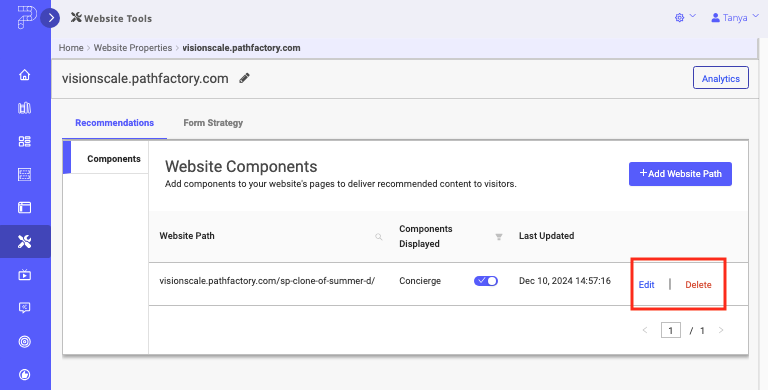
Website Components - In the window that opens, activate the Guide toggle and select one or more promoters.
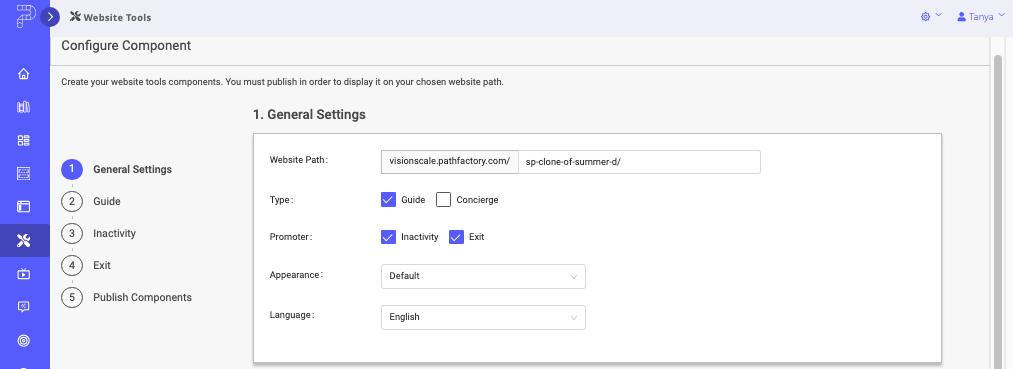
Guide toggles - Scroll down the page to see and set options for the Guide. To add a CTA to the Guide, select a CTA from the dropdown list at the top of the section.
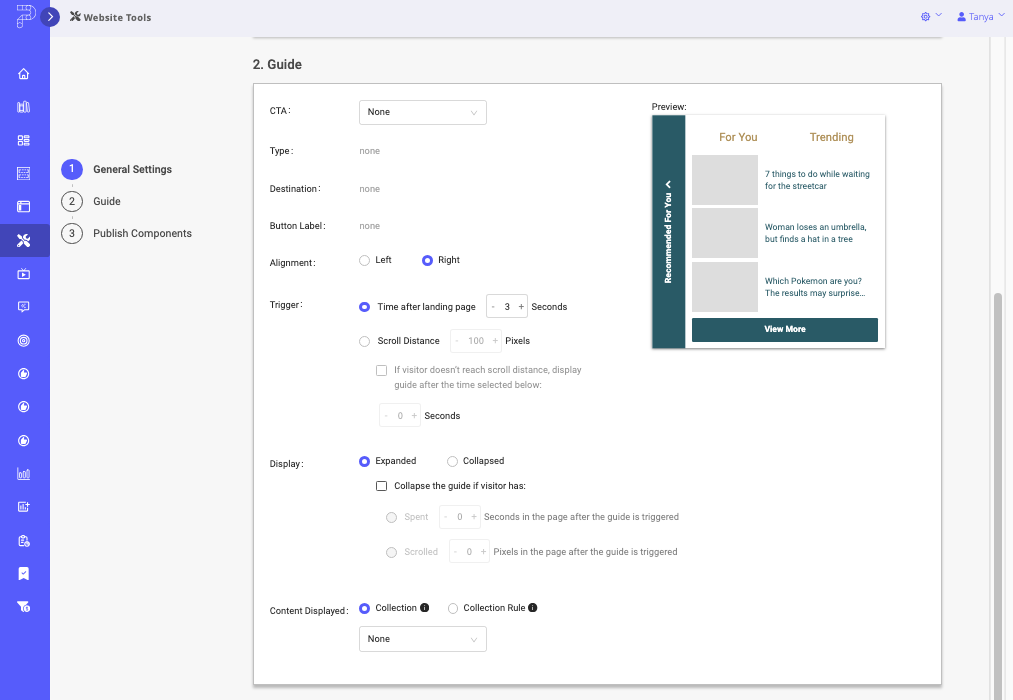
Guide Editing Menu - Scroll down a little farther to set up the promoters such as the message, the delay, and more.
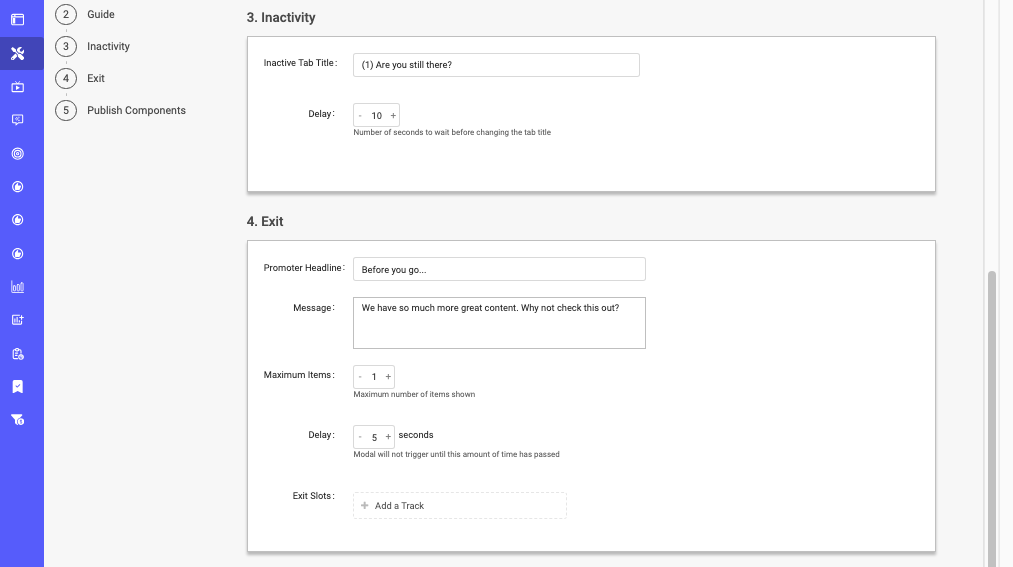
Guide Promoters details - To add a track suggestion for the Exit promoter, click the Add a Track button next to Exit Slots as shown below.
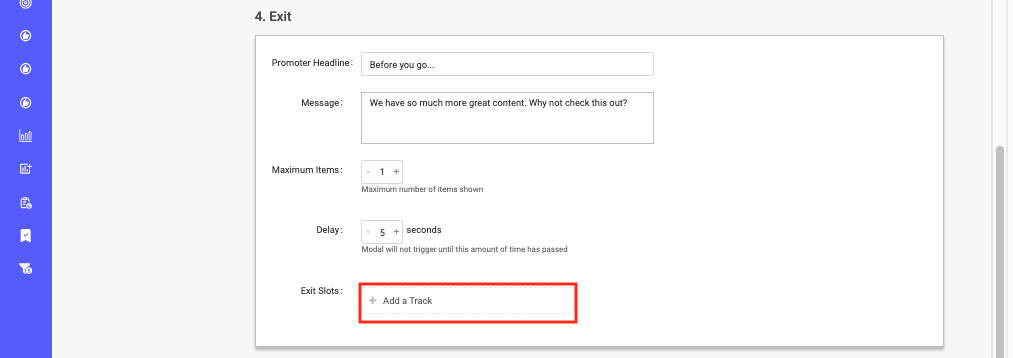
Add a Track button - A menu appears where you can select the Recommend or Target track to display on the Exit Promoter. To ensure a specific content asset always appears first, choose a pinned track from the list.

Select Content for Target or Recommend - To save the assets you’ve chosen for the Exit promoter, click Update. To leave without saving, click Cancel.
Views: 117
