The Content Configuration tab has a tabular format, drag-and-drop functionality, and multi-select capability to make content management easier and faster. Use this tab to organize, curate and add details (e.g., images, tags, descriptions) to your assets more effectively.
To use this feature, follow these steps.
- Open a Templated Experience or Content Playlist in edit mode.
- Expand the panel on the left side and then in the Content Experiences section, select Templated Experiences or Content Playlists.
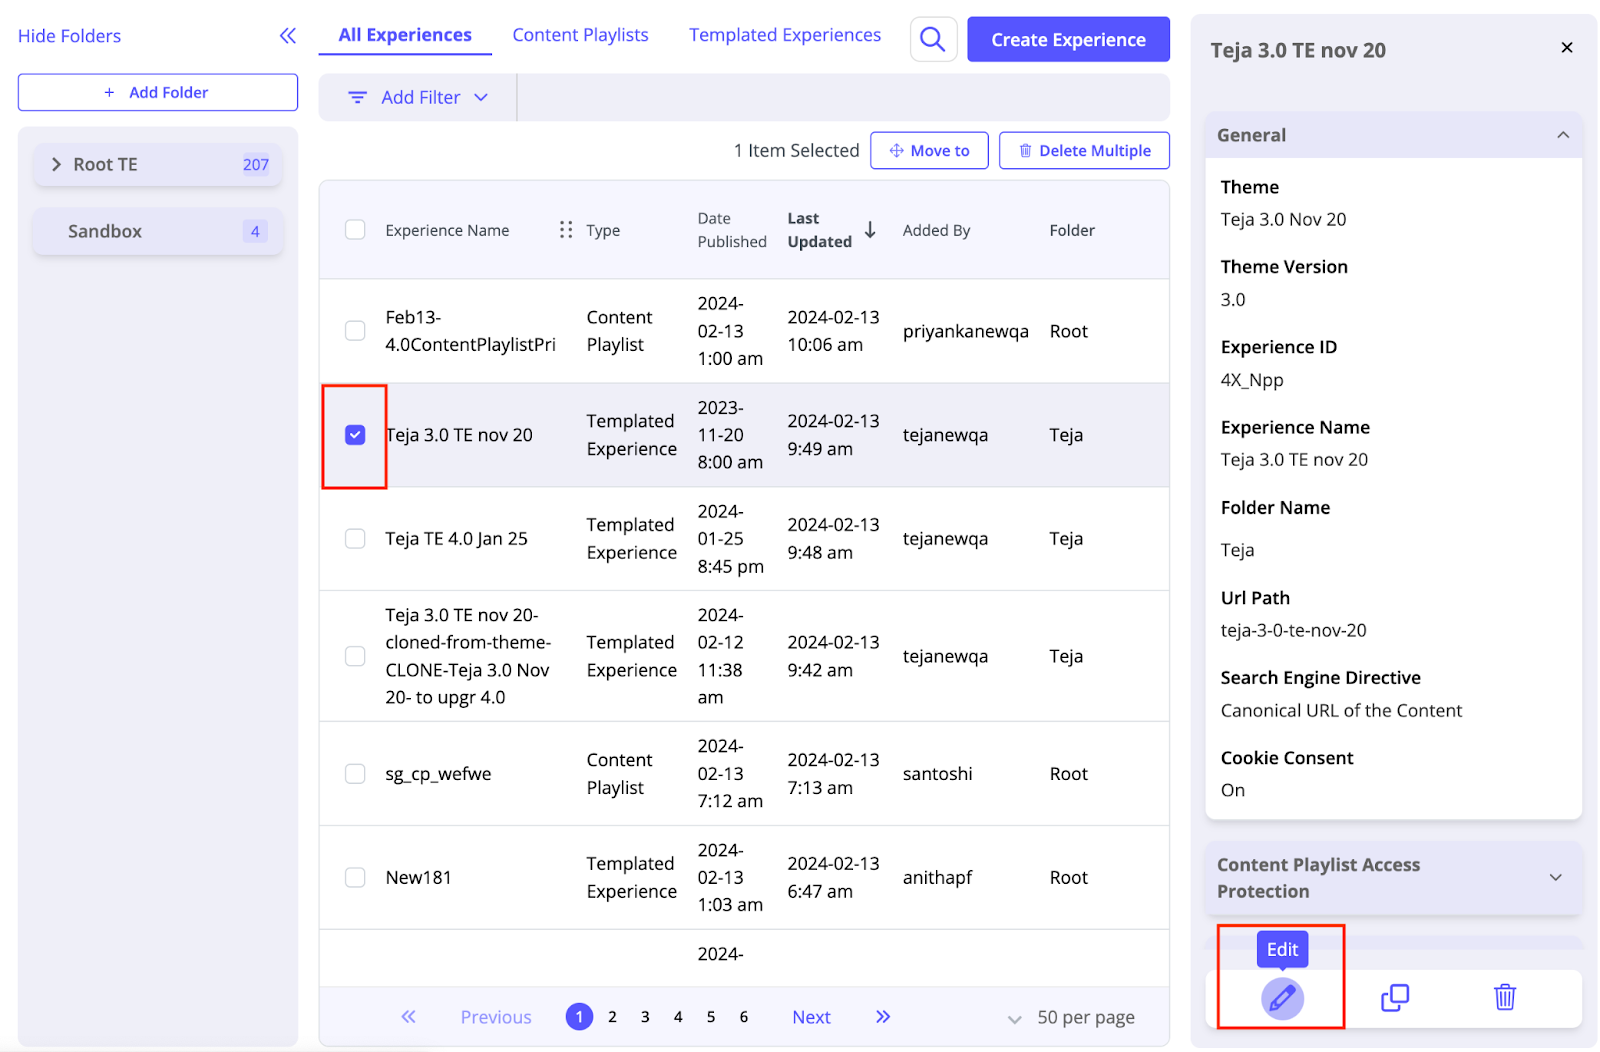
- To edit or clone an existing Templated Experience, in the list that appears select the checkbox for the Templated Experience you want to edit, and then select the edit icon, as shown below.
- If you want to build a new Templated Experience, click Create Experience.
- With the Templated Experience open, select the Content Configuration tab.
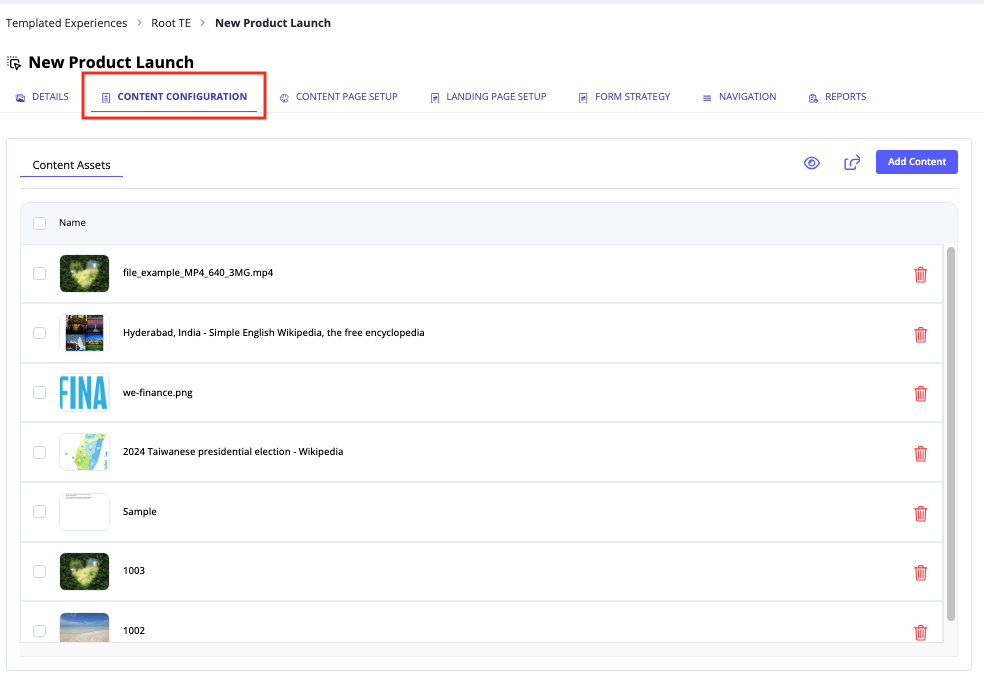
- You’ll notice the list of assets is in a table, and each asset has a trash bin icon for easy removal from the given Experience.
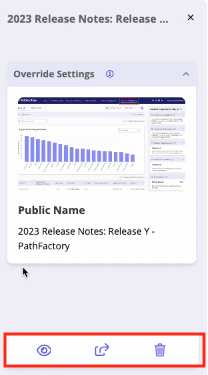
- When you select an asset, a panel appears on the right side to display details about that asset.
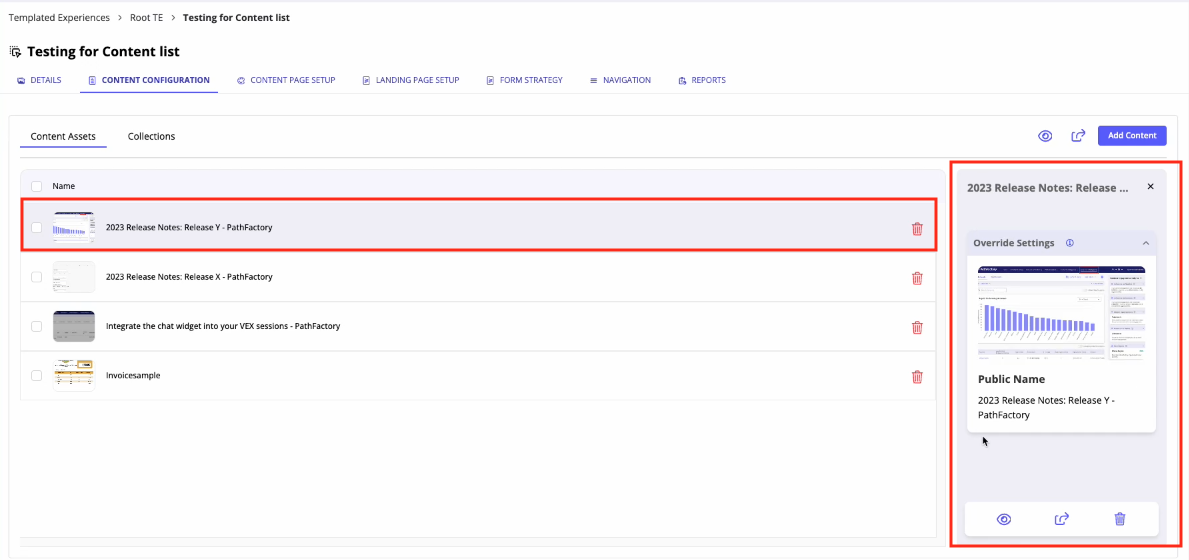
- Using the side panel, you can also view the asset, forward a link to the asset for someone else to read, or delete the asset, as shown below.
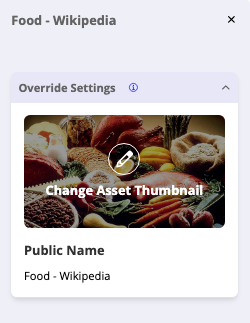
- You may also change the thumbnail being displayed for this asset and its title.
- To change the image, hover over the thumbnail to see an edit icon. Click the icon and follow the prompts to insert a new image.
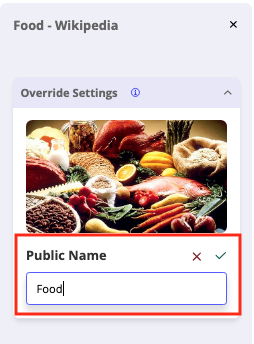
- To edit the asset’s title, hover over the title to see a pencil icon.
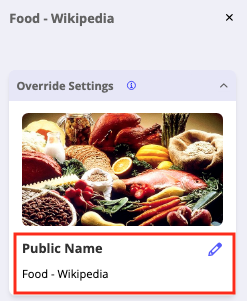
- Click the pencil and proceed to enter the new title. To save the new title, click the checkmark. To cancel the change, click the x.
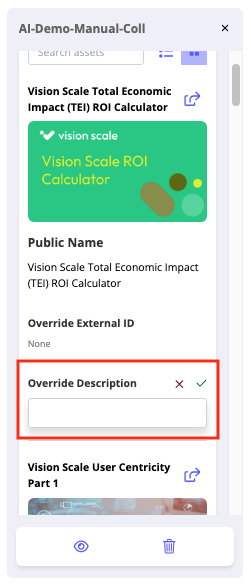
- To edit the asset’s description, scroll down the menu panel to the Override Description field. Click the pencil and then enter the text you want to display for the content asset’s description. To save the changes, click the green checkmark. To cancel without saving, select the red x.
How to Modify the Sort Order of Content Assets Within a Collection
To change the sort order of individual content assets or within a Collection, follow these steps.
- To change the sort order of content assets:
— in an Experience, drag and drop the assets to the order in which you want them presented.
— in a Collection, click the Collection’s edit icon to adjust its order.Edit icon for a Collection
- An editing menu opens.
Editing menu
- Here you’ll notice there is a Sort Settings dropdown list with a few different options.
Sort Settings dropdown menu
- For Collections you have four sorting options for ordering the content asset display described below:
- Powered by AI – This sorting option uses artificial intelligence algorithms to order content assets based on relevance or predicted visitor preferences. AI sorting enhances the user experience by presenting the most pertinent content at the top of the list, facilitating efficient discovery.
These AI-driven recommendations are powered by a hybrid recommender system that considers three key factors below.
- Current session engagement with content
- Historical engagement from past sessions with more emphasis on recent activities (with a maximum history cutoff of 15 days)
- The behavior of similar visitors within the organization, known as a normative profile.
In the absence of similar visitor data, the system defaults to general trending data, referred to as the average profile.
- Added by date ascending – This sorting option arranges content assets in chronological order based on the date they were added to the Content Library, starting from the earliest or oldest addition. For example, use this option if the content assets are part of a series or a timeline-based sequence.
- Added by date descending – This sorting option arranges content assets in reverse chronological order based on the date they were added to the Content Library, starting from the most recent addition and descending towards older assets. Selecting this option typically places the newest content assets at the beginning of the Collection.
- Manual Order – This sorting option enables you to customize the sort order according to your needs. Select this option if you want to order the assets in a specific manner.
Note: The sorting option you select directly affects how visitors will view the content. For instance, if you sort a Collection by AI, visitors will see the content in this AI-determined order when they access the Templated Experience via a shared link. Likewise, if you organize content assets in descending order, visitors will encounter the assets in this same descending sequence.
Views: 147