Adding or Editing Multiple Users at Once
As you can imagine, if you’re looking to onboard a large group of people, adding 1 user at a time would become pretty tedious! This feature helps to remove this barrier by providing you with the ability to bulk upload a list of users for your organization (as well as bulk edit your existing users).
To see this functionality in action, follow these steps.
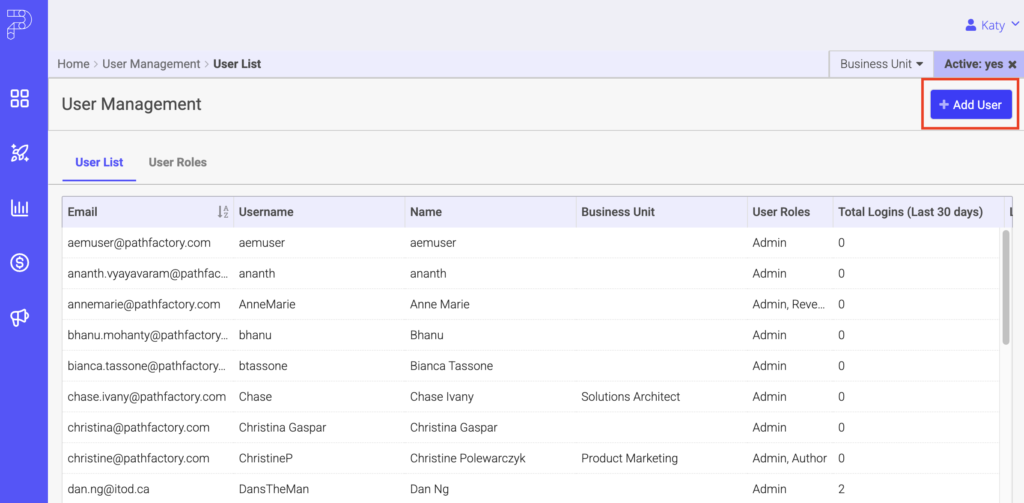
- Navigate to User Management.

2. Click +Add User.
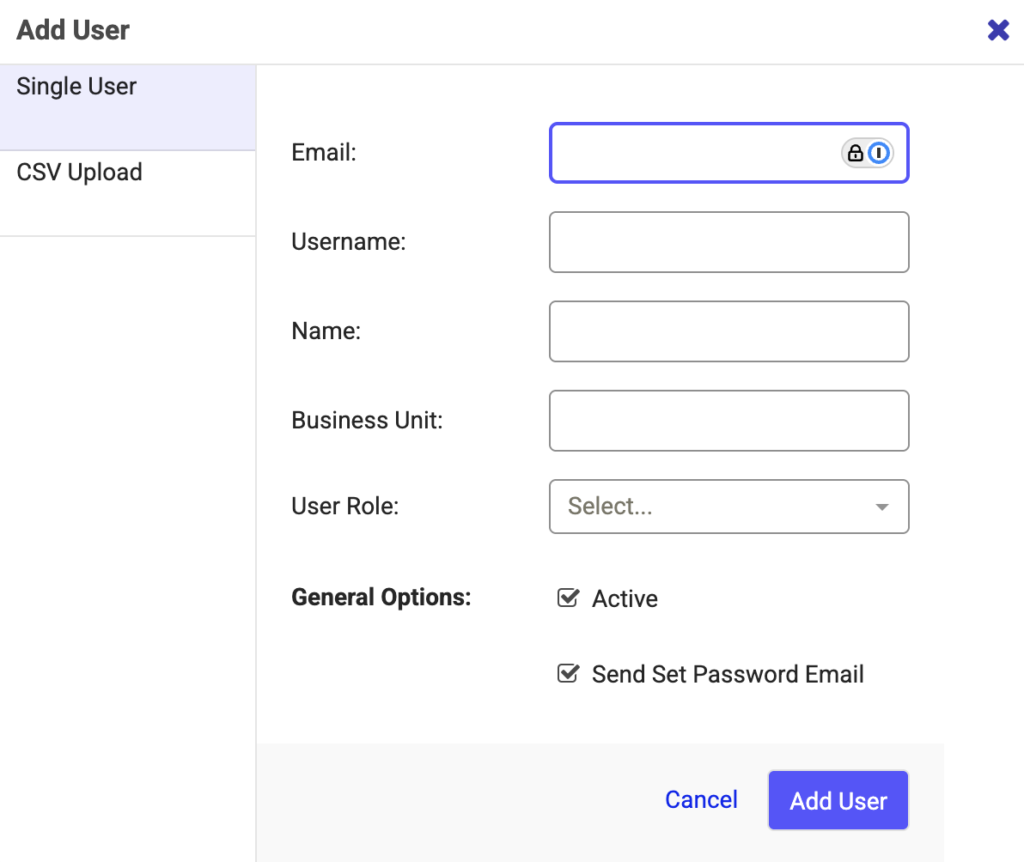
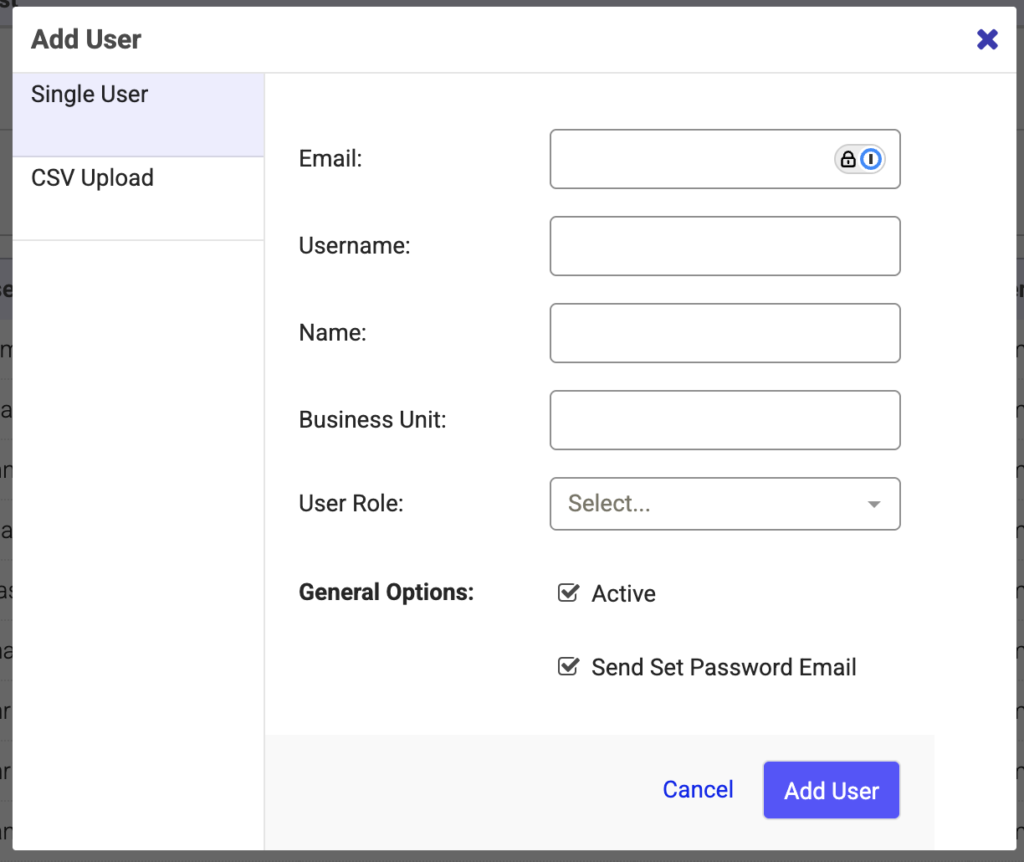
3. A popup window opens, giving you two options for adding a user: Single User or CSV Upload.
4. Navigate to the CSV Upload tab to perform bulk upload of the users in your organization. Note: Use the sample CSV template to create your upload file.
5. The fields in the CSV upload include:
- Username
- Name
- User Role
- Active
- SSO
Note: Email, Username, and User Roles are mandatory fields. You can enter Yes/No value only for Active and SSO fields. The value applied in SSO will be considered only if SSO has been enabled for your platform under Organization Settings. Ensure proper entries are made in the fields for successful upload of your user list.
6. When the CSV upload has been completed, the user receives a confirmation email.
This email contains the following information.
- the task has been completed
- the number of success
- the number of failures
- CSV download showing why the upload failed (if applicable).

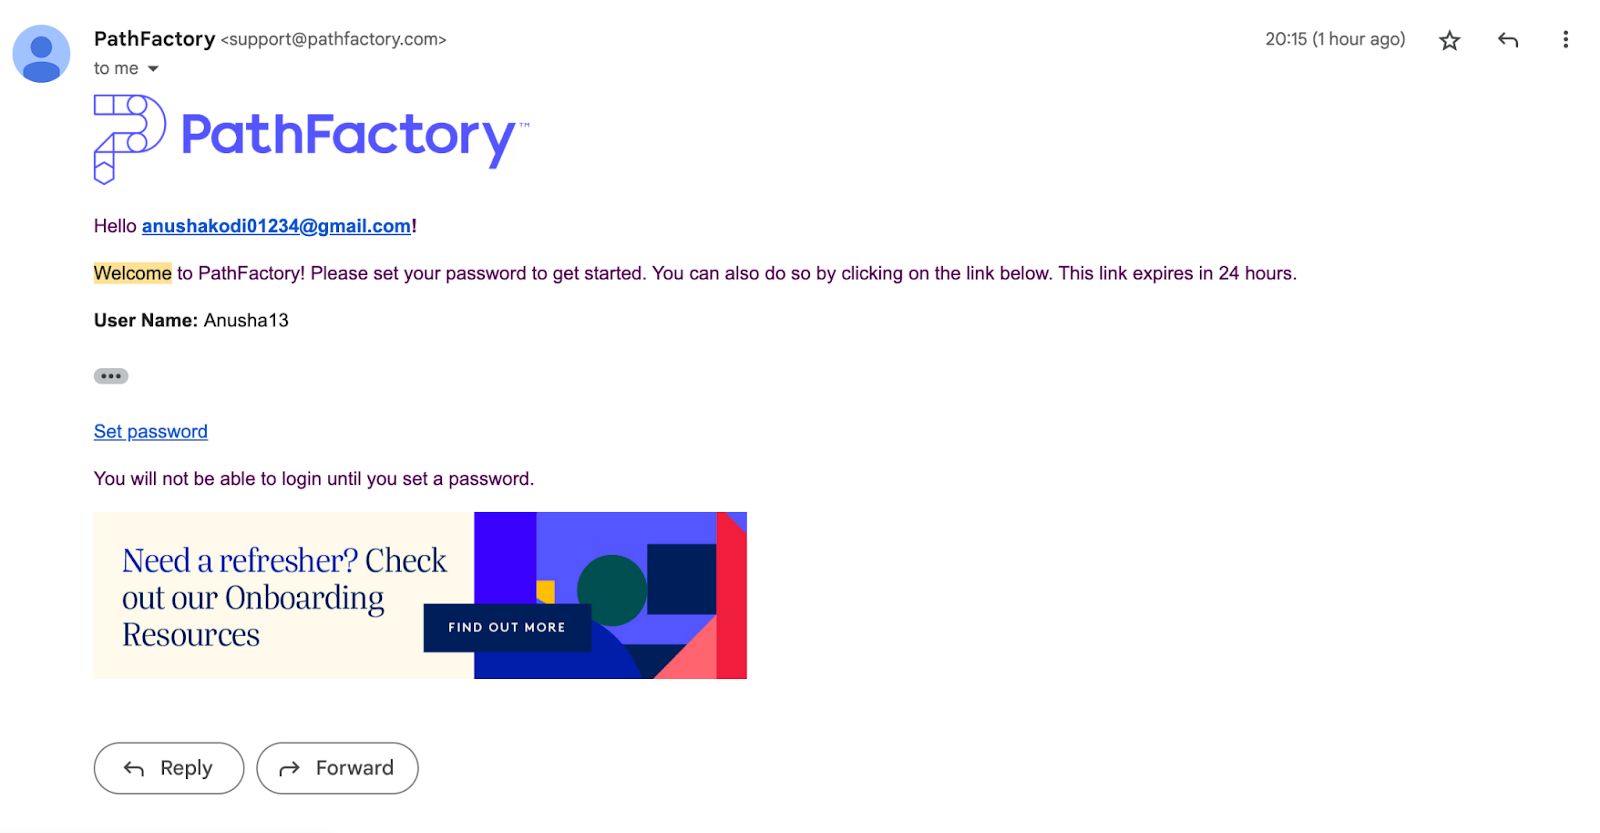
7. The users that have Yes value in the Active field for the CSV upload receive the following email.
The same Bulk Upload functionality can also be used to perform bulk update of the given attributes for the given user. Follow the steps 1-6 to update the attributes.
Note: All the available fields except for Email can be updated. Existing active users will not receive set password email as seen in step 7.
Adding One User at a Time
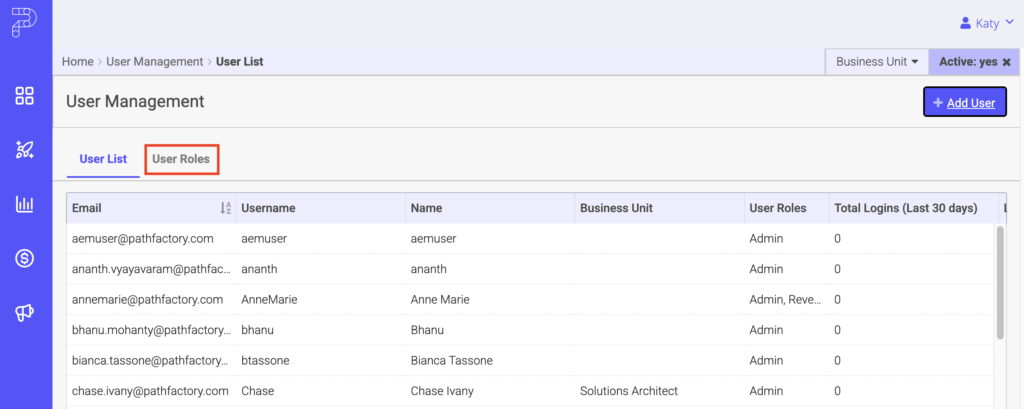
Click your username in the top right corner, and select User Management from the drop-down menu.
Within the User List tab, click Add User.
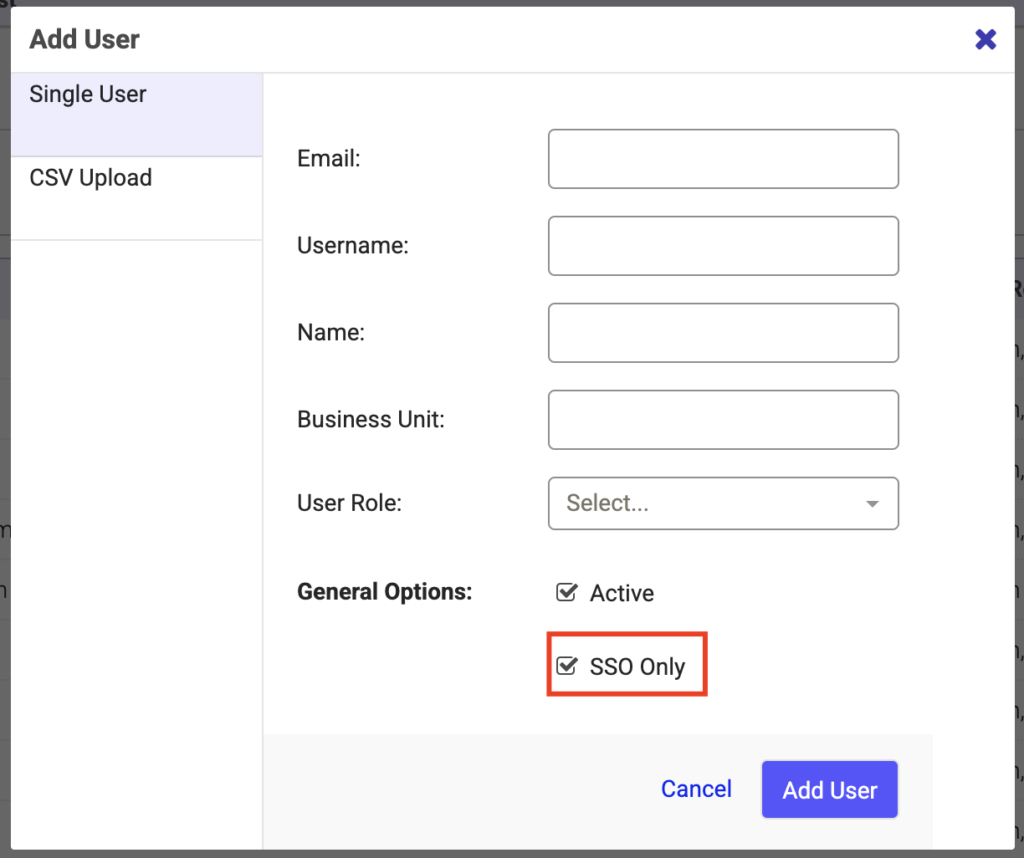
Enter the user’s information and assign applicable role(s).
Email – Enter the user’s email address
Username – Choose a display name that will appear in Audit Logs & internal labels in PathFactory like “Added By:” and “Created By”
Name – Enter the user’s full name
Business Unit – an optional field to categorize the user
User Role – Select one of the out-of-the-box user roles or a custom role to assign permissions to your user. For a detailed look at the permissions for each user role type, toggle to the “User Roles” tab in the main User Management screen.
General Options:
Active: Checking this box will allow the user to sign in
Send Set Password Email – This checkbox will automatically send an account activation email to your new user. If you want to set the user’s password yourself, deselect this checkbox.
SSO Only – This checkbox will appear if you have enabled SSO in the Organization Settings. Deselecting this checkbox will prevent users from creating or logging in via a password.
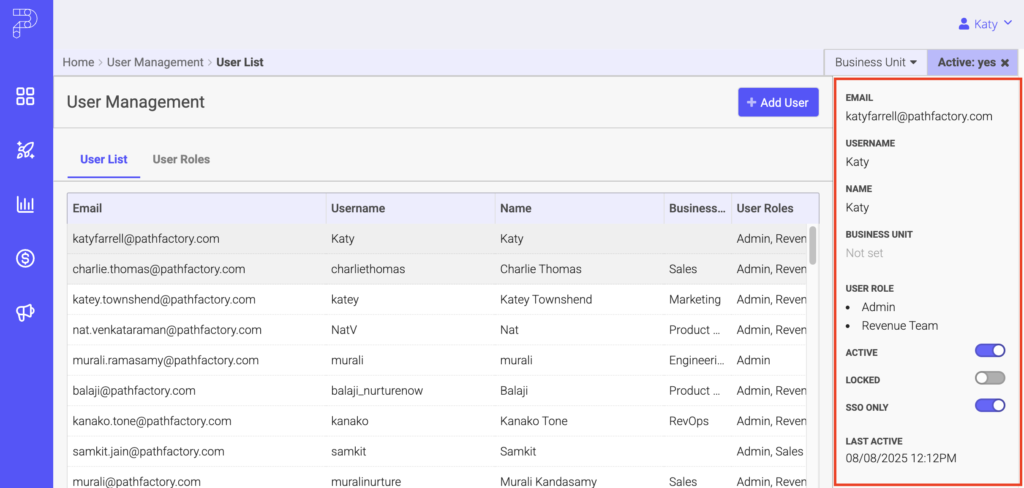
You can edit existing users by selecting them from the User List. The right window will pop open and allow you to change their user settings.
Views: 161