Within appearances, the header settings control the header on Explore pages, Recommend tracks, Target tracks, microsites, and VEX landing pages.
Navigate to header
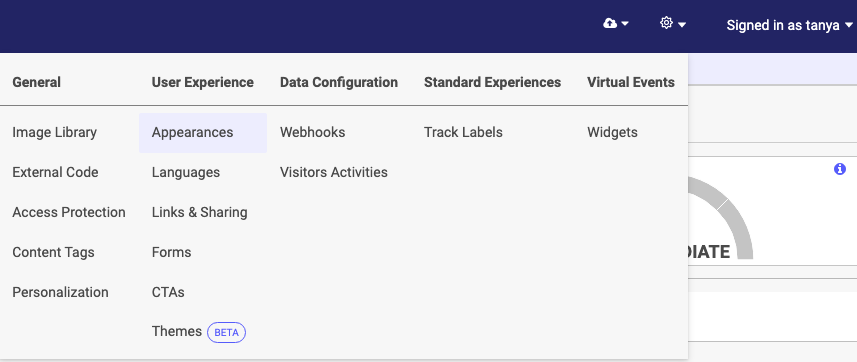
- Navigate to Gear > Appearances.


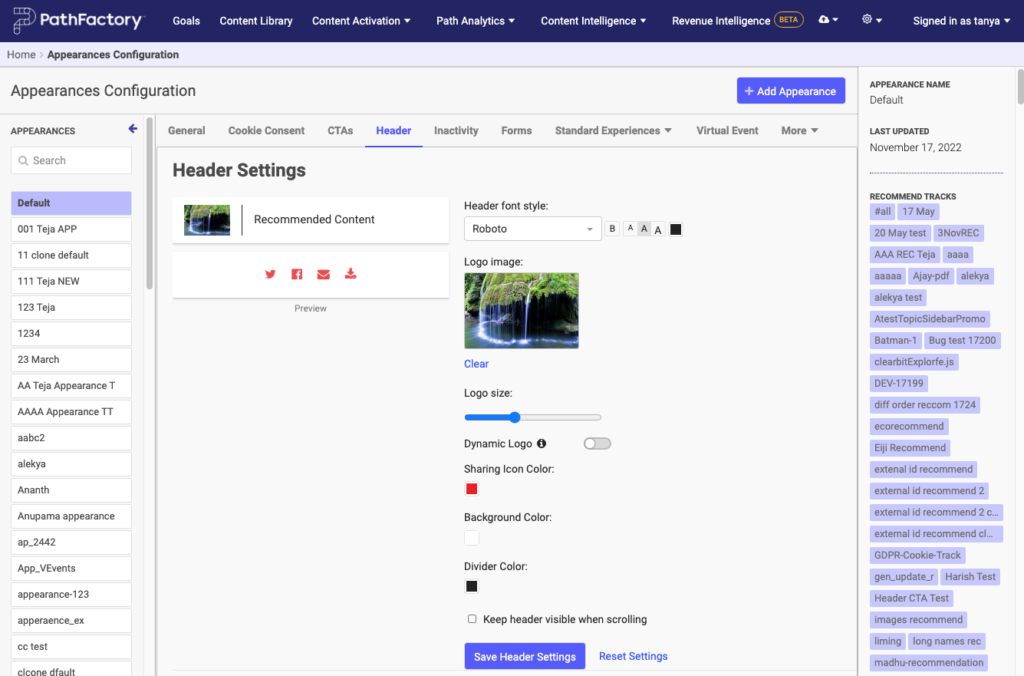
Appearances menu item - Select the Header tab.

Header tab
Customize the header
You can change the header’s background color, logo, and font. All your changes will be automatically reflected in the live preview.
If you decide you don’t like your changes, select Reset Settings to revert to the default settings.
|
Note
|
This resets the header appearance settings back to the original black and white default, not to your last saved state. |
When you’re happy with the header, select Save Header Settings.
Now let’s review what changes you can make.
Background color
You can change the background color of the entire header.
- Under Background Color, select the colored square. A color picker opens.
- Choose your desired color. You can also specify the color by its hex code or RGB values, if you know them.
Logo
You can upload your own logo image or choose from included stock images.
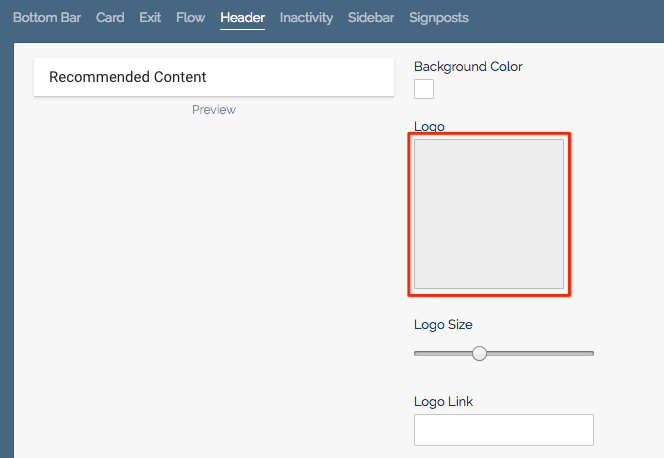
- Under Logo, select the grey square. The image selector opens.
 Image Selector
 - Choose from a previously uploaded image, a stock image, or select Upload to upload a new image. When you select the file you wish to use a yellow box appears around it. The image might look distorted in this window, but it will be properly formatted once it appears on the sidebar preview.
- Select Save to confirm your logo choice.
You can adjust the size of the logo by using the slider tool.
If you’d like visitors who click on the logo to be sent to a webpage, in Logo Link, enter the URL.
Font
To change the font, select the dropdown and choose a new font.
To bold the font, select the B button. To change the size, use the A buttons.
Finally, to change the font color, select the colored box. In the color picker, choose the color you want. You can also specify the color by its hex code or RGB values.
Views: 104
