The ChatFactory Widget is a visually appealing, interactive AI-powered overlay that enhances visitor engagement on your Landing Page or website.
Behind the scenes is the AI-driven ChatFactory Agent, which intelligently handles interactions by analyzing visitor queries, recommending relevant content or products, and personalizing conversations in real time. This seamless integration of AI ensures a dynamic, tailored experience that keeps visitors engaged and helps guide them toward their goals.
These widgets can be customized to serve various purposes, including:
- Recommending related products or content.
- Assisting with customer support by answering visitor questions.
- Guiding users through onboarding or setup processes.
Note: You can create multiple Widgets for a single ChatFactory agent.
There are two form factors that a widget can have:
- Bubble: Looks and feels like a chatbot.

- Search: Looks like a search bar where the user can ask a question and launch the agent.
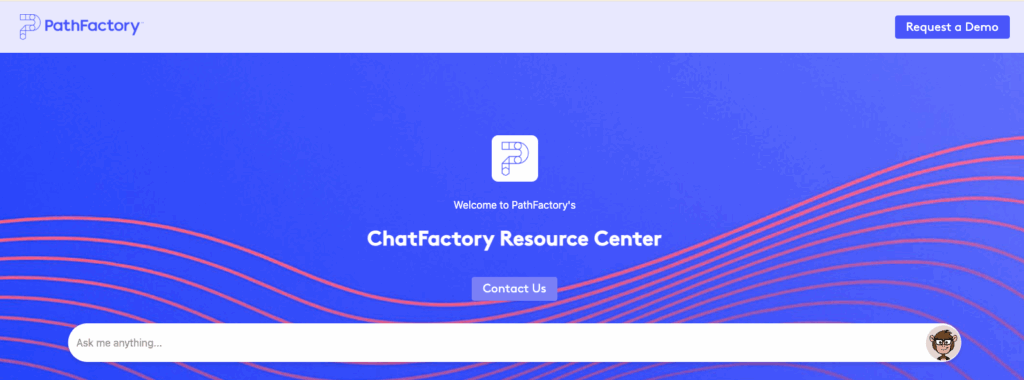
How to Create and Configure the ChatFactory Widget
Note: Before starting, ensure you have a fully configured ChatFactory AI Agent available for the widget to launch.
- In ChatFactory -> Agent -> Theme Settings, click on the Activation Component button.
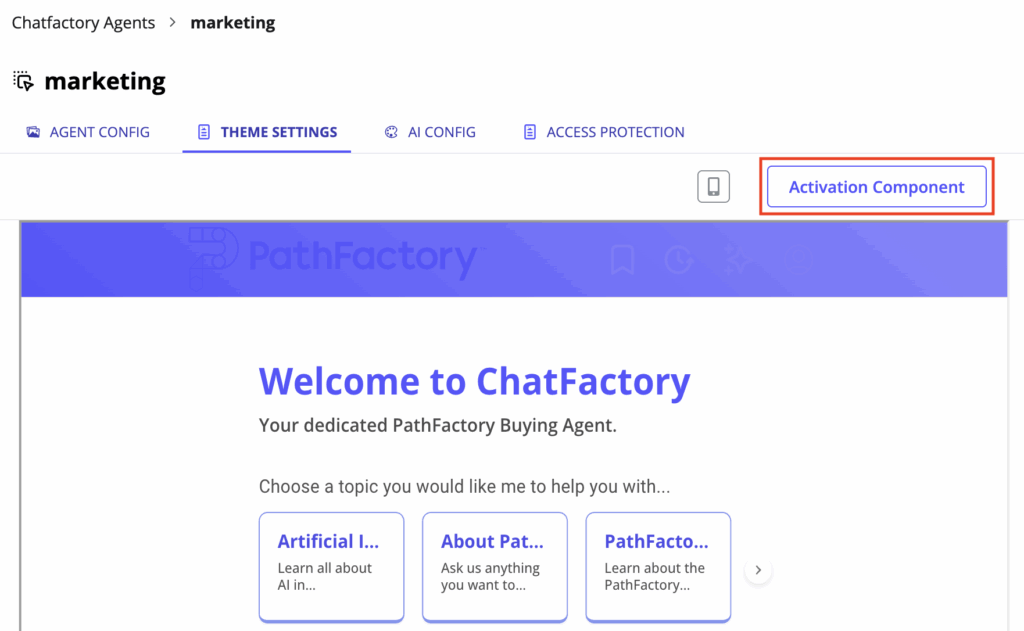
Create Widget using the Activation Component Button
- Choose the widget form factory (Bubble or Search) and enter a name for the widget.
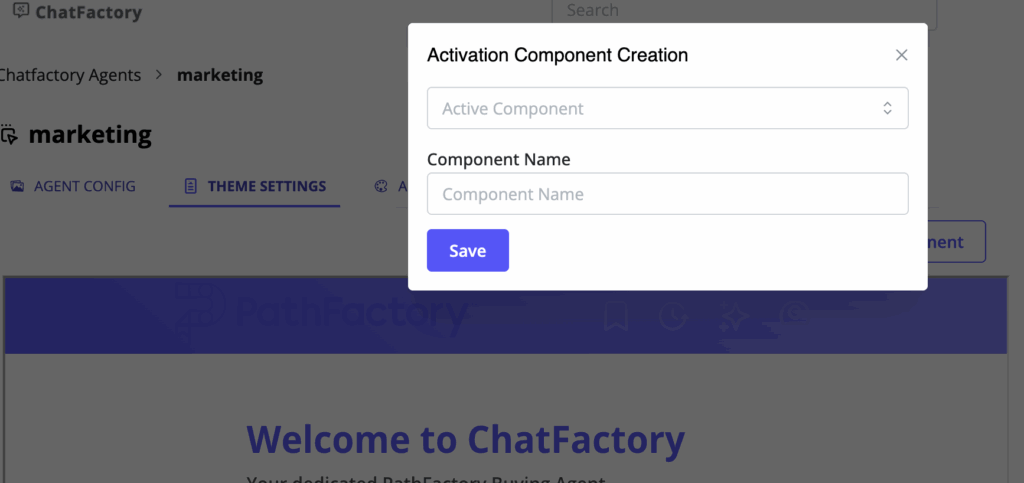
Create a Widget
- Your new widget appears in the Widget dropdown list. You can configure it further by choosing the widget there.
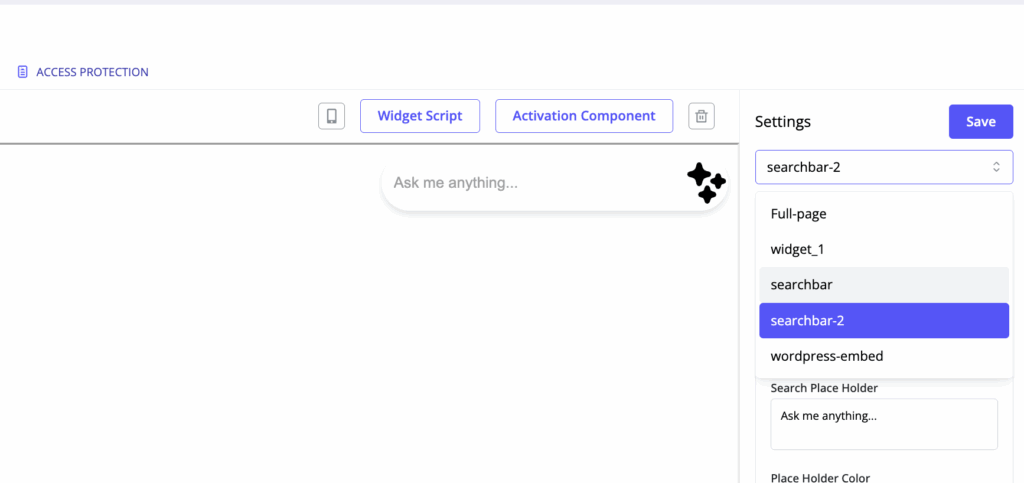
Select Widget for Configuration
Note: The default full page agent is also listed here. It is called “Full-page”.
- Customize the widget’s settings as needed.
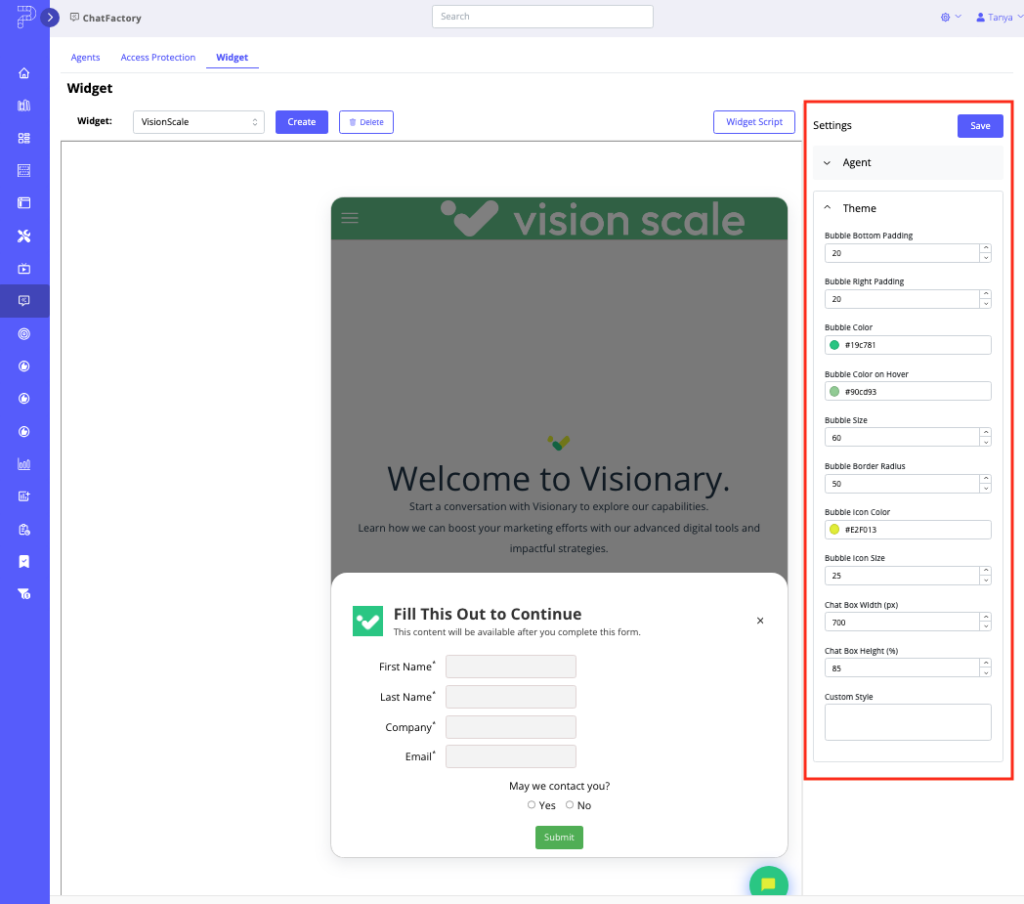
- Click Save to lock in your changes.
How to Embed the ChatFactory Widget on a Landing Page or Website
Once the widget has been created, you can take the widget script and add it on any page in the same domain to surface the widget on that page. In this section, we will show you how to surface the widget in a ChatFactory landing page.
- Select the widget you want to embed click Widget Script.

Widget Script button
- Click Copy Script in the window that opens.
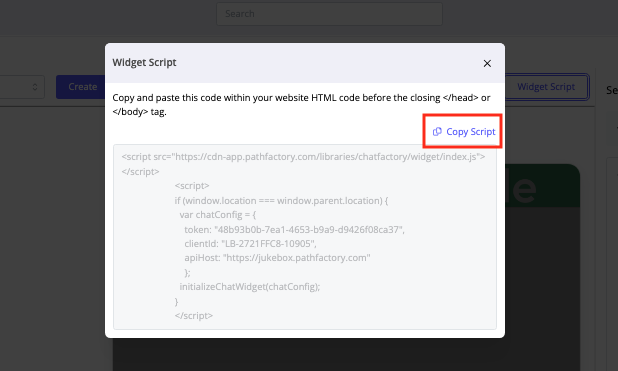
Copy Script button
- Go to the External Code menu.

External Code menu
- Click Add External Code and paste the script.
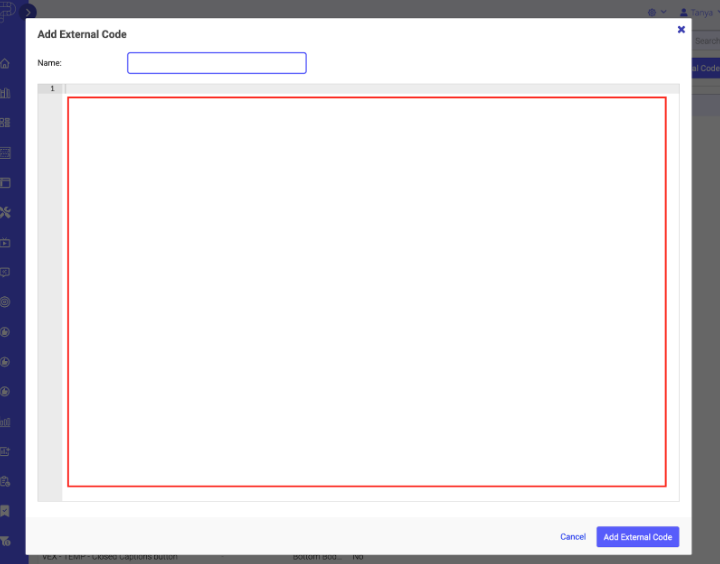
Add External Code window
- Save your changes.
- Go to a Templated Experience’s Landing Page Setup tab.
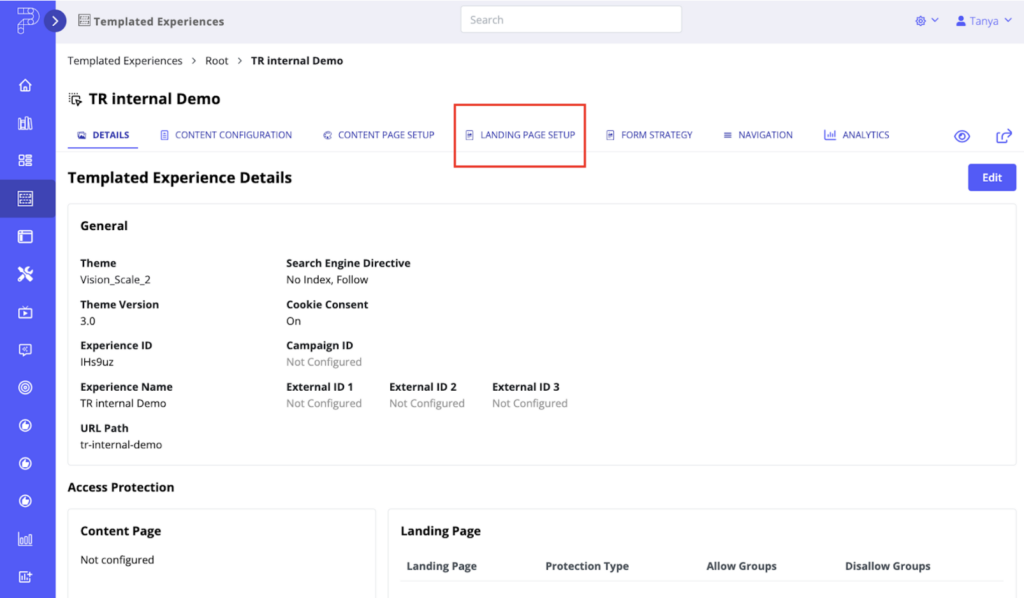
Landing Page Setup tab
- Select the External Code snippet and save changes.
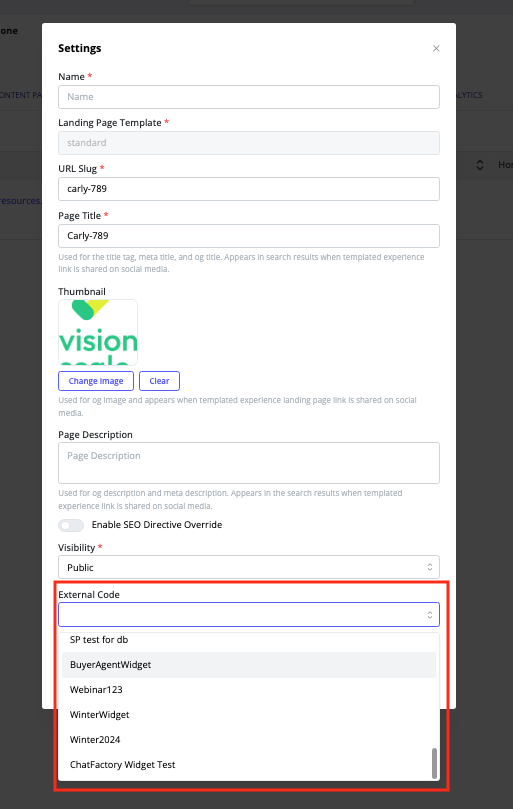
External Code field
- Test the page to confirm the widget appears.
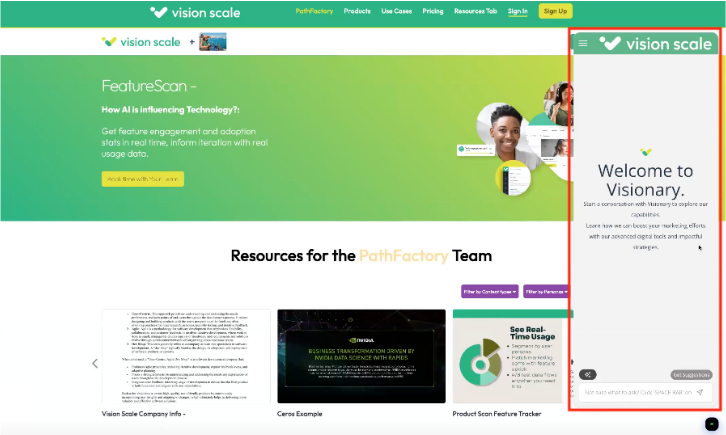
Example of ChatFactory Widget on a Landing Page
Views: 155
